
Growing chili plants is already rewarding, but what if you could boost germination speed, improve root health, and increase growth naturally? That’s exactly what gardeners are discovering with an exciting new idea—using banana plants to propagate chili!
This natural, organic, and incredibly effective method works because banana stems are packed with moisture, nutrients, and growth-friendly enzymes. These qualities create the perfect micro-environment for chili seed germination and root formation.
In this comprehensive 1200-word guide, you’ll learn step-by-step how to propagate chili plants using a banana plant, why this method works so well, and how you can maintain the healthiest chili plants right at home.
🍌🌶 Why Use Banana Plants for Propagating Chili?
Banana plants are not just fruit-producing giants—they are nutrient factories. The stem (pseudo-stem) contains:
- High moisture content
- Natural potassium
- Plant hormones such as auxins
- Organic enzymes that aid root development
- Soft tissues that help retain heat and humidity
When chili seeds or cuttings are placed inside banana stems, they experience an environment similar to a natural germination chamber—warm, moist, nutrient-rich, and protected.
This results in:
✅ Faster seed germination
✅ Stronger roots
✅ Natural disease resistance
✅ Reduced need for external fertilizers
✅ Higher success rate for propagation
🪴 Materials You Will Need
To try this method, gather:
- A healthy banana plant (or just a fresh banana stem piece)
- Chili seeds or chili cuttings
- A sharp knife
- Plastic wrap or a small cloth
- Moist soil mix (cocopeat + compost + sand is ideal)
- A small pot or grow bag
🌱 Step-by-Step Guide: Propagating Chili From a Banana Plant

Step 1: Select Fresh Chili Seeds or Cuttings
You can use:
Option A: Chili Seeds
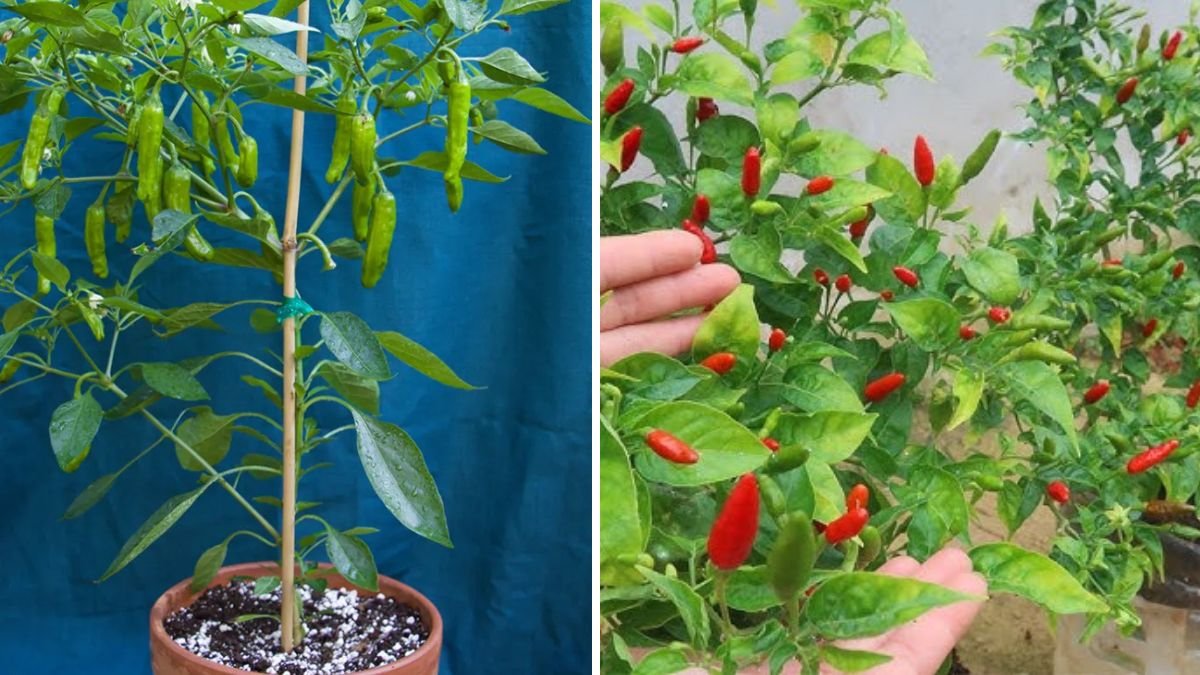
Choose mature red chili fruits. Extract the seeds and dry them for 24 hours.
Option B: Chili Cuttings
Select a 6–8-inch branch with at least 2–3 nodes.
Cut at a 45-degree angle for better absorption.
Both options work beautifully with the banana stem method.
Step 2: Prepare the Banana Stem
Choose a fresh, juicy section of banana stem.
- Cut a vertical slit about 3–4 inches deep.
- Ensure the slit is wide enough for inserting seeds or cuttings.
- Keep the banana plant intact if possible; it continues nourishing your propagations naturally.
The banana stem will act like a natural greenhouse.
Step 3: Insert the Chili Seeds or Cuttings
If Using Chili Seeds:
- Place 3–5 seeds inside the slit.
- Press gently so they stay in contact with moist inner tissue.
If Using Chili Cuttings:
- Insert the cutting into the banana stem, ensuring at least one node is inside.
- The banana juices help stimulate root formation naturally.
Step 4: Seal the Banana Stem
Use:
- A small cloth
- Banana leaf
- Plastic wrap
This helps keep moisture inside and prevents drying.
Tip: Do not wrap too tightly—airflow is still important.
Step 5: Leave the Banana Stem for 7–12 Days
During this period, nature does its magic:
- Seeds begin to germinate
- Banana stem provides potassium
- Enzymes trigger strong root development
- Humidity keeps the seeds active
Check after 7 days. You’ll notice tiny sprouts or new roots developing.
Step 6: Transplant to Soil
Once germinated (or once cuttings show roots):
- Prepare a nutrient-rich potting mix:
- 50% cocopeat
- 30% compost
- 20% sand or perlite
- Gently remove the seedlings/cuttings from the stem.
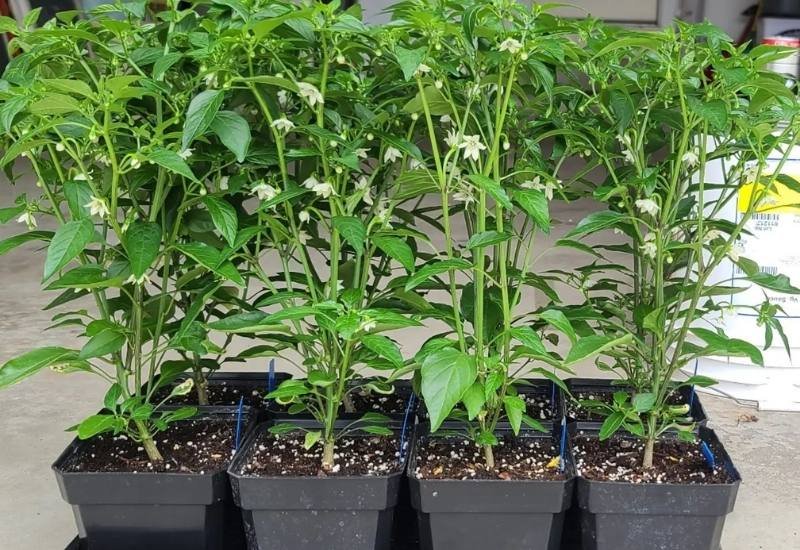
- Plant them in pots or grow bags.
- Water lightly and keep them in partial shade for 3 days.
🌿 Why This Method Works So Well
✔ Banana stem acts like a natural rooting hormone
Chili roots form faster due to auxins naturally present in the stem.
✔ The stem keeps humidity stable
Seeds rarely dry out, improving germination rate by up to 70%.
✔ Potassium-rich environment
Chilies love potassium—this boosts early growth.
✔ No chemicals needed
A completely organic propagation method.
🌞 Care Tips for Healthy Chili Plants After Transplanting
1. Sunlight Requirement
Chili plants need 5–6 hours of sunlight daily.
2. Watering
Water every 2–3 days.
Avoid overwatering—chili roots prefer slightly dry soil.
3. Fertilization
Every 10 days, feed plants with:
- Banana peel fertilizer
- Mustard cake liquid
- Compost tea
These keep plants healthy and productive.
4. Pest Control
Use organic methods:
- Neem oil spray
- Garlic chili spray
- Soap water for aphids
Chili plants attract pests, so prevention is essential.
🌶 Harvesting Your Chili Plants
Depending on the variety, chili plants are ready for harvest within 60–90 days.
Look for:
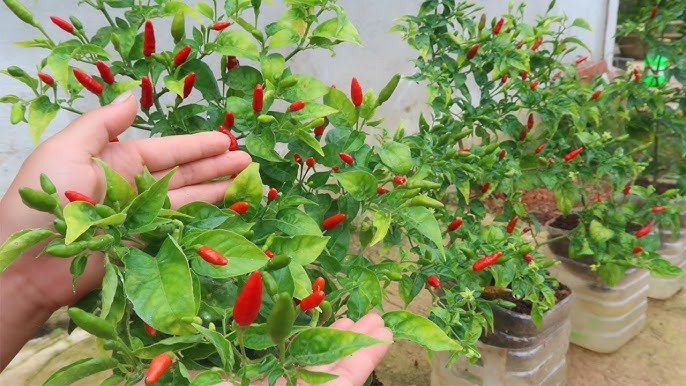
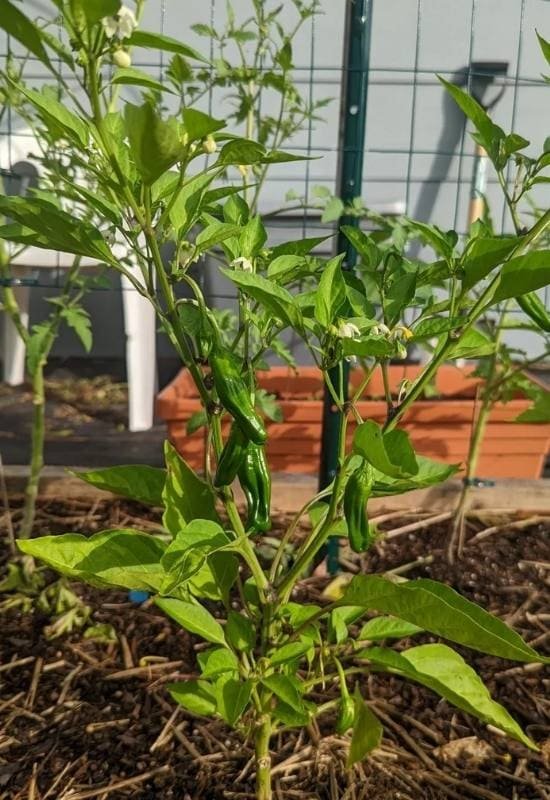
- Firm, shiny fruits
- Fully colored chilies (red, green, purple depending on type)
Harvest frequently to encourage new flower growth.
🌿 Benefits of Propagating Chili Using a Banana Plant
🌱 Higher germination rate
🍌 Natural nutrient boost
💧 No need for a greenhouse
🌤 Perfect for beginners
🌶 Stronger and healthier plants
🌱 Faster root formation
🌿 100% organic method
This method is especially useful in warm climates where banana plants grow abundantly.
⭐ Final Words
Propagating chili from a banana plant is one of the most exciting and effective natural techniques for home gardeners. With minimal effort and zero chemicals, you can grow strong chili plants that produce more fruits and mature faster.
Whether you’re a beginner or an experienced gardener, this creative method brings joy, surprise, and impressive results.
If you’d like, I can also create:
✅ A YouTube script
✅ A short video description
✅ SEO keywords and hashtags
Just tell me!