

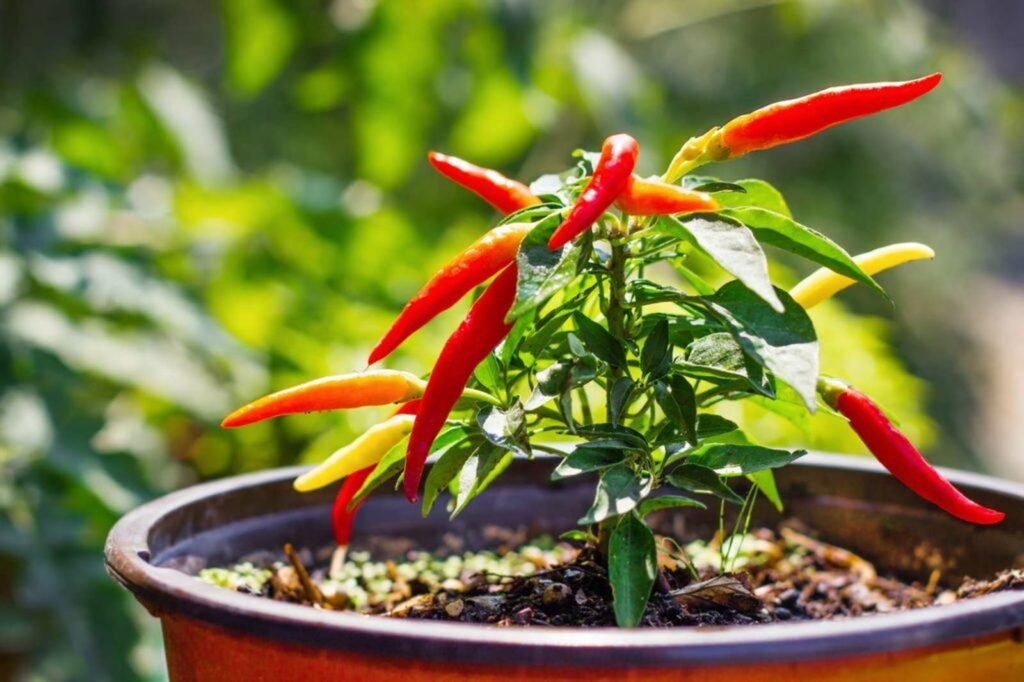
Chilli is one of the most commonly used ingredients in every kitchen—and the good news is, you can grow it easily at home in simple pots or containers. Even with limited space, chilli plants thrive beautifully in balconies, terraces, and kitchen gardens. With the right soil, sunlight, and care, one plant can give you dozens of fresh, organic chillies for months.
This 1200-word article will guide you step-by-step through chilli cultivation at home in pots, covering everything from planting to harvesting and common problems. Whether you’re a beginner or an experienced gardener, this guide will help you produce healthy, spicy chillies right from your home.
🌱 Why Grow Chilli Plants at Home?
Chillies are among the easiest and most rewarding plants to grow in pots. Here’s why:
✔ Low-maintenance plant
Requires minimal care and grows well even in small containers.
✔ Compact and space-friendly
Perfect for balconies, windowsills, and rooftops.
✔ Fast-growing
Starts producing chillies within 45–60 days.
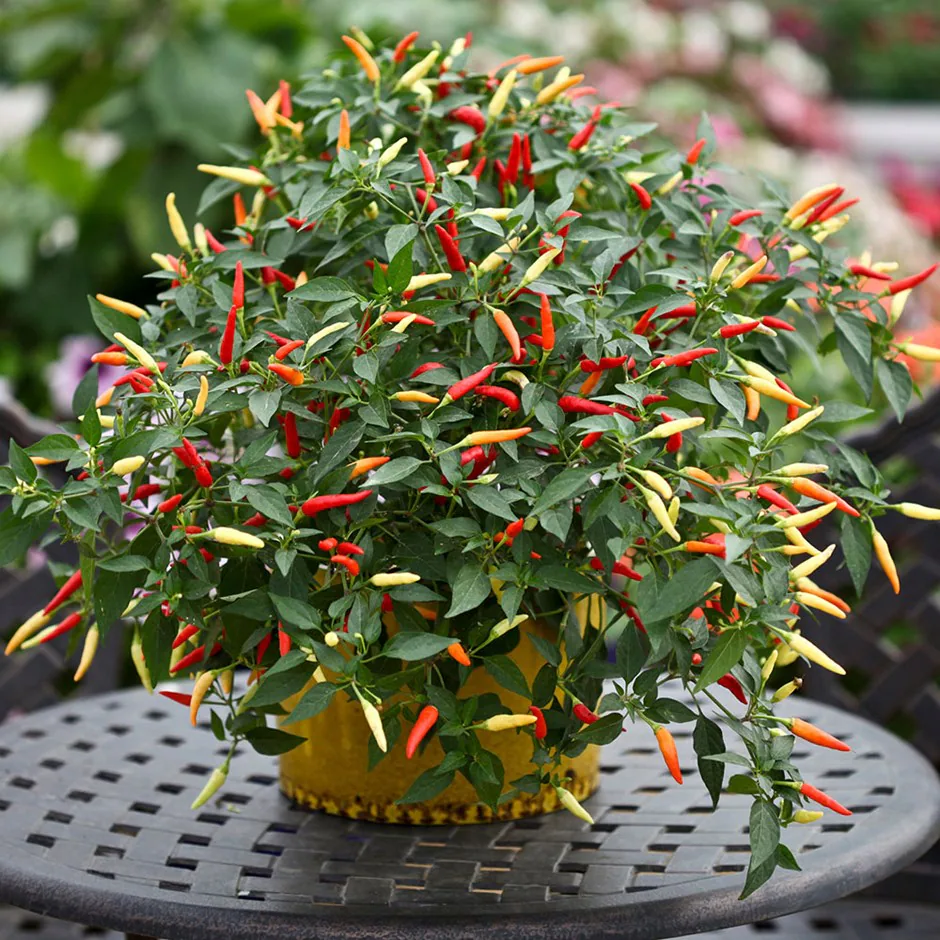
✔ Productive for months
A single plant can keep giving fruit for 6–8 months.
✔ Chemical-free & fresh
You get pure, organic, homegrown spicy goodness.
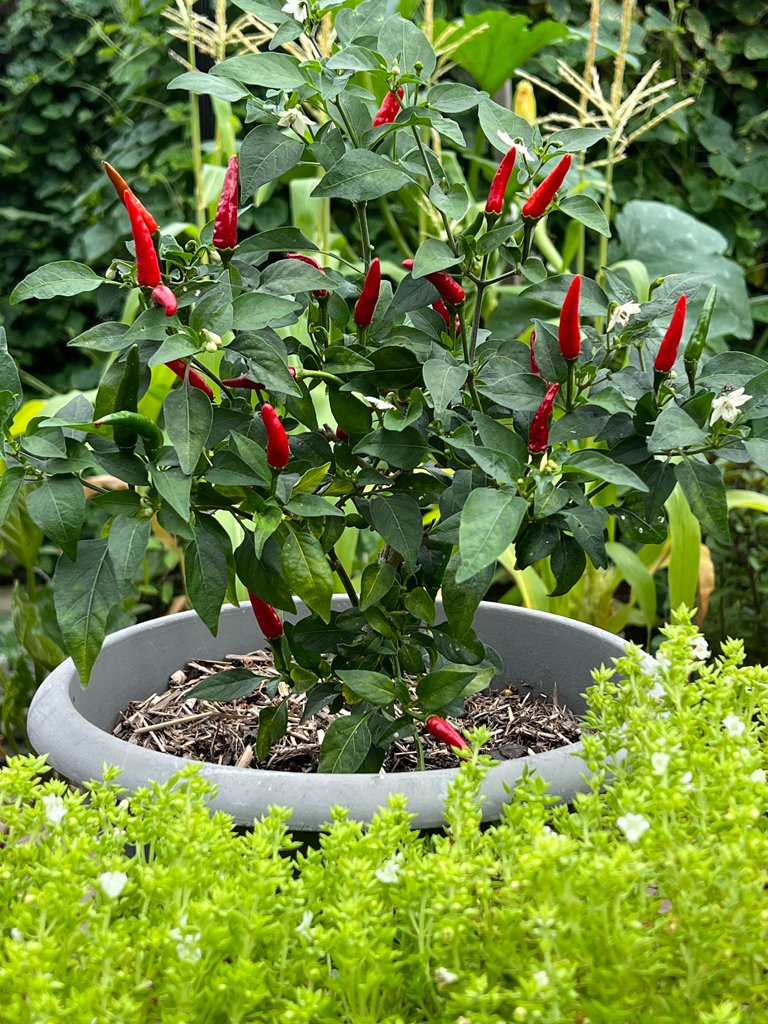
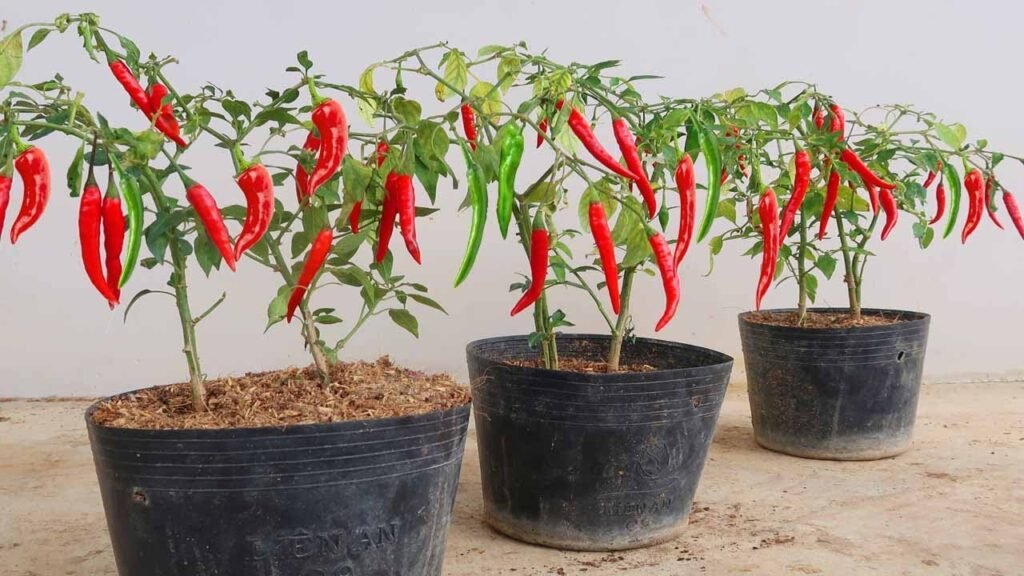
🪴 Best Containers for Chilli Cultivation
Choosing the right container is important.
Recommended Size:
- Minimum depth: 8–10 inches
- Ideal depth: 12 inches
- Width: 8–12 inches
Suitable Container Types:
- Plastic pots
- Grow bags
- Cement pots
- Recycled buckets
- Clay pots
- Old cans or tubs
Make sure the pot has 4–6 drainage holes to prevent waterlogging.
🌱 Best Soil Mix for Growing Chillies
Chillies love soft, well-drained, nutrient-rich soil.
Perfect Soil Mix:
- 40% garden soil
- 30% vermicompost/compost
- 20% cocopeat
- 10% sand/perlite for drainage
Add:
- 1 handful neem cake
- 1 tablespoon bone meal/rock phosphate
This balanced mix ensures fast growth and healthy root development.
🌶️ Choosing the Right Chilli Seeds
You can grow:
🌿 Desi varieties (most popular)
- Medium spicy
- Hardy & resistant
- Great for daily cooking
🔥 Hot varieties
- Bird’s eye chilli
- Guntur chilli
- Kanthari chilli
🌱 Hybrid varieties
- High yield
- Faster growth
Always use good-quality seeds for best results.
🌱 Step-by-Step: Planting Chilli at Home
1. Preparing the Pot
- Fill the pot with prepared soil mix.
- Keep the soil loose and airy.
- Leave 2 inches gap at the top.
2. Sowing the Seeds
- Make 3–4 small holes (1 cm deep).
- Place one seed per hole.
- Cover lightly with soil (do not press hard).
3. Watering
- Water gently with a spray bottle.
- Keep soil moist but not soggy.
4. Germination
Chilli seeds take 7–10 days to sprout.
Keep pot in bright shade until seedlings grow 2–3 leaves.
5. Shift to Full Sunlight
Once the plant is 3–4 inches tall, move it to:
☀ 6–7 hours sunlight daily
Chillies love bright light!
☀️ Light & Temperature Requirements
Chilli plants need:
- Full sunlight daily
- Warm climate (20–35°C)
Too much shade = fewer chillies
Too much heat = leaf burn
During intense heat waves, give afternoon shade.
💧 Watering Schedule for Chilli Plants
Overwatering is the biggest mistake people make.
Watering Rules:
- Water only when top soil is dry
- Deep watering 2–3 times per week
- Do not wet the leaves
- Avoid waterlogging at all costs
Signs of Overwatering:
- Yellow leaves
- Droopy stems
- Slow growth
Mulching with dry leaves helps maintain moisture.
🌱 Fertilizer Schedule for Heavy Yield
Chilli plants are moderate feeders.
Every 15 Days:
Add:
- 2 handfuls vermicompost
- 1 handful neem cake
Every 20 Days: Liquid Fertilizers
Use one of the following:
- Mustard cake solution
- Banana peel liquid
- Compost tea
- Fish amino acid (very effective)
For Flowering & Fruiting (Potassium Boost):
Add:
- 1 handful wood ash or
- 1 tablespoon banana peel powder
This increases flowering and fruit size.
🌺 Flowering Stage Care
Once the plant reaches 30–40 days:
- Small white flowers appear
- Fruit formation starts soon after
To prevent flower drop:
- Ensure regular watering
- Add potassium
- Provide enough sunlight
- Avoid moving the pot too often
🌶️ Increasing Yield: Simple Tricks
✔ Prune the top when plant reaches 6 inches
Encourages branching → more chillies.
✔ Use Epsom salt (optional)
1 tsp in 1 liter water → spray once a month
Helps flowering & fruiting.
✔ Stake the plant
Use bamboo sticks to support the stem.
✔ Pick chillies regularly
Promotes more fruit production.
🐛 Common Pests & Organic Solutions
Chilli plants often face:
1. Aphids / Whiteflies
Solution:
Neem oil spray (5 ml + 1 liter water)
2. Thrips
Solution:
Garlic-chili spray or neem soap spray
3. Leaf curl virus
Cause: Infected whiteflies
Solution: Remove infected leaves + neem oil weekly
4. Fungus / Mold
Solution:
Reduce watering + increase sunlight
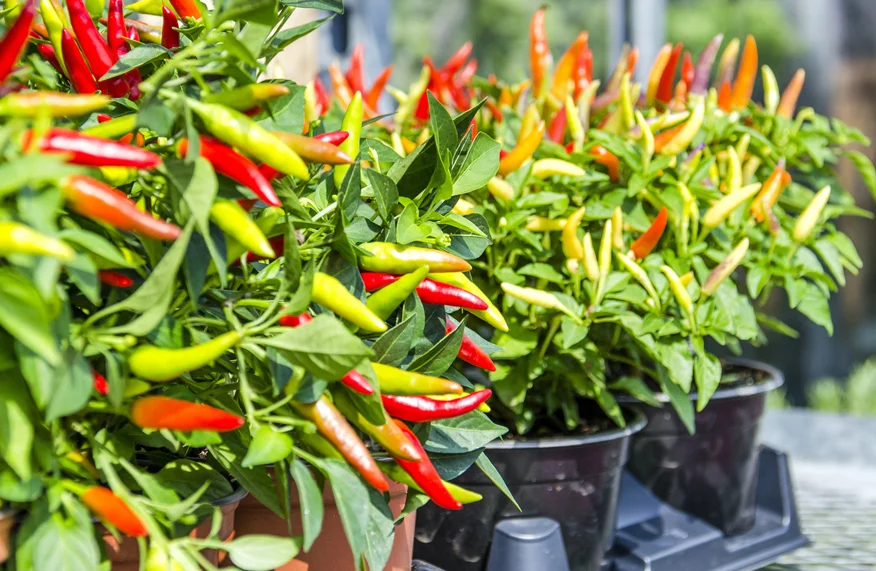
🌶️ When to Harvest Chillies
Chillies start producing fruit 45–60 days after planting.
Harvest when:
- Fruits are firm and glossy
- Colour is deep green or ripened red
- Size is mature depending on variety
Pluck gently to avoid damaging branches.
🏡 Why Chilli Plants Grow So Well at Home
Chillies adapt easily to home conditions because:
- They tolerate heat and low humidity
- They grow well in small pots
- They need minimal care
- They produce for many months
- They can be grown indoors near a sunny window
Even beginners can grow chillies successfully.
🌿 Troubleshooting Common Problems
Yellow Leaves?
Cause: Overwatering or nutrient deficiency
Fix: Reduce watering + add compost
Flower Drop?
Cause: Heat stress or low potassium
Fix: Add wood ash + provide evening shade
Slow Growth?
Cause: Poor soil mix
Fix: Add compost + loosen soil
🌱 Final Thoughts: Growing Chillies at Home Is Simple and Rewarding
Chilli cultivation at home in pots is one of the easiest gardening projects. With just a container, some sunlight, and basic care, you can enjoy fresh organic chillies straight from your own garden for months.
Homegrown chillies are:
✔ More flavorful
✔ More nutritious
✔ Chemical-free
✔ Always fresh
✔ Cost-effective
Whether you’re gardening on a balcony, terrace, or in your kitchen, chilli plants will fit in beautifully and reward you with continuous harvests.