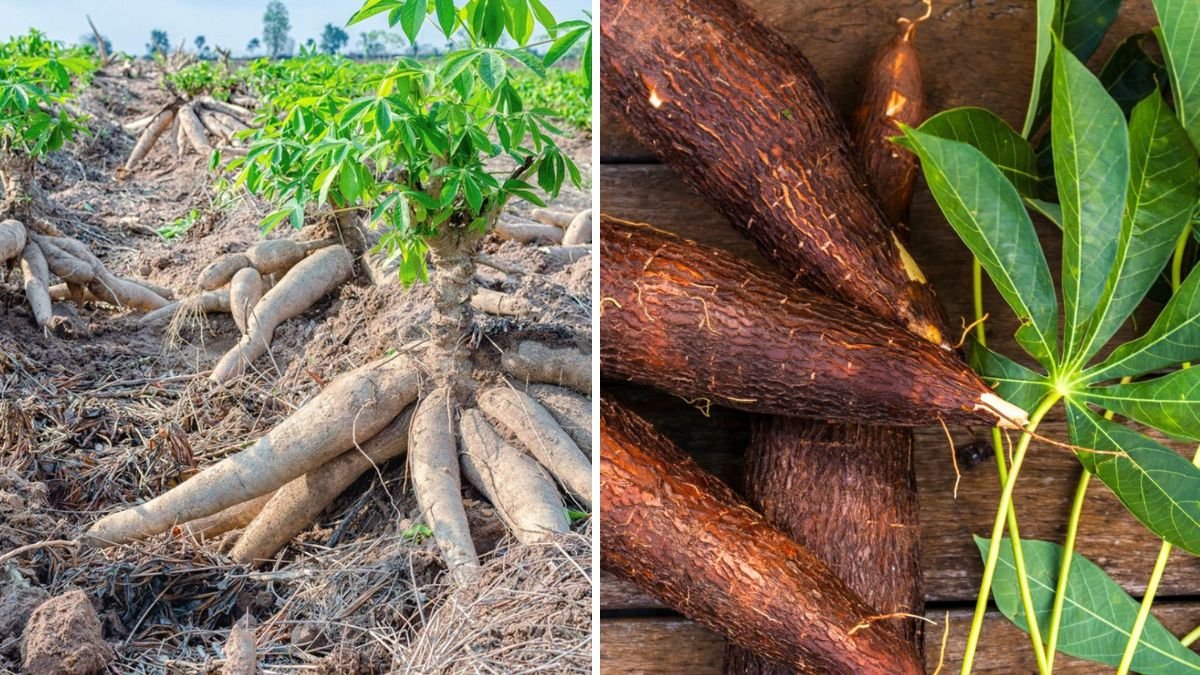

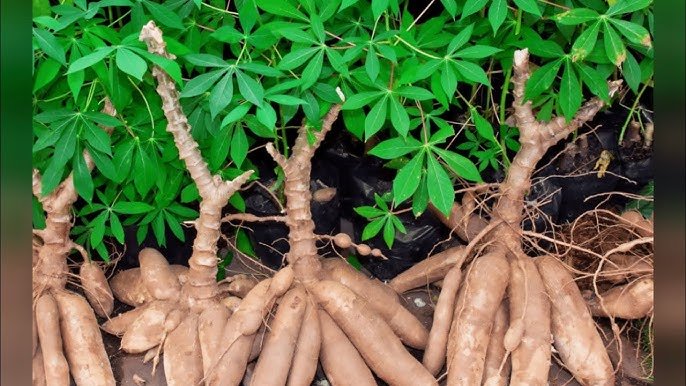
Cassava, also known as manioc or yuca, is a vital root crop widely cultivated in tropical and subtropical regions. Rich in carbohydrates and highly versatile, cassava is used for food, animal feed, and industrial purposes. However, successful cassava cultivation requires proper care to ensure healthy roots, abundant yields, and disease-free plants.
In this guide, we’ll explore step-by-step techniques for planting, nurturing, and maintaining cassava, from selecting the right varieties to harvesting and storage. Whether you are a small-scale gardener or a commercial farmer, understanding cassava care is key to maximizing productivity.
Step 1: Choosing the Right Cassava Variety
Selecting the right cassava variety is crucial for growth, disease resistance, and yield.
Popular Cassava Varieties
- TMS 30572: High-yielding and disease-resistant
- TME 419: Resistant to cassava mosaic disease
- Local Varieties: Adapted to specific climates and soils
Tips
- Choose varieties based on climate, soil type, and intended use (food, starch, or processing).
- Use certified disease-free planting materials to prevent early infestations.
Step 2: Preparing the Planting Site
Cassava thrives in well-drained, loose soil with moderate fertility.
Site Selection
- Avoid areas prone to waterlogging.
- Choose sites with full sun exposure (at least 6 hours daily).
- Ensure enough space for root expansion.
Soil Preparation
- Clear the land of weeds and debris.
- Plow or dig the soil to loosen it to a depth of 12–15 inches.
- Incorporate organic matter like compost or well-rotted manure to improve fertility.
- Test soil pH: cassava grows best in slightly acidic to neutral soils (pH 5.5–7.0).
Tip: Raised beds can improve drainage and root formation in heavy soils.
Step 3: Selecting and Preparing Cassava Cuttings
Cassava is propagated using stem cuttings, not seeds.
Choosing Cuttings
- Select healthy, mature stems from 8–12 months old plants.
- Cuttings should be 20–30 cm long with at least 5–7 nodes.
- Avoid diseased or weak stems.
Preparation
- Trim leaves and thin branches from the cutting.
- Cut at an angle to promote root development.
- Optional: Dip the cut end in a rooting hormone to enhance growth.
Tip: Store cuttings in a shaded, ventilated area before planting to prevent drying.
Step 4: Planting Cassava
Cassava can be planted in rows or mounds depending on soil conditions.
Planting in Rows
- Space cuttings 1 meter apart in rows with 1 meter between rows.
- Plant cuttings at a 45° angle or vertically, burying 2–3 nodes in the soil.
Planting in Mounds
- Form mounds 30–40 cm high with loose soil.
- Insert cuttings into the mound, ensuring 2–3 nodes are buried.
Tips
- Plant at the beginning of the rainy season to ensure sufficient moisture.
- Avoid planting too deep; shallow planting can stress the cutting.
Step 5: Watering and Irrigation
Cassava is drought-tolerant but performs best with regular moisture.
Watering Guidelines
- Water thoroughly immediately after planting.
- Maintain soil moisture during dry periods, especially in the first 3 months.
- Avoid waterlogging, which can rot roots.
Tip: Mulching around the base helps retain soil moisture and regulate temperature.
Step 6: Fertilizing Cassava
Proper nutrition ensures healthy foliage and tuber development.
Fertilizer Recommendations
- Apply balanced NPK fertilizer (10-10-10) after 6–8 weeks.
- Top-dress with compost or organic manure at 3–4 months.
- Avoid excessive nitrogen, which promotes leaf growth at the expense of roots.
Tip: Foliar feeding with micronutrients like magnesium, zinc, or boron can improve overall plant health.
Step 7: Weeding and Mulching
Cassava requires minimal maintenance, but controlling weeds is essential.
Weeding
- Weed 2–3 times during the first 3 months.
- Use hand hoes or manual tools to avoid damaging roots.
Mulching
- Apply organic mulch like straw, dried leaves, or grass.
- Benefits: conserves soil moisture, suppresses weeds, and improves soil fertility as it decomposes.
Tip: Mulching also protects roots from sun exposure and temperature fluctuations.
Step 8: Pruning and Plant Training
Pruning cassava is optional but can improve air circulation and reduce pests.
Pruning Guidelines
- Remove damaged or diseased stems promptly.
- Cut off excess branches to reduce shading of lower leaves.
- Avoid heavy pruning; cassava relies on leaves for photosynthesis.
Tip: Pruning helps prevent cassava mosaic virus spread by improving airflow.
Step 9: Pest and Disease Management
Cassava is susceptible to certain pests and diseases, which can reduce yield if unmanaged.
Common Pests
- Cassava mealybug
- Whiteflies
- Grasshoppers
Control Measures
- Encourage natural predators like ladybugs and lacewings.
- Spray neem oil or insecticidal soap.
- Remove and destroy affected leaves or stems.
Common Diseases
- Cassava mosaic virus (CMV)
- Cassava bacterial blight
- Root rot
Prevention Tips
- Use disease-free cuttings.
- Practice crop rotation to reduce soil-borne pathogens.
- Maintain proper spacing for airflow and reduce humidity.
Step 10: Monitoring Growth
Healthy cassava plants are characterized by:
- Vigorous green foliage
- Straight, strong stems
- Consistent growth without yellowing or wilting
Regular Checks
- Inspect leaves weekly for pests or disease symptoms.
- Check soil moisture to avoid drought stress or waterlogging.
- Support weak stems if necessary.
Tip: Early detection of issues ensures better recovery and higher yield.
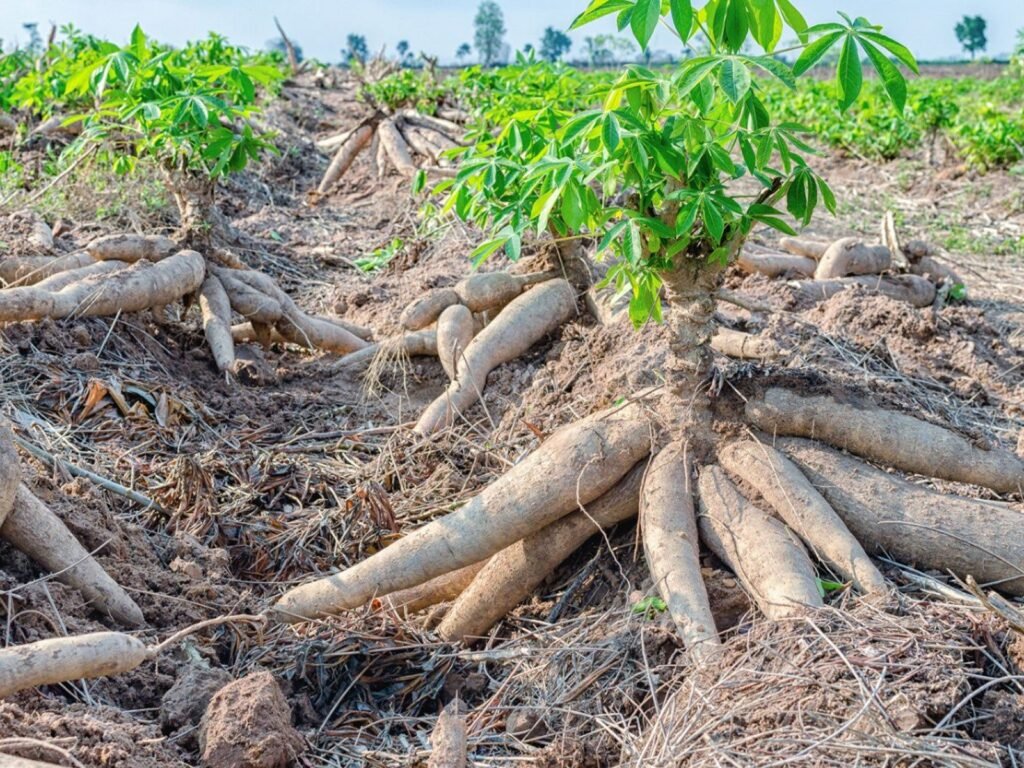
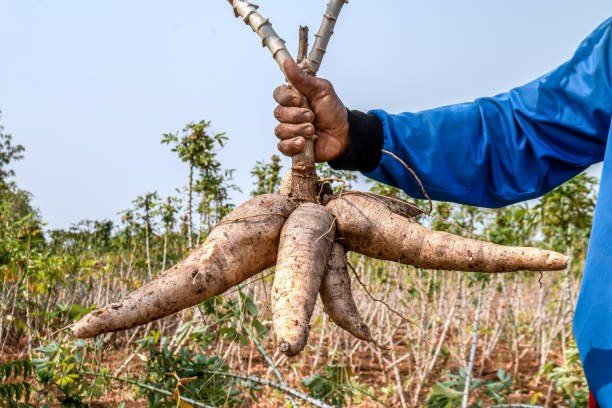
Step 11: Harvesting Cassava
Cassava roots take 8–12 months to mature, depending on variety and climate.
Harvesting Guidelines
- Check roots after 8 months for mature size and firm texture.
- Carefully dig around the base to avoid cutting tubers.
- Harvest selectively; mature roots first, leaving younger ones to grow.
Post-Harvest Tips
- Cure roots in a shaded, ventilated area for a few days.
- Avoid prolonged storage in wet conditions to prevent rot.
- Process quickly if intended for flour or starch production.
Step 12: Benefits of Proper Cassava Care
- Higher Yields: Healthy care practices increase root size and number.
- Disease Resistance: Timely pest and disease management prevents losses.
- Better Quality Roots: Proper soil, water, and fertilization improve taste and starch content.
- Sustainable Growth: Mulching and organic amendments maintain soil fertility.
- Economic Value: Healthy cassava is suitable for food, animal feed, and industrial use.
Step 13: Tips for Year-Round Cassava Cultivation
- Rotate cassava with legumes or cereals to maintain soil health.
- Use intercropping with maize, beans, or peppers for efficient space use.
- Propagate from healthy stems to ensure continuous planting.
- Monitor local climate conditions for optimal planting windows.
- Reapply organic manure or compost after each harvest to replenish nutrients.
Conclusion: Caring for Cassava for Maximum Productivity
Caring for cassava involves thoughtful planning, attention, and consistency. From selecting the right variety and preparing fertile, well-draining soil to planting cuttings, watering, fertilization, pruning, and pest management, every step contributes to the health and productivity of the crop. Proper care not only ensures abundant, high-quality roots but also reduces losses due to pests, diseases, or poor soil conditions.
Whether you are a home gardener seeking nutritious roots or a commercial farmer aiming for profitable yields, mastering cassava care is essential. With patience, consistent monitoring, and sustainable practices, you can cultivate robust cassava plants that provide a reliable, versatile, and valuable harvest season after season.