

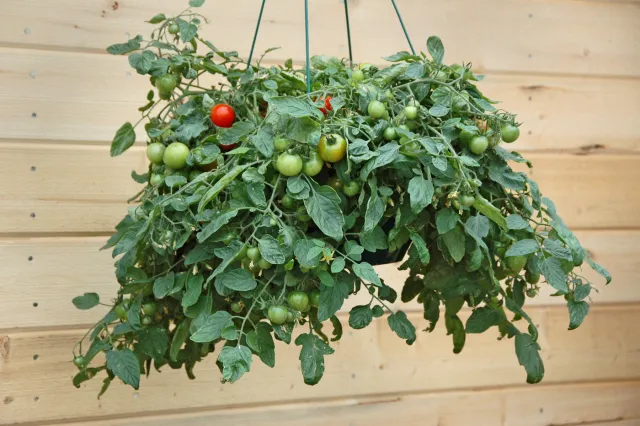
Tomatoes are among the most beloved vegetables to grow at home. Bursting with flavor, nutrition, and versatility, they are staples in salads, sauces, soups, and countless recipes. But for many home gardeners, traditional tomato cultivation poses challenges: limited garden space, sprawling vines, soil-borne diseases, pests, and difficulty harvesting. That’s why I decided to try something different—I created a hanging tomato garden.
This approach not only transformed my small balcony into a lush tomato paradise but also simplified care, improved air circulation, and allowed me to grow more tomatoes in less space. In this article, I’ll share the step-by-step guide on how I built my hanging tomato garden, the benefits, maintenance tips, and what I learned along the way.
Why a Hanging Tomato Garden?
Growing tomatoes vertically offers numerous advantages over traditional ground-based planting:
✔ Space-Saving
Hanging planters free up valuable floor space, perfect for balconies, terraces, and small yards.
✔ Improved Airflow
Suspending plants increases air circulation, reducing the risk of fungal diseases like blight and mildew.
✔ Pest Control
Fruits hang away from soil, limiting damage from slugs, snails, and other ground pests.
✔ Ease of Harvesting
Tomatoes grow downward and are easier to pick without bending or disturbing the plant.
✔ Cleaner, Healthier Fruits
Hanging tomatoes remain clean and dry, preventing soil-related rot.
✔ Aesthetic Appeal
A hanging tomato garden adds greenery and vibrancy to any space, turning it into a mini urban garden.
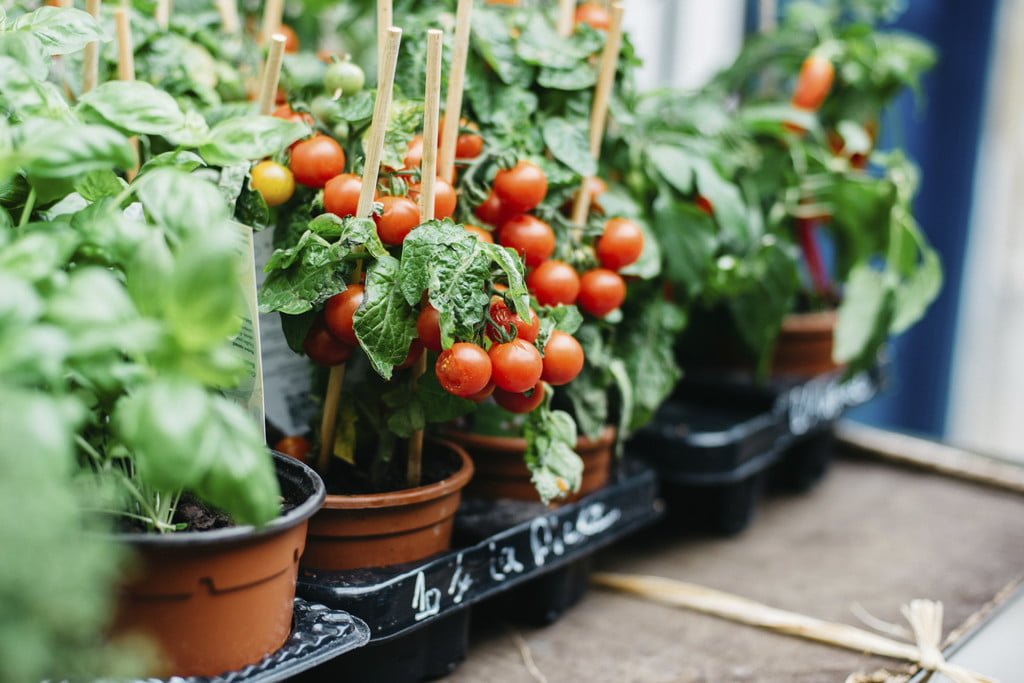
Step 1: Choosing the Right Tomato Varieties
Not all tomato varieties thrive in hanging planters. I selected varieties based on their size, weight, and growth habit.
Best Varieties for Hanging Gardens
- Cherry Tomatoes: Tiny, lightweight, and prolific. Perfect for vertical growth.
- Grape Tomatoes: Compact, heavy-yielding, and easy to harvest.
- Patio Tomatoes: Dwarf varieties with sturdy stems suitable for containers.
- Avoid Large Beefsteak Tomatoes: Too heavy and prone to breaking stems in hanging setups.
Choosing lightweight, indeterminate (trailing) varieties ensures maximum productivity without damaging the planters.
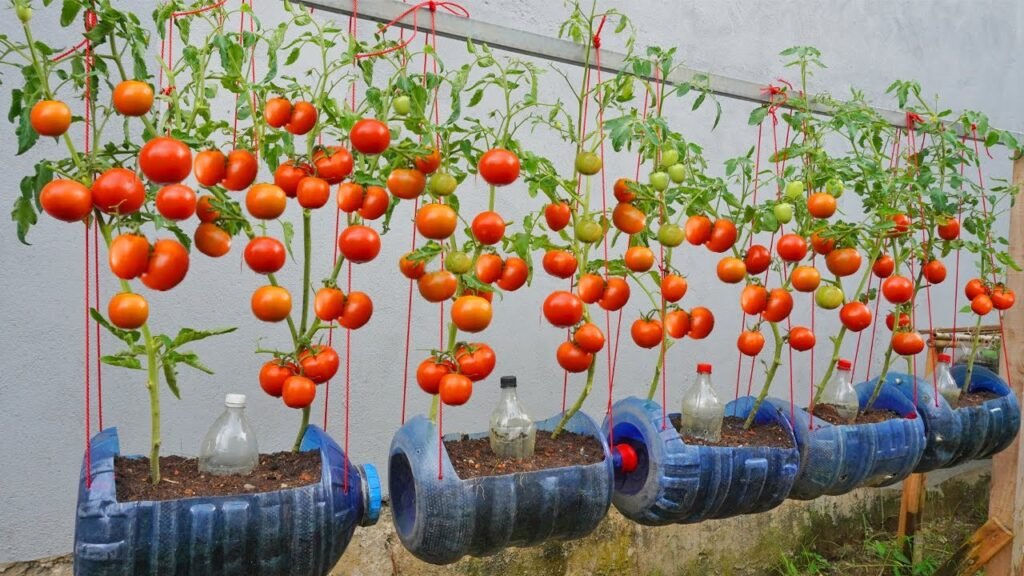
Step 2: Selecting Hanging Containers
The right container is crucial for a successful hanging tomato garden.
Container Options
- Commercial hanging pots with built-in drainage
- Recycled plastic buckets or baskets
- DIY fabric or cloth grow bags
Container Features
- Adequate Depth: At least 12 inches (30 cm) for root growth
- Good Drainage: Essential to prevent waterlogging
- Durability: Strong enough to support soil, water, and growing plants
- Lightweight: Easier to hang and move
I personally used sturdy plastic hanging pots with built-in handles, as they balance durability and portability.
Step 3: Preparing the Soil
Tomatoes are nutrient-hungry, and container-grown plants rely entirely on the soil in their pots.
My Soil Mix
- 40% garden soil
- 40% compost or well-rotted manure
- 20% cocopeat or perlite for drainage
Optional Additions
- Slow-release fertilizer (NPK 10-10-10) for ongoing nutrition
- Bone meal for strong root and flower development
- Neem cake to prevent pests
A rich, well-draining soil mix is essential for robust growth and abundant fruiting.
Step 4: Planting Tomatoes in Hanging Pots
Steps
- Fill the hanging pot with soil, leaving 2–3 inches (5–7 cm) at the top.
- Gently remove the tomato seedling from its nursery pot.
- Dig a small hole and place the plant in, covering the roots completely.
- Press the soil gently around the plant to eliminate air pockets.
- Water thoroughly to help the plant settle.
Tip: Ensure the plant is centered so it hangs evenly, preventing soil spillage when watering.
Step 5: Choosing the Perfect Location
Hanging tomatoes need plenty of sunlight for growth.
Sunlight Requirements
- 6–8 hours of direct sunlight daily
- Indirect sunlight in the hottest months to prevent leaf scorch
I hung my pots near the balcony railing, where they receive morning sun and partial afternoon shade. Rotating pots occasionally ensures even growth on all sides.
Step 6: Watering Hanging Tomato Plants
Watering is critical because hanging containers dry faster than ground beds.
Watering Tips
- Water daily during hot months; 2–3 times weekly in cooler months
- Ensure water reaches all roots and drains from the bottom
- Use a drip irrigation system or watering can with a long spout for precision
- Mulch the soil surface to retain moisture
Tip: Check moisture regularly by sticking your finger 2 inches into the soil. If it’s dry, it’s time to water.
Step 7: Fertilizing for Maximum Yield
Container-grown tomatoes benefit from regular feeding because nutrients leach out during watering.
Fertilizer Guidelines
- Use a liquid fertilizer every 2–3 weeks
- Balanced NPK (10-10-10) works well during vegetative growth
- Boost potassium and phosphorus when flowering begins to encourage fruiting
- Organic options: compost tea, seaweed extract, fish emulsion
Note: Avoid excessive nitrogen, which promotes leaf growth at the expense of flowers and fruits.
Step 8: Pruning and Training Hanging Tomatoes
Pruning encourages air circulation, stronger stems, and higher yields.
Pruning Tips
- Remove lower leaves touching the soil to prevent disease
- Pinch off small side shoots (suckers) in indeterminate varieties
- Trim yellow or damaged leaves regularly
- Use soft ties or twine to guide the main stem if necessary
Training the plants to grow downward ensures healthy fruit development and reduces stress on the plant.
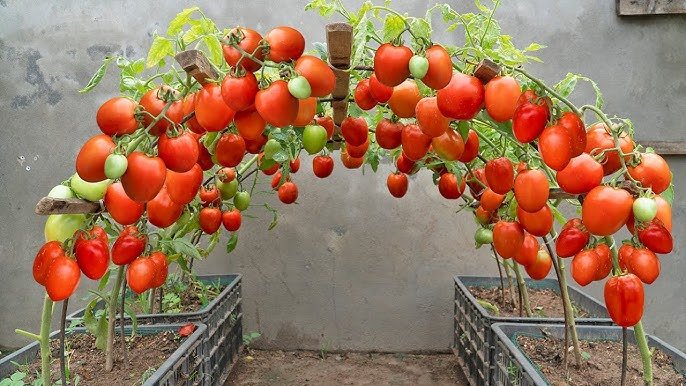
Step 9: Supporting Fruits
Even hanging tomatoes may need extra support to prevent stems from snapping under the weight of fruit.
Tips
- Use soft cloth ties or netting to secure fruit clusters
- Ensure stems are not bent sharply to prevent damage
- Cherry and grape tomatoes usually need minimal support due to their lightweight fruits
Step 10: Pest and Disease Management
Hanging tomatoes are less susceptible to soil-borne pests, but regular monitoring is important.
Common Pests
- Aphids
- Whiteflies
- Spider mites
Prevention & Treatment
- Spray neem oil or insecticidal soap weekly
- Introduce beneficial insects like ladybugs
- Remove affected leaves promptly
Diseases
- Powdery mildew
- Leaf spot
Tip: Adequate spacing and airflow reduce fungal infections.
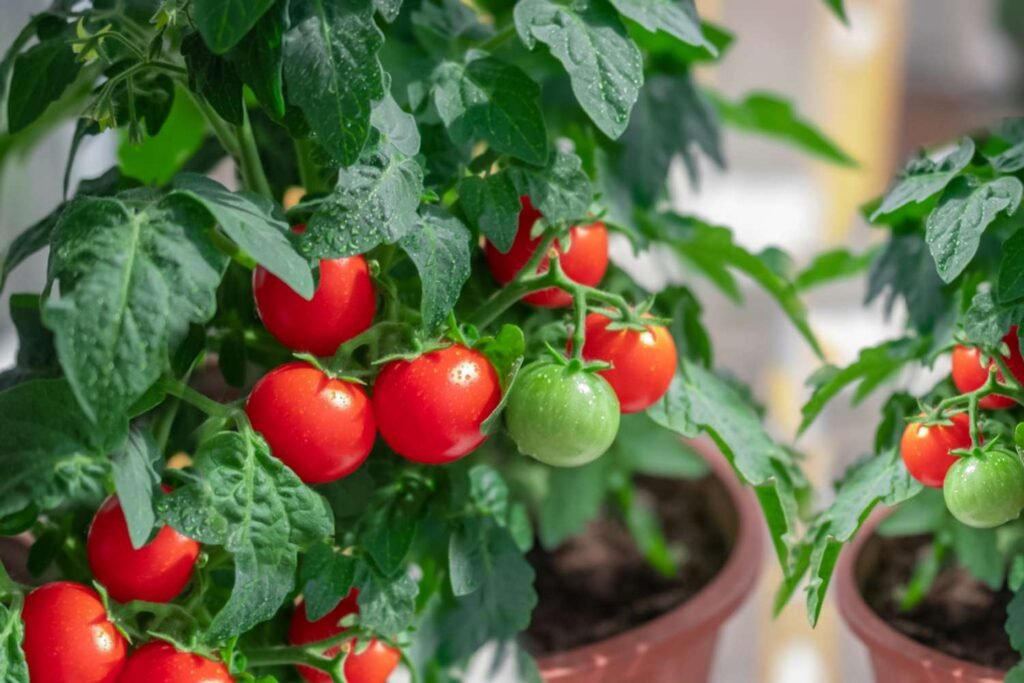
Step 11: Harvesting Hanging Tomatoes
Harvesting is easy and rewarding in a hanging garden.
Tips
- Pick fruits when fully colored and firm
- Gently twist or cut clusters to avoid damaging stems
- Regular harvesting encourages continuous fruiting
Cherry and grape tomatoes often produce fruits every week once mature, giving a steady supply.
Step 12: Benefits of a Hanging Tomato Garden
- Maximized Space: Grow more plants in small areas
- Healthier Plants: Reduced pests and diseases
- Easier Maintenance: Watering, pruning, and harvesting become simple
- Continuous Harvest: Indeterminate varieties produce throughout the season
- Aesthetic Appeal: Adds greenery and beauty to urban spaces
Conclusion: Transform Your Space with a Hanging Tomato Garden
Creating a hanging tomato garden was a game-changer for my gardening experience. By utilizing vertical space, I was able to grow abundant, healthy tomatoes with minimal effort, all while keeping my balcony green and lively. From selecting the right variety and containers to proper watering, fertilizing, pruning, and pest management, every step contributed to a thriving, productive garden.
Whether you have limited outdoor space or want an innovative way to grow tomatoes, a hanging tomato garden is a practical, rewarding, and beautiful solution. With patience, care, and regular harvesting, you can enjoy fresh, juicy tomatoes right at your fingertips—making every meal tastier and every garden moment more satisfying.