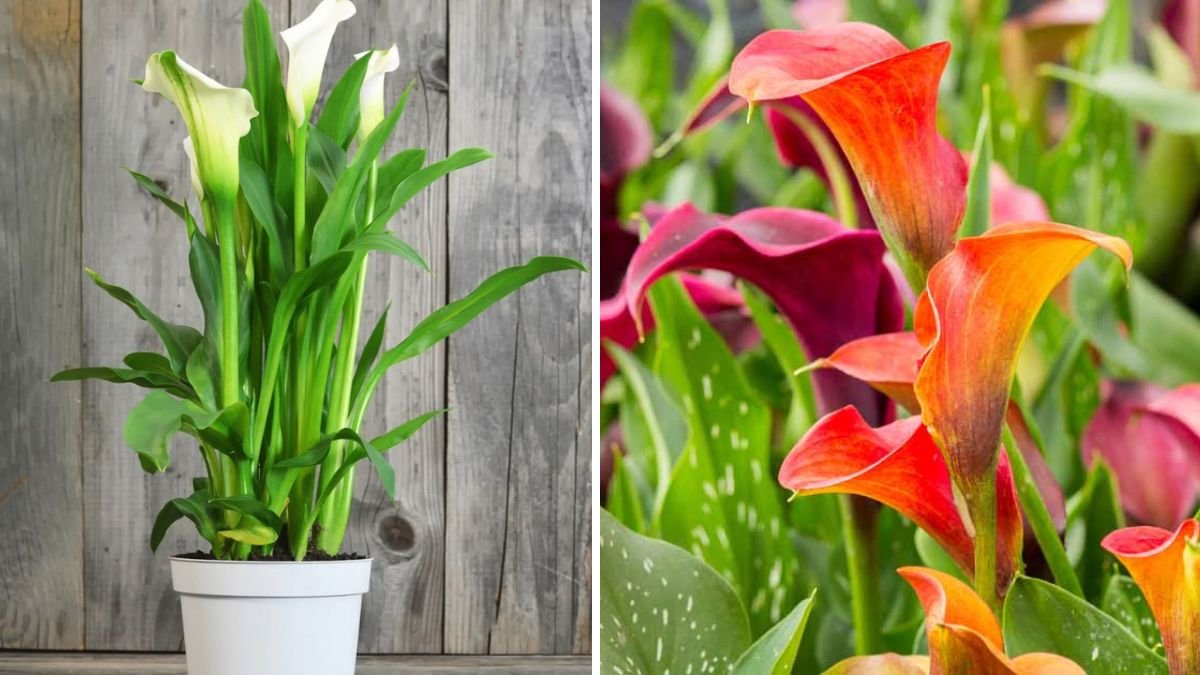

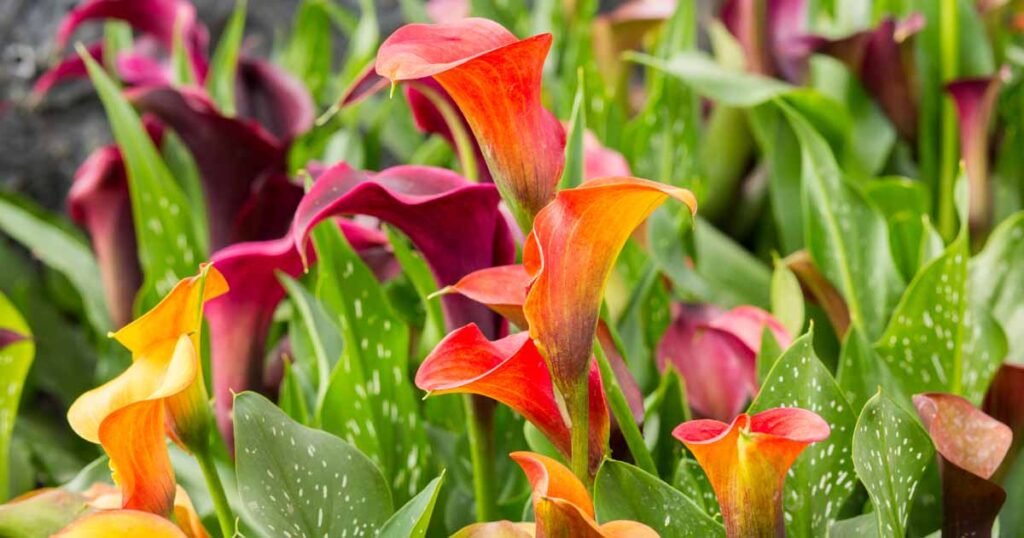
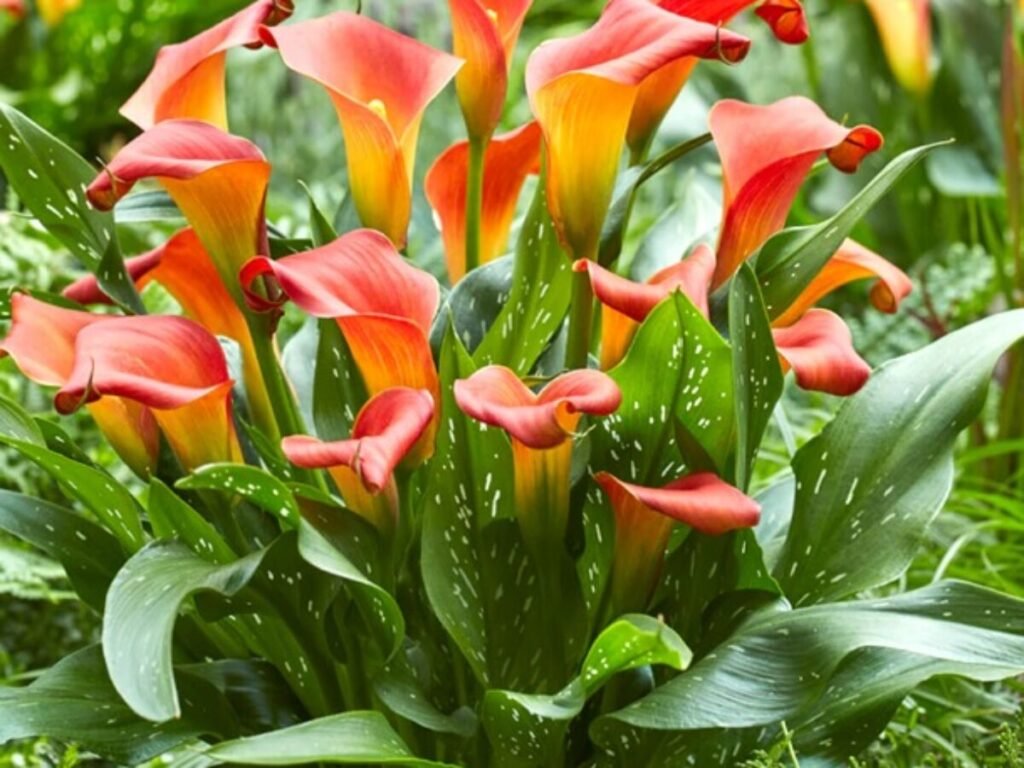
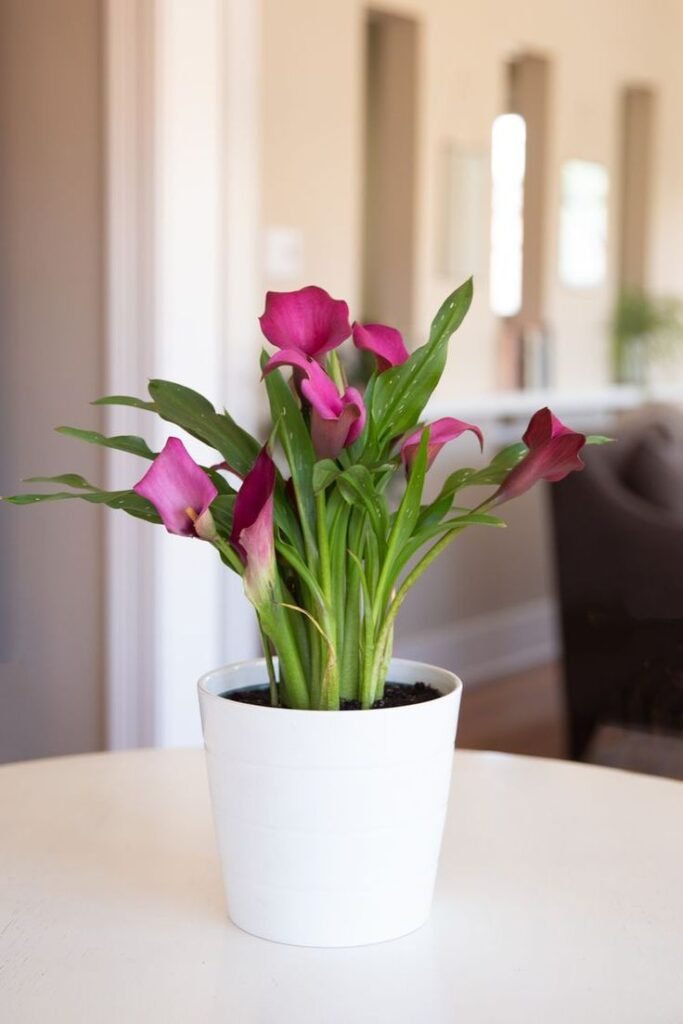
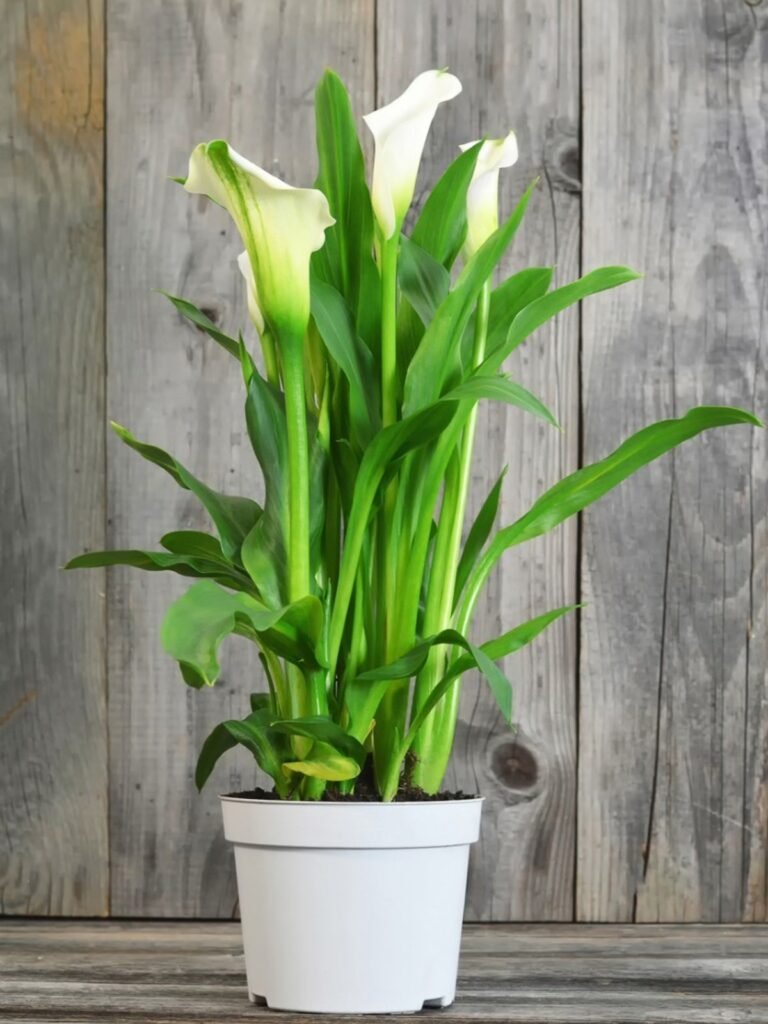
Calla lilies are one of the most elegant and striking flowers you can grow at home. Known for their trumpet-shaped blooms and vibrant colors ranging from classic white to deep purple, these flowers add a touch of sophistication to gardens, patios, and even indoor spaces. Beyond their beauty, calla lilies are also fascinating botanically, with unique pollination mechanisms that gardeners can use to propagate and breed new varieties.
In this guide, we’ll cover how to plant calla lilies successfully, care tips for thriving plants, and the secrets of calla lily pollination—everything you need to grow healthy, show-stopping flowers.
🌿 Why Calla Lilies Are Special

Calla lilies (Zantedeschia spp.) are not only visually stunning but also highly versatile:
- Indoor and outdoor growth: Perfect for containers, garden beds, and water features.
- Long-lasting blooms: Flowers last for weeks when properly cared for.
- Air purification: Like many flowering plants, calla lilies help improve indoor air quality.
- Propagation potential: Understanding pollination allows gardeners to breed unique hybrids.
Whether you’re a beginner gardener or an experienced enthusiast, calla lilies are rewarding plants that combine beauty and botanical intrigue.
🌱 Step 1: Choosing the Right Bulbs
Calla lilies grow from rhizomes or bulbs, which store nutrients for healthy growth. When selecting bulbs:
- Choose firm, healthy bulbs without signs of mold or damage.
- For early blooms, select larger bulbs—they produce bigger flowers faster.
- Store bulbs in a cool, dry place until planting.
💡 Pro Tip: Plant bulbs shortly after purchase for best results, as prolonged storage can reduce vitality.
🌿 Step 2: Preparing the Soil
Calla lilies thrive in well-draining, nutrient-rich soil. Here’s how to prepare the perfect planting medium:
- Use garden soil mixed with compost to provide nutrients.
- Ensure the soil is slightly acidic to neutral (pH 6–7).
- For containers, use a high-quality potting mix with added perlite for drainage.
💡 Secret: Poor drainage can lead to root rot, which is the most common problem in calla lily cultivation.
🌱 Step 3: Planting the Bulbs
Calla lilies should be planted at the correct depth for optimal growth:
- Plant bulbs 10–15 cm deep in the soil.
- Space bulbs 20–30 cm apart to allow for airflow and leaf growth.
- Position bulbs with the pointed end upward, as this is where shoots will emerge.
- Water lightly after planting to help settle the soil.
💡 Tip: Planting in early spring allows the lilies to establish roots before flowering season.
🌿 Step 4: Light and Temperature Requirements
Calla lilies need the right conditions to flourish:
- Sunlight: Full sun to partial shade. In hot climates, provide afternoon shade to prevent leaf burn.
- Temperature: Ideal growth occurs at 18–25°C (65–77°F). Protect bulbs from frost in colder regions.
💡 Secret: Calla lilies can tolerate indoor conditions if placed near a bright window with indirect sunlight.
🌱 Step 5: Watering and Fertilization
Watering and feeding are critical for strong growth and vibrant blooms:
- Watering: Keep the soil consistently moist but not waterlogged. Reduce watering slightly after flowering.
- Fertilization: Use a balanced liquid fertilizer every 2–3 weeks during the growing season.
- Tip: Fertilizer high in phosphorus promotes strong blooms, while nitrogen encourages leafy growth.
💡 Secret: Avoid letting the soil dry completely, as this can stunt flowering.
🌿 Step 6: Mulching and Maintenance
Mulching helps retain moisture, suppress weeds, and protect roots:
- Apply a layer of organic mulch around the base of the plants.
- Remove dead leaves and spent flowers to encourage new blooms.
- Keep an eye out for pests like aphids or snails, which can damage foliage and flowers.
💡 Secret: Regular maintenance encourages healthy growth and increases the chances of pollination success.
🌱 Step 7: Understanding Calla Lily Pollination
Pollination is key if you want to produce seeds or breed new varieties:
- Calla lilies have male (stamens) and female (pistil) parts within the same flower.
- Pollination occurs when pollen from the male parts reaches the female stigma.
- In nature, insects like bees assist in this process.
💡 Pro Tip: For home gardeners, hand pollination ensures better seed set and allows control over hybridization.
Hand Pollination Steps
- Wait for the flower to fully open.
- Use a small brush or cotton swab to collect pollen from the male spadix.
- Gently transfer the pollen to the female stigma.
- Label your flowers if experimenting with hybrids for record-keeping.
💡 Secret: Early morning is the best time for hand pollination, as flowers are freshest and pollen is most viable.
🌿 Step 8: Seed Development and Germination
After successful pollination:
- The flower develops seeds inside the spadix or seed pod.
- Seeds are ready for harvest when the pod turns dry and brown.
- Sow seeds in a moist, sterile seed-starting mix and cover lightly.
- Keep the soil consistently moist and maintain warm, indirect light.
💡 Patience is required: Calla lily seeds can take several weeks to germinate, and flowering may take 1–2 years from seed.
🌱 Step 9: Propagation by Division (Alternative to Seeds)
For faster results, you can propagate calla lilies by dividing rhizomes:
- Dig up mature bulbs after the growing season.
- Separate smaller offsets from the main rhizome.
- Replant them in prepared soil at the same depth as original bulbs.
- Water lightly and wait for new shoots to emerge.
💡 Pro Tip: Division is faster and ensures genetically identical plants, while seeds allow hybrid experimentation.
🌿 Step 10: Common Problems and Solutions
- Yellowing leaves: Often due to overwatering or nutrient deficiency. Reduce water and apply fertilizer.
- Root rot: Caused by waterlogged soil; ensure proper drainage.
- Pests: Aphids, spider mites, and snails can be controlled with neem oil or manual removal.
- Poor flowering: Ensure bulbs are mature, provide adequate light, and avoid excessive nitrogen fertilizer.
🌱 Step 11: Display and Styling Ideas
Calla lilies are versatile and can elevate any space:
- Garden borders: Perfect for defining paths or flower beds.
- Containers: Ideal for patios, balconies, or indoor bright spots.
- Mixed arrangements: Combine different colors for a striking visual effect.
- Cut flowers: Long-lasting blooms make beautiful bouquets for home decor.
💡 Secret: Calla lilies pair beautifully with ferns, hostas, and other lush greenery for an elegant garden design.
🌿 Final Thoughts
Calla lilies are a stunning addition to any home garden, combining elegance, low maintenance, and the fascinating process of pollination. By following these steps—from selecting bulbs and preparing soil to hand pollination and seed propagation—you can enjoy vibrant, healthy blooms year after year.
Whether you’re growing for beauty, experimenting with hybridization, or simply enjoying the joy of gardening, calla lilies offer endless possibilities. With patience, care, and a touch of botanical curiosity, your home can be filled with these magnificent flowers that are sure to impress everyone.