
Garlic is one of the most popular kitchen staples, loved not only for its flavor but also for its health benefits. Many people assume that to grow garlic, you need a full, healthy bulb from the store or garden. But here’s the secret: you don’t need a whole garlic bulb to grow garlic!
With a few simple techniques, even a single clove—or sometimes just part of a clove—can grow into a thriving garlic plant. This guide explores advanced methods, compares growing techniques, and helps you maximize your garlic harvest at home. Whether you have limited space or want to grow garlic efficiently, this article is packed with tips you can start using today.
🌿 Why Garlic Is Easy and Rewarding to Grow
Garlic (Allium sativum) is incredibly hardy, low-maintenance, and adaptable. It can be grown in containers, raised beds, or traditional garden soil. Its benefits include:
- Fresh garlic on demand
- Cost-effective propagation
- Easy storage and long shelf life
- Natural pest deterrent in gardens
The best part? You can multiply garlic without buying new bulbs every season. Even a single clove is enough to start a mini-garlic farm.
🌱 The Myth: You Need a Whole Garlic Bulb
Most people think:
“I need a whole garlic bulb to plant garlic successfully.”
This is only partially true. In reality, one clove, or even part of a clove, can produce an entire bulb over time. Garlic is naturally designed to reproduce this way, making it perfect for home gardeners who want to grow more without extra cost.
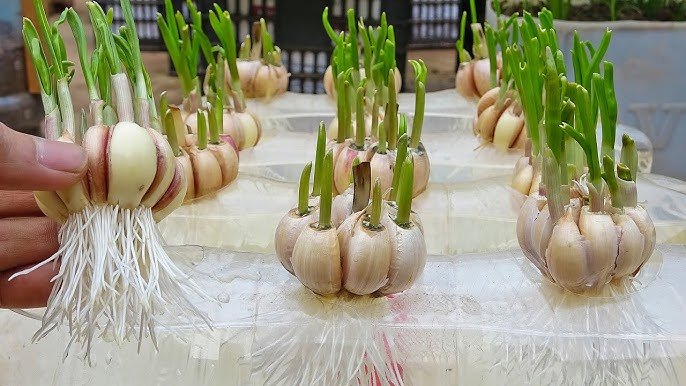
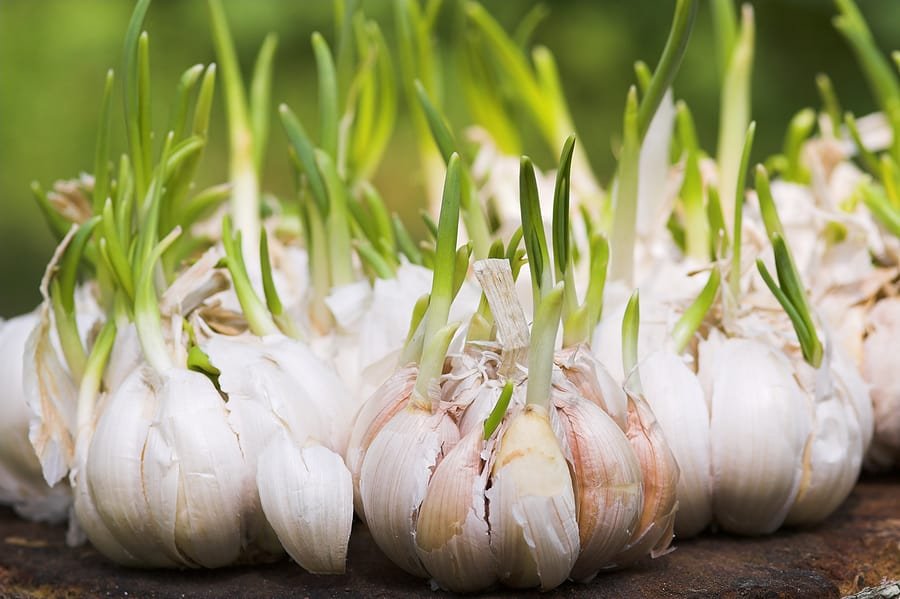
✔️ Step 1: Choosing the Right Garlic Clove
Not all garlic cloves are equal. When selecting a clove for planting:
- Choose healthy, firm cloves
- Avoid soft, shriveled, or damaged cloves
- Prefer cloves from larger bulbs—they often produce larger plants
💡 Advanced Tip:
You can even split a clove further if it has multiple sections inside, though the growth may be slower.
✔️ Step 2: Preparing the Garlic for Planting
Before planting:
- Separate the cloves carefully from the bulb. Do not remove the protective skin.
- Optional: Soak cloves in water for 2–3 hours to speed up root development.
- If using a small piece of a clove, ensure at least one part contains the base where roots emerge.
🌱 Step 3: Planting Methods
There are several advanced ways to grow garlic, each with pros and cons. Let’s compare them:
Method 1: Traditional Soil Planting
- Choose loose, fertile soil with good drainage.
- Plant cloves 2–3 cm deep, pointed end up.
- Space cloves 10–15 cm apart for larger bulbs.
- Water lightly but consistently until sprouts appear.
Pros: Strong, healthy bulbs
Cons: Slower to start if soil is cold or compacted
Method 2: Container Planting
Perfect for small spaces:
- Use a deep pot (20–25 cm minimum)
- Fill with a mix of garden soil, compost, and sand for drainage
- Plant cloves as above, water lightly
Pros: Ideal for balcony or indoor gardening
Cons: Smaller bulbs if container is too shallow
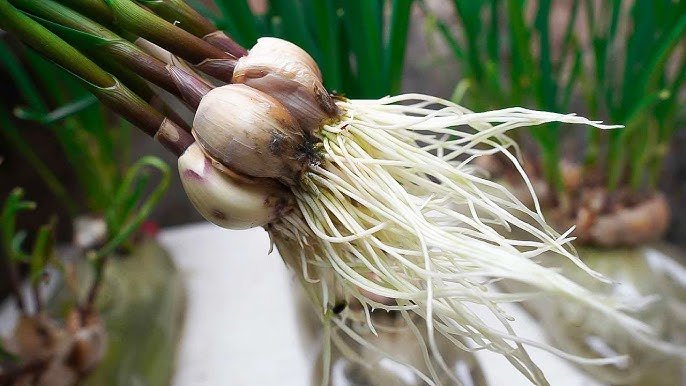
Method 3: Water Propagation (Advanced Experiment)
Yes, garlic can even grow in water initially:
- Place the basal end of the clove in water
- Keep in indirect sunlight
- Roots develop within 1–2 weeks
- Transfer to soil once roots are established
Pros: Fun experiment, visual growth progress
Cons: Bulbs won’t mature fully in water alone
🌿 Step 4: Advanced Care Tips
To maximize your garlic yield:
- Sunlight: Garlic prefers full sun (6–8 hours daily)
- Watering: Moderate watering—keep soil moist but not soggy
- Fertilization: Use organic compost or a light nitrogen-rich fertilizer once every 3–4 weeks
- Mulching: Helps retain moisture and prevent weeds
💡 Pro Tip: Avoid fertilizing too late in the season; this can reduce bulb quality.
🌱 Step 5: Comparison – Whole Garlic vs. Partial Clove
| Feature | Whole Bulb Planting | Single/Partial Clove Planting |
|---|---|---|
| Initial Investment | High | Low |
| Time to First Harvest | Faster | Slightly slower |
| Bulb Size | Often larger | Slightly smaller, but still robust |
| Multiplication Potential | Limited by bulbs | Can multiply indefinitely |
| Space Requirement | More | Flexible, small spaces possible |
Insight: Using partial cloves is ideal if you want to maximize garlic production without buying multiple bulbs. Over time, one clove can produce multiple bulbs, which can then be divided for future planting.
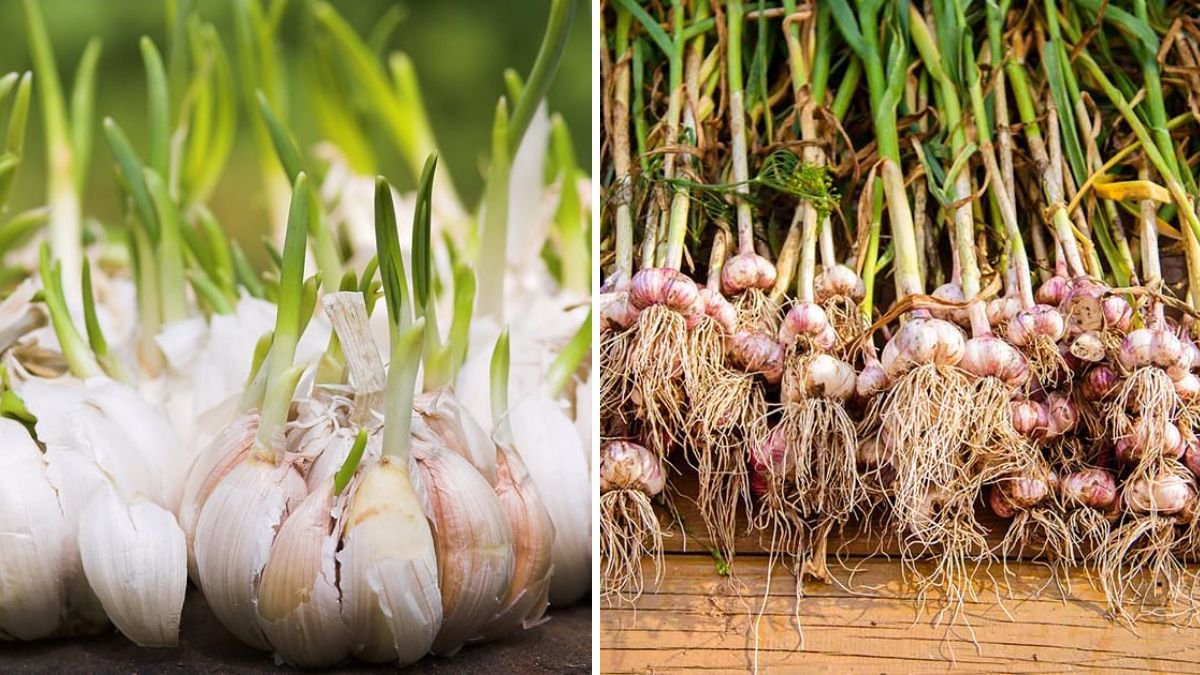
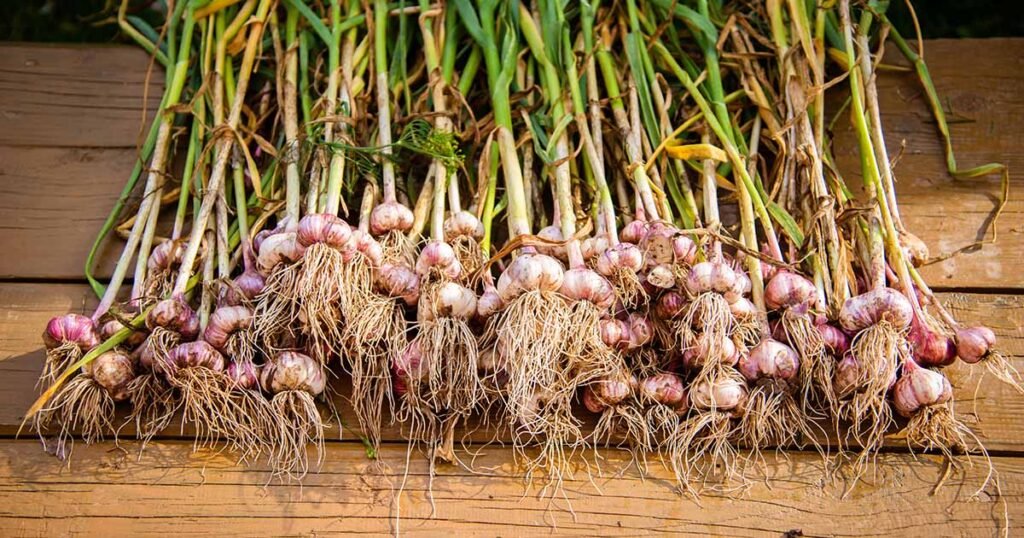
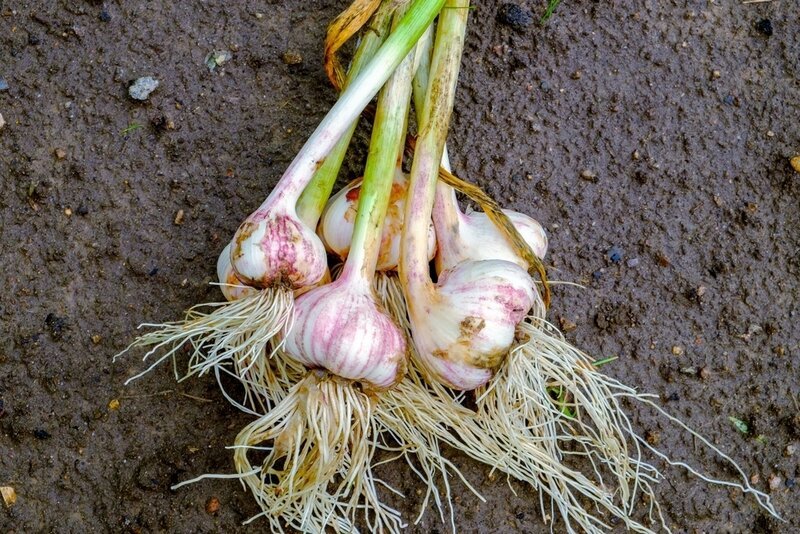
🌿 Step 6: Harvesting Garlic Successfully
Knowing when and how to harvest is key:
- Leaves will start yellowing 7–9 months after planting
- Gently lift bulbs using a fork
- Allow bulbs to cure in a dry, shaded area for 2–3 weeks
- Trim roots and remove outer skin before storage
💡 Pro Tip: Proper curing ensures longer shelf life and better flavor.
🌱 Step 7: Multiplying Garlic Every Season
Here’s how to never run out of garlic:
- Keep some bulbs aside after harvesting
- Break bulbs into cloves and repeat planting process
- Experiment with partial cloves to grow even more plants
This cycle allows infinite propagation, all from a single bulb or clove.
🌿 Common Problems & Solutions
- Sprouts not growing: Check soil drainage, ensure clove is healthy
- Mold on cloves: Plant cloves with intact skin, avoid soggy soil
- Small bulbs: Ensure enough sunlight, space, and nutrients
- Pests (onion flies, aphids): Use neem spray or companion planting with marigolds
🌱 Why This Method Works Wonders
- Garlic naturally multiplies from cloves
- Partial clove propagation reduces waste
- Advanced methods like water rooting or container planting allow year-round growth
- Perfect for beginners and advanced gardeners alike
By following these steps, you can grow garlic continuously at home without buying new bulbs every season.
🌿 Final Thoughts
You no longer need to buy or plant whole garlic bulbs. Even a single clove—or part of a clove—can grow into a thriving garlic plant. By using these advanced techniques and comparing methods, you can find the best way to grow garlic at home based on your space, resources, and gardening goals.
From soil beds to containers, water propagation to partial clove planting, garlic has never been easier to grow. Don’t waste any part of your garlic—use it to grow more plants, more harvests, and endless fresh garlic for your kitchen.
Start small, experiment with advanced methods, and watch your garlic garden multiply—all from something most people would throw away!