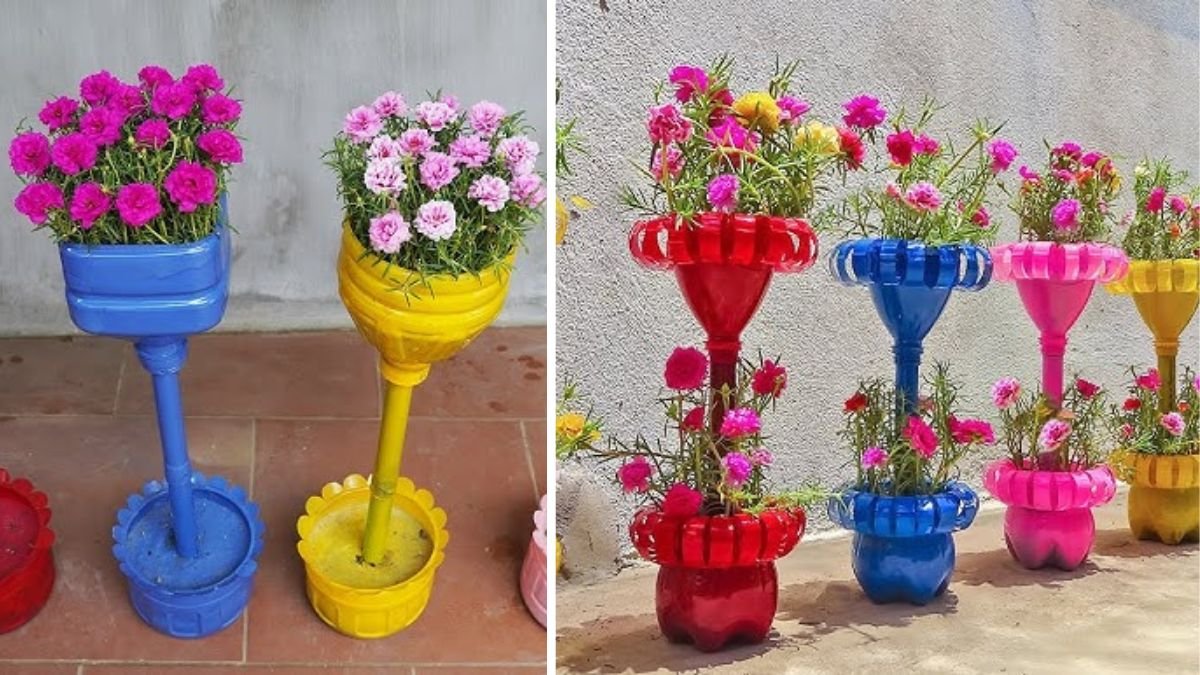
In an age where sustainability and creative home solutions go hand in hand, the idea of turning everyday waste into something useful is both practical and rewarding. One of the easiest and most visually appealing ways to repurpose plastic bottles is by creating a vertical garden. Not only does it help reduce plastic waste, but it also allows you to grow fresh herbs, vegetables, and ornamental plants—even in small spaces. Whether you live in an apartment, have a small balcony, or want to maximize your outdoor area, vertical gardens made from plastic bottles are a perfect solution.
This guide walks you step by step through designing, building, and maintaining a vertical garden from plastic bottles, helping you embrace sustainable living while adding greenery to your home.
Why Choose a Vertical Garden with Plastic Bottles?
Before diving into the DIY process, it’s important to understand why this method is effective and environmentally friendly.
Sustainability and Waste Reduction
Millions of plastic bottles end up in landfills and oceans every year. By repurposing them, you’re giving them a second life while reducing environmental waste.
Space Efficiency
Vertical gardens maximize vertical space, making them ideal for small apartments, patios, and urban areas. Instead of needing a large plot of land, you can grow multiple plants in a compact area.
Cost-Effective and Beginner-Friendly
All you need are used plastic bottles, simple tools, and some soil. This DIY project is affordable, easy to assemble, and perfect for beginners.
Aesthetic Appeal
With creativity, a vertical bottle garden can transform a blank wall into a vibrant green feature. You can customize colors, plant arrangements, and even the layout to suit your style.
Materials Needed
Creating a vertical garden from plastic bottles is simple, and most materials are easy to find:
- Empty plastic bottles (1–2 liters work best)
- Scissors or a craft knife
- A nail or screwdriver for drainage holes
- Rope, string, or wire for hanging bottles
- Hooks, wall mounts, or wooden pallets for support
- Soil or potting mix
- Plants or seeds
- Optional: paint, decorative tape, or labels for personalization
Preparing the Plastic Bottles
The first step is to prepare your bottles for planting.
Step 1: Cleaning
- Wash bottles thoroughly to remove any residue.
- Remove labels if desired for a cleaner look.
Step 2: Cutting
- Cut an opening on the side of the bottle large enough to plant your herbs or vegetables.
- For some designs, you may cut bottles in half horizontally or at an angle.
Step 3: Drainage
- Use a nail, screwdriver, or small knife to create drainage holes at the bottom.
- Proper drainage prevents waterlogging and promotes healthy root growth.
Step 4: Decoration (Optional)
- Paint bottles or wrap them with jute or fabric for a decorative touch.
- Use non-toxic paints if you are growing edible plants.
Choosing the Right Plants
Not all plants thrive in bottle gardens, so selecting the right ones is important.
Ideal Plants for Vertical Bottle Gardens
- Herbs: Basil, mint, parsley, cilantro, thyme
- Leafy greens: Lettuce, spinach, arugula
- Small vegetables: Cherry tomatoes, chili peppers, radishes
- Ornamentals: Pothos, ivy, succulents, small flowering plants
Choose plants with compact root systems for smaller bottles. For larger bottles, you can experiment with fruiting plants like strawberries.
Designing Your Vertical Layout
Your vertical garden design will depend on the available space and your creativity.
Wall-Mounted Design
- Attach hooks or nails to the wall.
- Use rope or wire to suspend bottles in a row or staggered pattern.
- Arrange plants according to sunlight needs (sun-loving plants at the top).
Pallet or Frame Design
- Use a wooden pallet or frame as a support structure.
- Attach bottles horizontally or vertically using string or hooks.
- This setup is great for a freestanding garden that can be moved if needed.
Hanging Tiered Design
- Stack bottles vertically with ropes connecting multiple levels.
- Ensure proper spacing to allow light to reach lower plants.
Planting Your Vertical Garden
Step 1: Add Soil
- Fill each bottle with potting soil or a mix of compost and soil.
- Leave enough space at the top for the plant to grow.
Step 2: Planting
- Sow seeds or plant seedlings according to instructions.
- Gently press the soil around the roots.
Step 3: Watering
- Water the soil lightly to settle the roots.
- Because vertical gardens can dry quickly, check soil moisture daily and water as needed.
Maintaining Your Vertical Garden
Maintenance is key to keeping your vertical garden healthy and productive.
Watering
- Vertical gardens tend to dry out faster than ground-level gardens.
- Consider a drip irrigation system or self-watering bottles for convenience.
Fertilizing
- Use organic liquid fertilizers or compost tea every 2–3 weeks to replenish nutrients.
- Slow-release fertilizers in soil can also be effective.
Pruning and Harvesting
- Trim overgrown leaves to maintain airflow.
- Regularly harvest herbs and vegetables to encourage continued growth.
Pest Control
- Monitor plants for pests such as aphids or spider mites.
- Use natural remedies like neem oil or insecticidal soap to protect your plants.
Tips for a Thriving Bottle Garden
- Rotate bottles for even sunlight exposure.
- Use lighter-colored bottles in very sunny areas to prevent overheating.
- Group plants with similar water and light requirements together for easier care.
- Layer mulch or stones on top of the soil to retain moisture.
- Check drainage holes regularly to prevent blockages.
Benefits of a Plastic Bottle Vertical Garden
Environmental Impact
Every bottle repurposed reduces landfill waste and helps minimize plastic pollution.
Fresh Food at Your Fingertips
Having herbs and small vegetables growing at home saves money and provides immediate access to fresh ingredients.
Educational Value
This project teaches children and adults about sustainability, recycling, and plant growth in a hands-on way.
Aesthetic and Mental Benefits
Greenery indoors or outdoors improves air quality and contributes to mental well-being, creating a calming environment.
Common Mistakes to Avoid
- Overcrowding plants in each bottle: gives roots little space to grow.
- Neglecting drainage: leads to root rot and plant death.
- Incorrect light placement: low-light plants will not thrive if placed in full sun.
- Overwatering: frequent watering can wash away nutrients and damage roots.
Scaling Your Vertical Garden
Once your first vertical bottle garden is thriving, consider scaling it up:
- Add more rows of bottles on the same wall or frame.
- Introduce new plant varieties like strawberries, small peppers, or dwarf tomatoes.
- Combine ornamental plants with edible ones for a mixed aesthetic garden.
Scaling up is as simple as repeating the same bottle preparation and planting steps.
Conclusion
Creating a vertical garden from plastic bottles is a simple, eco-friendly, and visually appealing way to grow your own food and greenery at home. With a few basic materials, some creativity, and consistent care, you can transform empty bottles into a productive vertical garden that contributes to sustainable living. This DIY project not only reduces plastic waste but also provides fresh herbs, vegetables, and flowers while beautifying your space.
Whether you’re a beginner gardener or an eco-conscious enthusiast, a vertical bottle garden is a fun, rewarding, and environmentally responsible project that proves sustainability and creativity can flourish together.