
Microgreens are young, nutrient-packed greens that can be grown quickly and easily—even without soil. Using coconut coir as a growing medium makes the process cleaner, lighter, and more sustainable, making it ideal for indoor gardeners and beginners.
This guide will show you how to grow microgreens using coconut coir, step by step, with minimal space and effort.
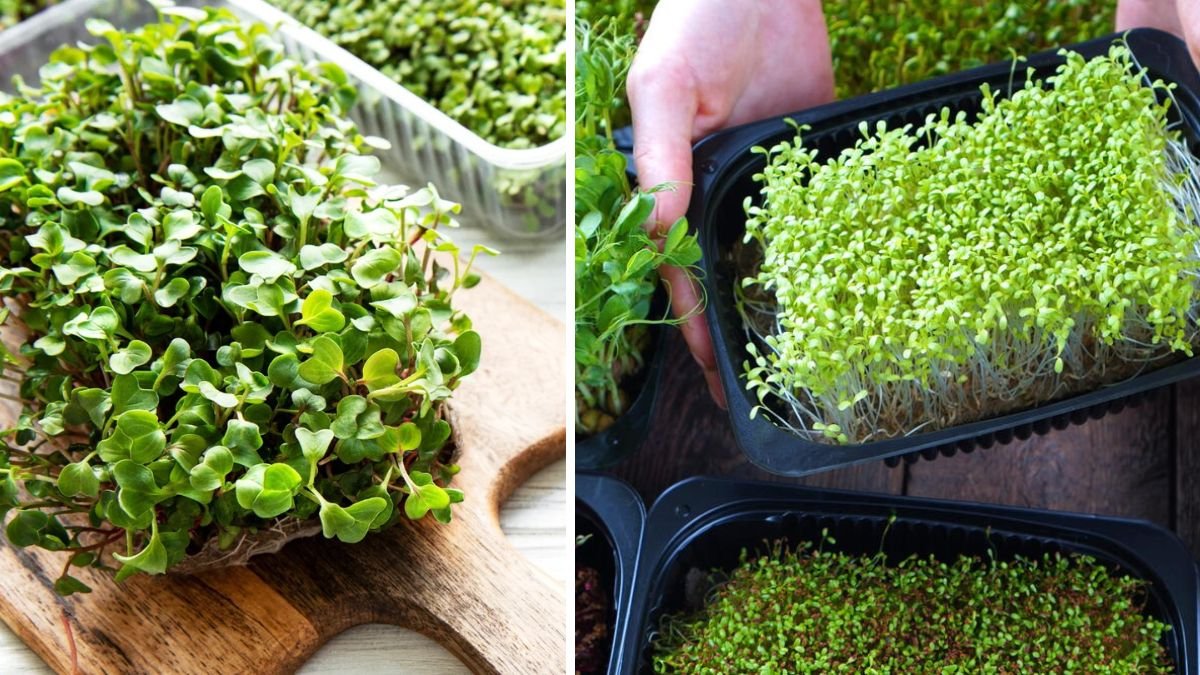
What Are Microgreens?
Microgreens are edible seedlings harvested shortly after germination, usually within 7–14 days. They are:
- Rich in vitamins and antioxidants
- Easy to grow indoors
- Perfect for salads, sandwiches, and garnishes
Popular microgreens include broccoli, radish, mustard, peas, and sunflower.
Why Use Coconut Coir Instead of Soil?
Coconut coir is a natural fiber made from coconut husks.
Benefits include:
- Lightweight and clean
- Excellent water retention
- Good aeration for roots
- Eco-friendly and renewable
- Free from soil-borne pests
It’s an ideal medium for microgreens.
Supplies You’ll Need
- Coconut coir brick or loose coir
- Shallow growing trays (with or without drainage)
- Microgreen seeds
- Spray bottle
- Light source (sunny window or grow light)
No fertilizer is required for most microgreens.
Step 1: Preparing the Coconut Coir
If using a compressed brick:
- Place it in a bucket
- Add warm water
- Allow it to expand fully
- Fluff gently
Moisten the coir so it’s damp but not dripping.
Step 2: Filling the Trays
- Spread coir evenly in the tray (about 1–1.5 inches deep)
- Level the surface gently
- Do not compact too tightly
A loose texture allows roots to grow freely.
Step 3: Sowing the Seeds
- Sprinkle seeds evenly across the surface
- Avoid overcrowding
- Lightly press seeds into the coir
- Mist gently with water
Do not bury seeds unless the variety requires it.
Step 4: Germination Phase
Cover the tray with another tray or lid for 2–4 days.
This helps:
- Maintain moisture
- Encourage uniform sprouting
- Strengthen root anchoring
Mist daily to keep coir moist.
Step 5: Light and Growth
Once seeds sprout:
- Remove the cover
- Place tray under light
- Provide 10–12 hours of light daily
Rotate trays if using window light to prevent leaning.
Step 6: Watering Microgreens
Watering from below is best.
How to bottom water:
- Add water to a secondary tray
- Let coir absorb moisture
- Remove excess water after 10 minutes
Avoid overhead watering once leaves appear.
Step 7: Harvesting Microgreens
Most microgreens are ready in 7–14 days.
Harvesting tips:
- Use clean scissors
- Cut just above the coir surface
- Harvest when first true leaves appear
Rinse gently and use immediately for best flavor.
Common Mistakes to Avoid
- Overwatering (causes mold)
- Poor air circulation
- Too little light
- Using old or low-quality seeds
Good airflow and cleanliness are key.
Reusing or Disposing of Coconut Coir
After harvest:
- Compost used coir
- Use it as mulch
- Mix into garden soil
Coir is biodegradable and environmentally friendly.
Final Thoughts
Growing microgreens with coconut coir is one of the easiest ways to enjoy fresh, nutritious greens year-round. With no soil, minimal mess, and quick results, it’s perfect for beginners, apartment dwellers, and anyone looking to grow food indoors effortlessly.