
Wooden pallets are often seen as mere transportation materials, but they hold a wealth of potential for DIY enthusiasts. With a little creativity and effort, these pallets can be transformed into stunning designer potting benches that not only enhance your gardening experience but also add a touch of rustic charm to your outdoor space. This article will guide you through the process of creating your own potting bench using old wooden pallets, from materials and tools to step-by-step instructions and finishing touches.
Why Choose Wooden Pallets?
Wooden pallets are an eco-friendly choice for garden furniture. They are sturdy, readily available, and often free or low-cost. Additionally, using pallets in your projects promotes recycling and reduces waste. When properly treated and maintained, a potting bench made from pallets can last for years, offering a practical workspace for your gardening tasks.
Materials and Tools Needed
Materials
- 2-4 wooden pallets (depending on size)
- Sandpaper (medium and fine grit)
- Wooden screws
- Wood glue
- Wood stain or paint (optional)
- Outdoor sealant (optional)
- Brackets (for added stability)
Tools
- Saw (hand saw or power saw)
- Drill
- Screwdriver
- Tape measure
- Pencil
- Clamps (optional)
Step-by-Step Guide to Building Your Potting Bench
Step 1: Gather and Prepare Your Pallets
Start by collecting your old wooden pallets. Look for those that are in good condition, without any major cracks or signs of rot. Once you have your pallets, use sandpaper to smooth any rough edges and surfaces; this will make the finished product more aesthetically pleasing and safer to use.
Step 2: Design Your Potting Bench
Before you start assembling, sketch a design for your potting bench. Consider the desired height and width. A standard potting bench is usually about 36 inches high and 48 inches wide, but feel free to adjust according to your needs. Draw dimensions for shelves, a workspace area, and hooks or containers for tools.
Step 3: Cut the Pallets
Using your saw, cut the pallets to the sizes you’ve planned. You’ll typically need two pallets for the top surface, one or two for the base, and additional pieces for shelves or tool storage. Make sure to label or organize your pieces to keep track of what goes where.
Step 4: Assemble the Base
Start with the base of your potting bench. Use wooden screws to attach the pallets together in a rectangular shape. If you want added support, you can reinforce the corners with brackets. Ensure the structure is stable and level, adjusting as needed.
Step 5: Add the Benchtop
Next, attach the pallets that will serve as the benchtop. Again, use screws to secure them tightly. Depending on your design, you can create a solid surface or leave gaps between slats for drainage and soil runoff. Sand the surface to remove any rough spots that could snag soil bags or tools.
Step 6: Incorporate Shelving and Storage
To make your bench functional, add shelves for pots, soil, and tools. You can attach additional pallets vertically or horizontally for this purpose. Consider using crates or storage bins for smaller items, which can be mounted beneath the tabletop or on the sides.
Step 7: Finishing Touches
Once the main structure is assembled, you can choose to enhance the appearance with wood stain or paint. This not only adds color but also provides a protective layer against moisture and pests. Be sure to let any paint or stain dry completely before continuing.
Step 8: Apply Sealer
If your potting bench will be exposed to the elements, consider applying an outdoor sealant for added durability. This helps protect the wood from rain and UV rays, prolonging the lifespan of your creation.
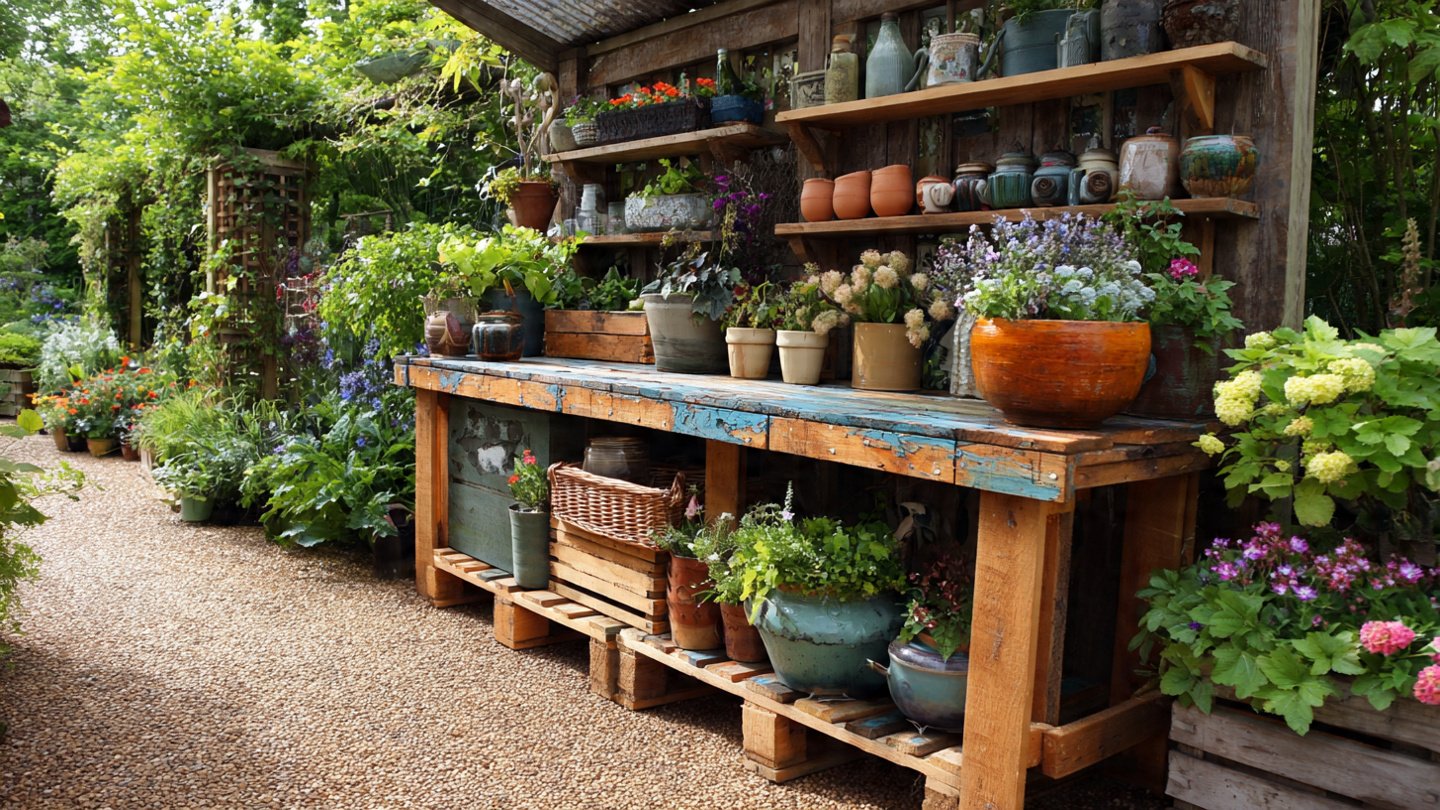
Decorate and Personalize Your Bench
With the main construction complete, it’s time to add personal touches. You can hang gardening tools on hooks, place planters on shelves, or even add decorative elements like a small herb garden atop the bench. Consider using fairy lights or painted signs for a whimsical effect.
Conclusion
Transforming an old wooden pallet into a stunning designer potting bench is not only a rewarding project but also an opportunity to create a functional piece that enhances your gardening experience. The process allows you to express your creativity while making sustainable choices. With the right materials, tools, and a bit of elbow grease, you can build a unique potting bench that fits seamlessly into your outdoor space. So gather your pallets, and get started on this eco-friendly DIY adventure!
FAQs
1. Are wooden pallets safe for outdoor use?
Yes, as long as they are untreated or treated with non-toxic chemicals. Always check for the ‘HT’ (heat-treated) stamp to ensure they are safe for outdoor use.
2. How can I make my potting bench more weather-resistant?
Applying a good quality outdoor sealant or wood stain can significantly increase the weather resistance of your bench.
3. What tools do I need for this project?
You will need a saw, drill, screwdriver, tape measure, and sandpaper. Optional tools include clamps for holding pieces together during assembly.
4. How can I ensure that my potting bench is stable?
Ensure that the base is level and use brackets or additional supports at the corners for enhanced stability. Check the assembly periodically for wear and tear.
5. Can I customize the design of my potting bench?
Absolutely! Feel free to adapt the design to suit your needs—add more shelves, a removable top, or even hooks for tools for maximum functionality!