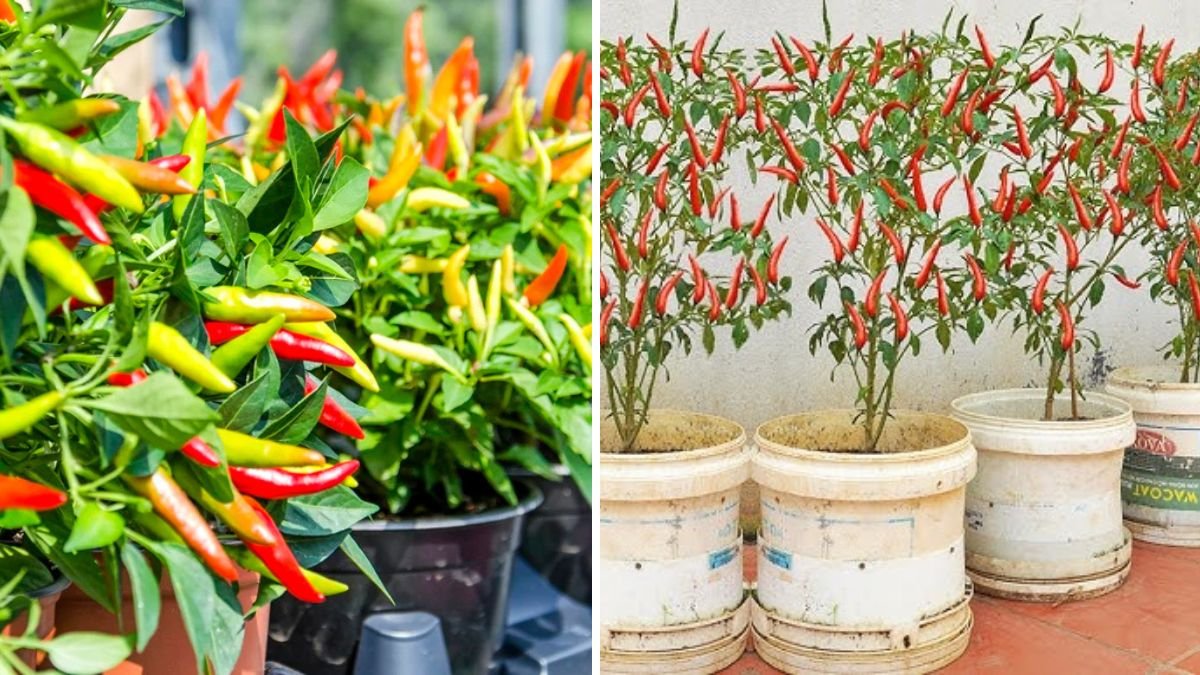

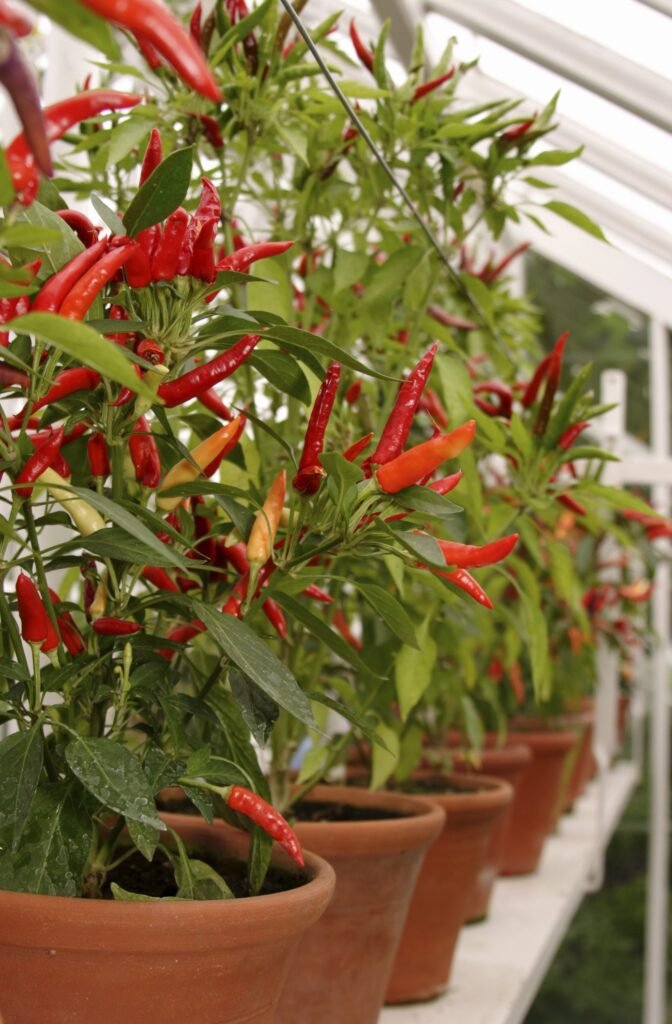
Chili plants are among the most loved crops in home gardens, yet many gardeners struggle with low yields, weak stems, and short plant lifespan. What most people don’t know is that chili plants can be grafted just like tomatoes, eggplants, and other solanaceous crops — and when done correctly, grafting can drastically improve plant strength, disease resistance, and fruit production.
Whether you grow chilies in pots or open soil, learning how to graft a chili tree is one of the smartest ways to extend its life and dramatically increase your harvest. This article reveals a simple, step-by-step method that even beginners can follow.
🌶️ Why Graft Chili Plants?
Chili plants are naturally productive, but they have certain limitations:
- Sensitive to root diseases
- Weak root systems in some varieties
- Short lifespan
- Slow recovery after heavy fruiting
- Susceptible to pests
- Lack of drought tolerance
Grafting solves all these issues.
✔ Benefits of Grafting Chili Plants
- Stronger roots and better nutrient uptake
- Higher fruit production
- Longer productive life (up to 2–3 years)
- Greater disease and pest resistance
- Faster growth and earlier fruiting
- Ability to grow premium varieties on strong rootstocks
This technique is widely used by agricultural professionals — and now home gardeners can use it too.
🌶️ Best Rootstocks for Grafting Chili
A “rootstock” is the plant that will provide the root system. For chilies, the best choices are:
1. Wild chili (Capsicum frutescens)
- Extremely strong roots
- Tolerates drought
- Highly disease-resistant
2. Local hardy chili varieties
These thrive in your region and adapt well to climate and pests.
3. Ornamental chili varieties
Surprisingly, many ornamental types have powerful root systems.
Scion:
This is the top part—the variety you want to grow (large, spicy, colorful, rare, or hybrid).
🌶️ The Most Effective Grafting Methods for Chili Trees
Chili stems are soft, so the best grafting methods are:
- Cleft grafting
- Splice grafting
- Side grafting
- Approach grafting
For beginners, splice grafting is the easiest and most successful.
🌶️ Step-by-Step: How to Graft Chili Plants (Splice Method)
Step 1: Prepare the Rootstock
Choose a strong, healthy chili plant about:
- 20–30 cm tall
- Stem thickness 3–5 mm
- Actively growing
Cut the rootstock horizontally about 8–10 cm above the soil.
Now make a diagonal 1.5–2 cm long cut on the stem.
This creates a perfect surface for attaching your scion.
Step 2: Prepare the Scion (Your Preferred Chili Variety)
Select a healthy branch with 4–6 leaves.
Cut it at the base and make an identical diagonal cut to match the rootstock.
Remove the lower leaves, leaving only 2–3 at the top.
This reduces water loss from the scion.
Step 3: Join the Two Cuts
Place the scion onto the rootstock so the diagonal cuts align perfectly.
Make sure the cambium layers (green ring under the bark) touch — this is where graft healing occurs.
Step 4: Wrap Firmly
Use:
- Grafting tape
- Plastic wrap
- Parafilm
- Even a small piece of cling film
Wrap tightly enough that the scion cannot move but not so tight that you crush the stem.
Avoid gaps — moisture should not escape.
Step 5: Create a Healing Environment
For the first week, grafts need:
- Shade (no direct sun)
- High humidity
- Minimal movement
You can place a transparent plastic bag over the plant to maintain humidity.
Make small holes in the bag for airflow.
Step 6: Care for the Next 14 Days
Day 1–3
- Keep the plant in shade
- Avoid watering the leaves
- Keep soil slightly moist
Day 4–7
- Remove the plastic bag for 1 hour daily
- Keep the environment warm
Day 7–14
- Slowly increase sunlight exposure
- New leaves might appear — a good sign!
If the scion stays green and firm, the graft is successful.
After 14 days, you can remove the tape.
🌶️ How to Make a Chili Tree After Grafting
Once the graft heals, you can train the chili plant to grow into a tree-like structure.
✔ Step 1: Allow Only One Main Stem to Grow
Remove side shoots for the first 30 days.
This forces the plant to grow taller.
✔ Step 2: Once It Reaches 30–40 cm, Top the Plant
Cut the top growing point.
This encourages branching.
✔ Step 3: Allow 3–4 Main Branches to Form
These branches will hold heavy crops.
✔ Step 4: Prune Regularly
Remove weak or crossing branches.
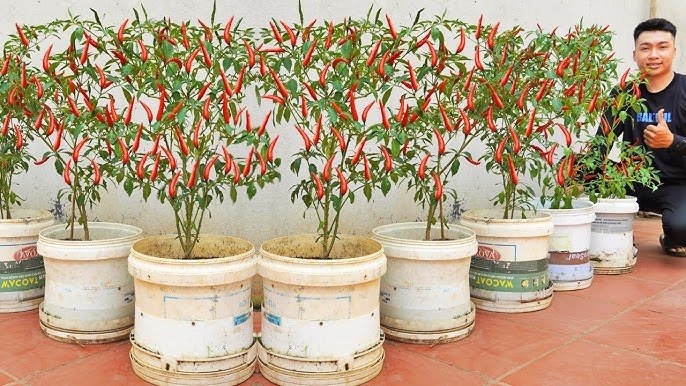
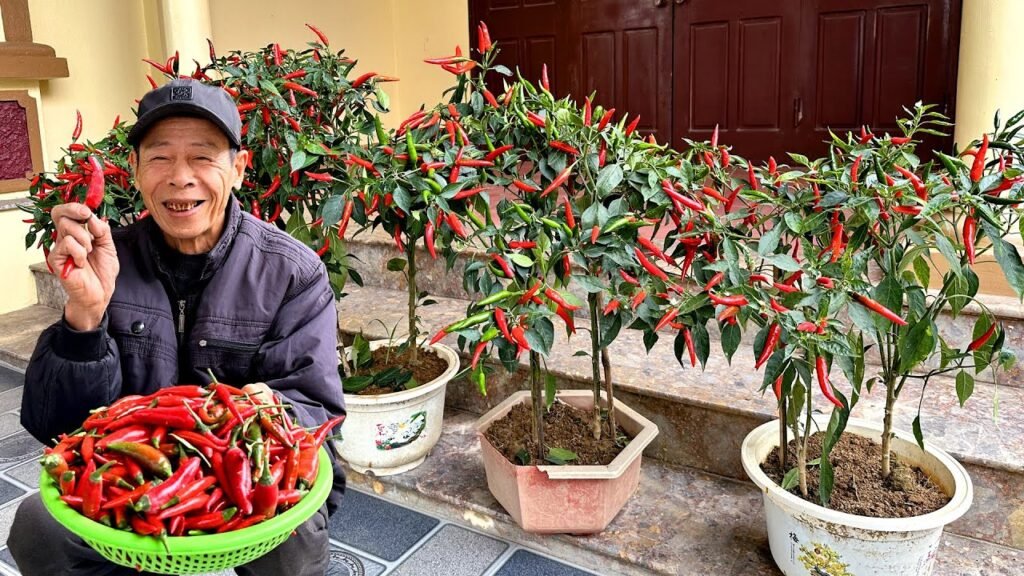
Within 3–4 months, your chili plant will look like a mini tree with:
- Strong woody stem
- Thick branches
- High fruit load
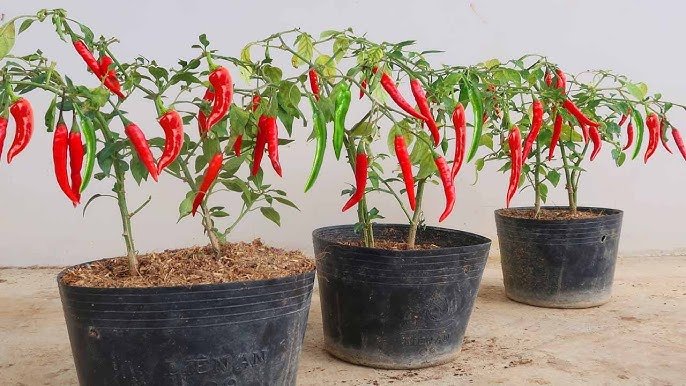
🌶️ How Grafted Chili Trees Produce More Chilies
Grafted chili plants benefit from:
✔ Strong Roots
They support more branches and more fruits.
✔ Faster Nutrient Uptake
Leads to earlier and heavier fruiting.
✔ Better Water Management
Plants don’t wilt easily and maintain fruit size even in heat.
✔ Continuous Fruiting
Grafted chili trees can produce for 2–3 years, compared to normal chili plants that decline after 6–8 months.
🌶️ Important Care Tips for Grafted Chili Trees
⚠ Do Not Overwater
Too much water causes rot.
Ideal: Soil should remain slightly moist.
☀ Provide 5–6 Hours of Sun
Chili plants love warmth.
🌱 Use Organic Fertilizer Every 15 Days
Good options:
- Seaweed extract
- Cow dung tea
- Compost tea
- Fish emulsion
- Banana peel water
✂ Remove Rootstock Shoots
Sometimes rootstocks send up their own shoots.
Always remove them, or they will outgrow the scion.
🌶️ Best Soil Mix for Long-Living Chili Trees
Use a light, fast-draining mix:
- 40% garden soil
- 30% compost
- 20% coco peat
- 10% sand
This prevents root rot and encourages strong stem development.
🌶️ Common Problems and Easy Solutions
❌ Scion drying out
➡ Cause: Excess sunlight
➡ Fix: Keep graft in shade for 7–10 days
❌ Graft union turning black
➡ Cause: Infection
➡ Fix: Sterilize tools and use clean cuts
❌ Leaves wilting
➡ Cause: Poor cambium contact
➡ Fix: Re-graft or wrap more firmly
🌶️ Why This Grafting Technique Works
Chili plants belong to the Solanaceae family, the same as:
- Tomatoes
- Eggplants
- Bell peppers
These plants naturally graft well with one another, and chili-to-chili grafting produces:
- Enhanced vigor
- More stable long-term yield
- Higher disease resistance
When you graft a premium chili variety onto a hardy rootstock, you get the best of both worlds.
🌶️ Final Thoughts
Grafting chili plants is a powerful gardening technique that transforms ordinary chili plants into hardy, long-living, high-yield chili trees. With strong roots and better nutrient flow, your grafted chili will:
✔ Grow faster
✔ Produce continuously
✔ Resist diseases
✔ Bear bigger and more flavorful chilies
✔ Live 2–3 times longer
If you enjoy gardening experiments or want to maximize your chili harvest, this grafting method is one of the most effective techniques you’ll ever try.