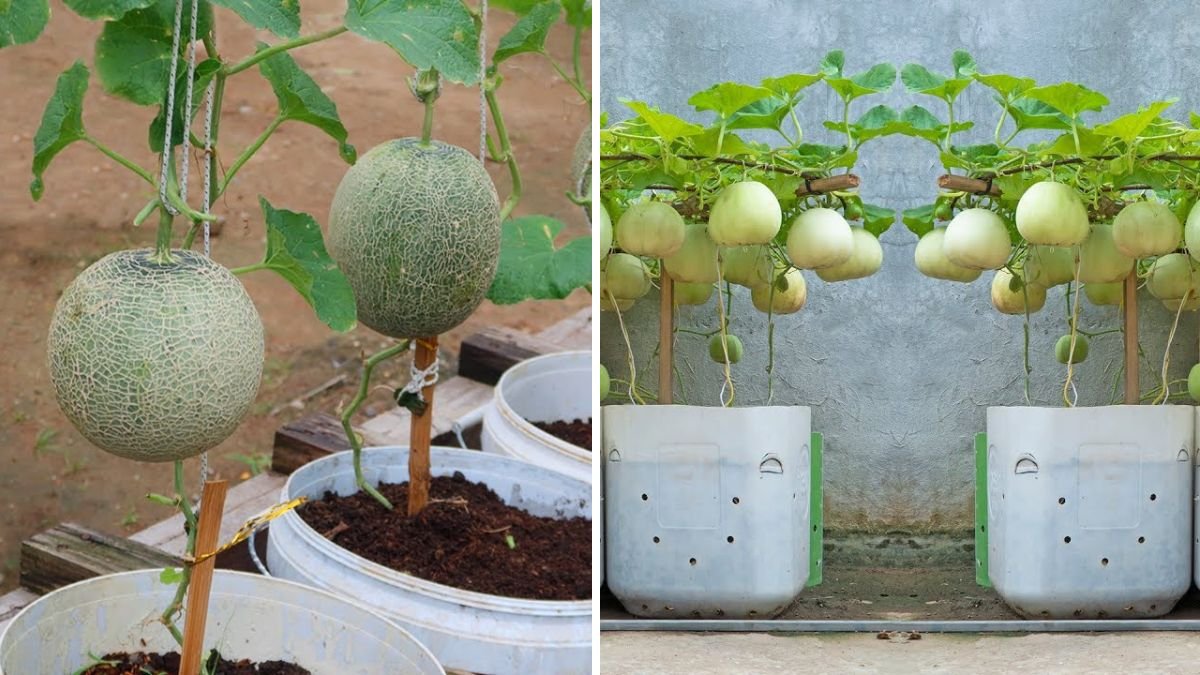

Growing melons at home might sound challenging, especially for beginners, but here’s the truth: you don’t need a garden, a big yard, or years of experience to grow juicy, fragrant, sweet melons. With the right method, even a simple plastic container can turn into a mini melon farm—perfect for balconies, terraces, patios, or small spaces.
Whether you dream of harvesting cantaloupes, honeydew, musk melons, or small watermelons, this guide will show you step-by-step how to grow melons easily and achieve surprisingly high productivity, all in containers.
Let’s begin!
🌱 Why Growing Melons in Plastic Containers Works So Well
Melons actually thrive in containers when conditions are right. Why?
- Containers warm up quickly → faster growth
- Soil can be controlled easily
- Fewer weeds
- Less pest pressure
- Easier watering and feeding
- Perfect for urban and small-space gardeners
Even beginners can get a high yield if they follow a smart setup.
🪴 Step 1: Choose the Right Type of Melon
Some melon varieties perform especially well in containers:
Best container-friendly melons
- Cantaloupe (muskmelon)
- Honeydew
- Small watermelon varieties (Sugar Baby, Mini Love)
- Korean Melon (Chamoe)
- Galia Melon
These produce compact vines, set fruit easily, and don’t need massive ground space.
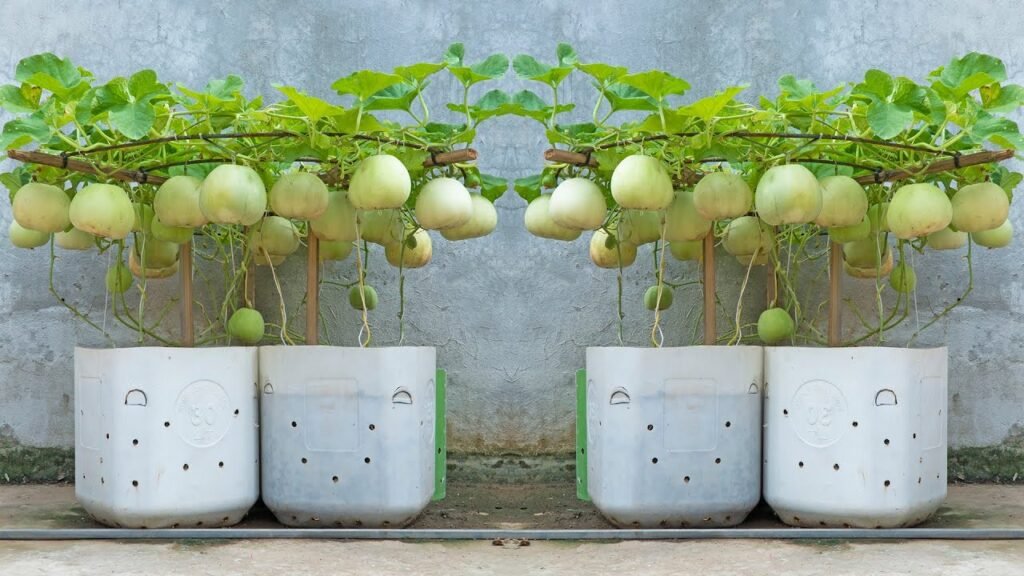
🪣 Step 2: Select the Perfect Plastic Container
Melons produce deep, strong roots. The container size will make or break your harvest.
✔ Best container size:
- Minimum 18–20 inches deep
- 18–24 inches wide
- Capacity 25–40 liters
Melons need space, so avoid small pots.
✔ Must-have features:
- Drainage holes
- Strong plastic (to support weight)
- Light-colored pots (keeps soil cool)
If drainage is poor, roots rot quickly—so drill extra holes if needed.
🌿 Step 3: Prepare a High-Nutrition Soil Mix

Melons are heavy feeders. Rich soil = big fruits.
Perfect soil recipe for melon containers:
- 40% garden soil
- 30% compost or cow dung
- 20% coco peat or sand
- 10% perlite/rice husk for aeration
Add growth boosters:
- 1 cup bone meal (root growth)
- 1 cup wood ash (flowering)
- 1 handful neem cake (pest control)
Mix well. This blend ensures strong roots and continuous feeding.
🌞 Step 4: Pick the Sunniest Growing Spot
Melons are heat-loving plants.
✔ They need:
- 6–8 hours of direct sunlight minimum
- Warm temperature
- Stable airflow
More sun = sweeter melons.
Shaded locations lead to vine growth but fewer fruits.
🌱 Step 5: Start Seeds the Right Way
You can use seedling trays, small cups, or sow directly in the container.
If using seedlings:
- Sow 1–2 seeds per cup
- Keep soil moist
- Seeds sprout in 5–7 days
- Transplant when seedlings have 3–4 leaves
If sowing directly:
- Plant 2–3 seeds in the center
- Thin to 1 healthy plant after 2 weeks
One plant per large container gives maximum yield.
💧 Step 6: Water Deeply—but Smartly
Melons dislike both overwatering and underwatering.
Watering rules:
- Water deeply every 2–3 days
- Keep soil moist but not soggy
- Reduce watering when fruits begin to mature → makes melons sweeter
- Water at the base only
Mulching with dry leaves or straw helps keep roots cool and conserves moisture.
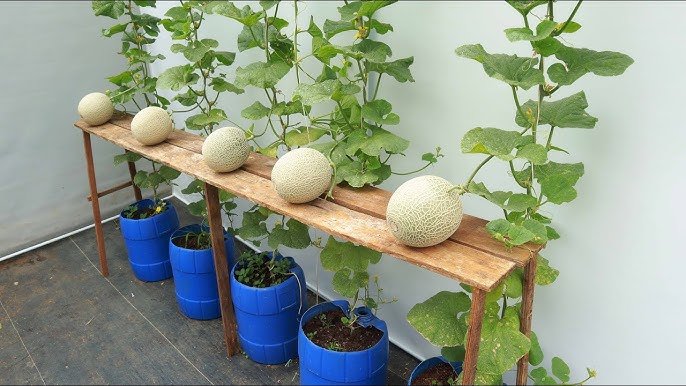
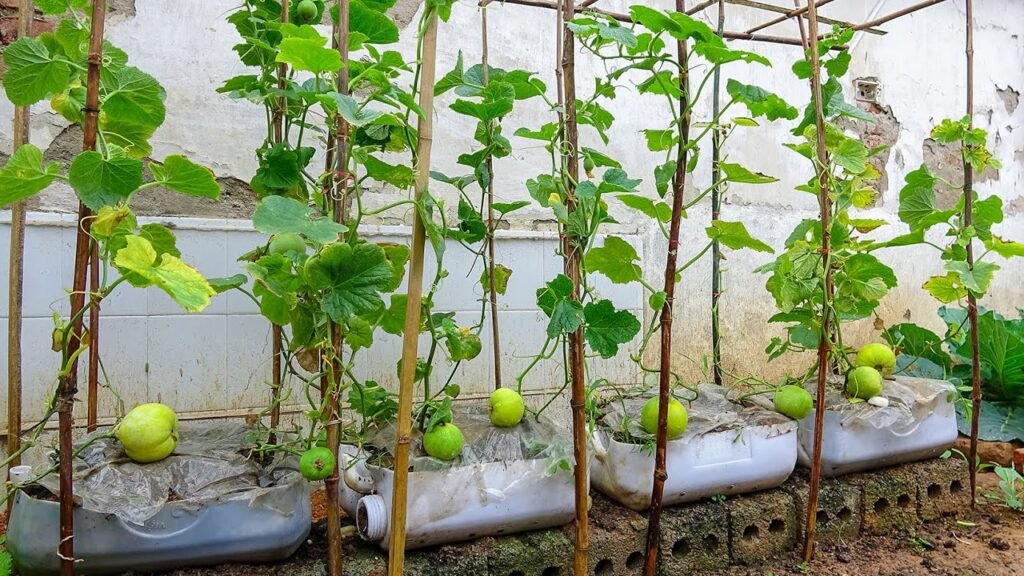
🌼 Step 7: Support and Train the Vines
Even in containers, melon vines want to spread fast.
Ways to manage vines:
- Let vines grow on the ground
- Use a trellis for vertical growing
- Use a railing or balcony grill
- Add soft cloth slings to support heavy fruits
If growing vertically, support fruits to prevent the vine from snapping.
🌸 Step 8: Encourage Flowering & Fruit Set
Melons produce male flowers first, then female flowers (the ones with fruit at the base).
To increase fruiting:
- Feed potassium-rich fertilizers
- Lightly shake vines in the morning to help pollination
- Hand-pollinate using a brush if necessary
- Avoid overwatering during flowering
A well-pollinated plant produces more, larger melons.
🧪 Step 9: Feed Your Melons for Big, Sweet Fruits
Melons need nutrients at different stages.
Growth stage (Weeks 1–4):
- Compost tea
- Seaweed extract
- Cow dung water
Flowering stage (Weeks 4–8):
- Banana peel fertilizer
- Wood ash
- Epsom salt (1 tsp per liter)—improves flower set
Fruit development stage:
- Molasses solution (sweetness booster)
- Bone meal
- Potassium-based organic fertilizer
Feed every 10–15 days for best results.
🐞 Step 10: Protect From Common Pests
Container melons face fewer pests, but caution helps.
Common pests:
- Aphids
- Whiteflies
- Spider mites
- Powdery mildew
Natural prevention:
- Neem oil spray every 7–10 days
- Soap water spray for quick control
- Good ventilation around vines
Healthy vines = more melons.
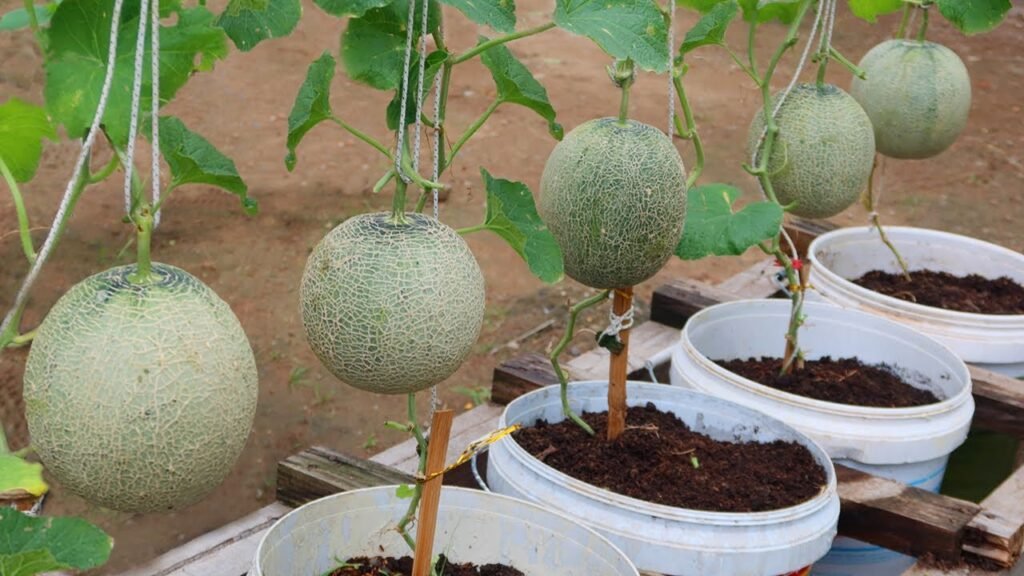
🍈 Harvesting: How to Know Melons Are Ready
This is the most exciting stage!
Signs melons are ripe:
- Sweet fragrance
- Stem begins to crack or soften
- Netting on cantaloupes becomes pronounced
- Color deepens
- Fruit becomes slightly soft when pressed
Do NOT leave fruits too long—overripe melons crack or become mushy.
🌟 Extra Tips for Beginners (Guaranteed Success!)
✔ Tip 1: Always mulch your melon container
Keeps roots cool, conserves moisture, and reduces disease.
✔ Tip 2: Do NOT overcrowd
One container = one melon plant.
✔ Tip 3: Use warm water for irrigation
Melons hate cold shock.
✔ Tip 4: Pinch the growing tip after 5–6 leaves
Encourages branching and more fruiting.
✔ Tip 5: Support heavy fruits in cloth slings
Prevents snapping and improves shape.
🍉 Final Thoughts: Anyone Can Grow Melons—Yes, Even You!
Melons may look like a complicated fruit to grow, but container gardening has changed everything. With a simple plastic container, good soil, sunlight, and basic care, even beginners can enjoy sweet, fragrant, high-yield melons at home.
Imagine opening your balcony door or stepping onto your terrace and seeing green vines hanging with golden or green melons—that’s the magic of growing food yourself.
This method is sturdy, simple, and produces reliably high yields. Start today, follow these steps, and within a few months, you’ll be cutting open your own homegrown, sweet, juicy melon—one of the most satisfying experiences in gardening!