
Growing strawberries at home is a dream for many—sweet fruits, bright red color, irresistible fragrance, and the satisfaction of harvesting your own produce. But what if you don’t have garden space? What if you only have a balcony or a small corner?
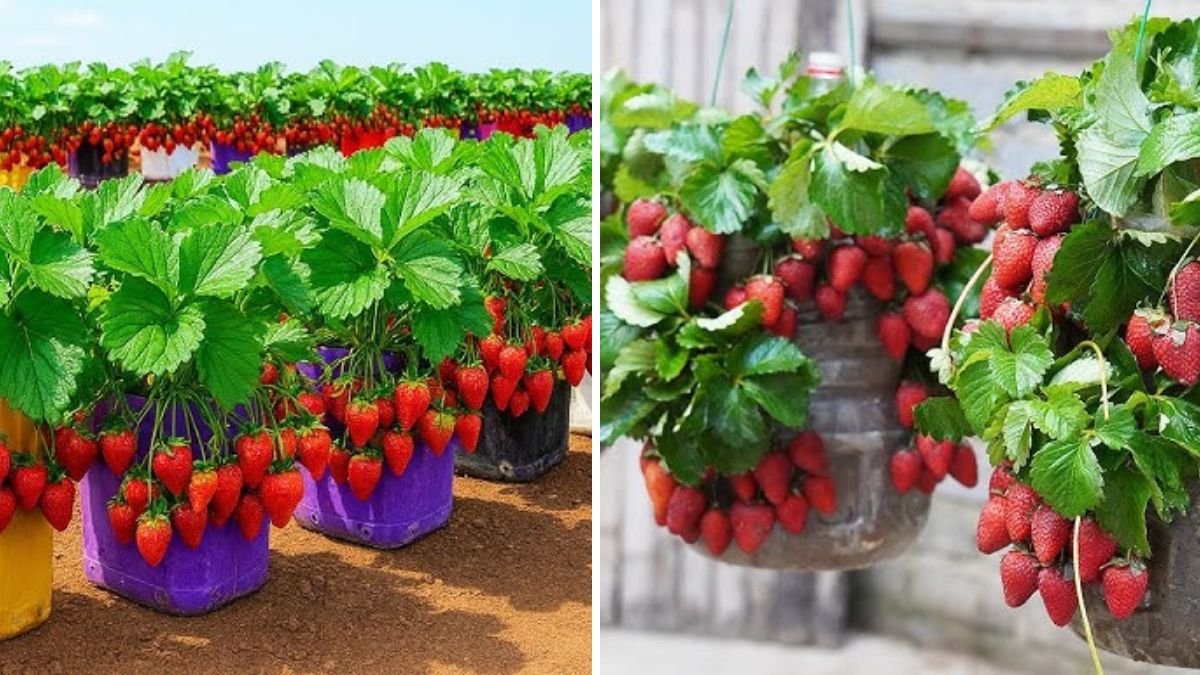
Here’s the great news: you can turn ordinary plastic bottles into a high-yield strawberry garden. This surprising method is taking the gardening world by storm because it is simple, space-saving, and incredibly productive.
With just a few bottles, a little sunlight, and basic care, you can enjoy continuous harvests of fresh, sweet strawberries right from your home.
This article reveals the complete, detailed method to help you grow strawberries successfully in plastic bottles—with results that will surprise you!
🌿 Why Plastic Bottles Are Perfect for Strawberries
Most people throw plastic bottles away, unaware of their gardening potential. But strawberries absolutely thrive in them because:
✔ They allow excellent drainage
Strawberries hate soggy soil. Bottles help prevent waterlogging, which reduces root rot.
✔ They save space
You can hang them, stack them, or place them vertically along walls.
✔ They create a micro–root environment
The narrow structure supports strong root concentration, improving fruiting.
✔ They recycle waste materials
Eco-friendly gardening at its best!
When used properly, plastic bottles can outperform traditional pots.
🍓 Step-by-Step Guide: Growing Strawberries in Plastic Bottles
Let’s break down the full method so that even beginners can grow strawberries successfully.
🌱 Step 1: Choosing the Right Strawberries
For bottle gardening, always choose:
- Ever-bearing varieties
- Day-neutral varieties
- Compact rooting varieties
Some excellent choices include:
- Albion
- Seascape
- Earliglow
- Ozark Beauty
- Tristar
These varieties produce continuously, giving you fruits all season long.
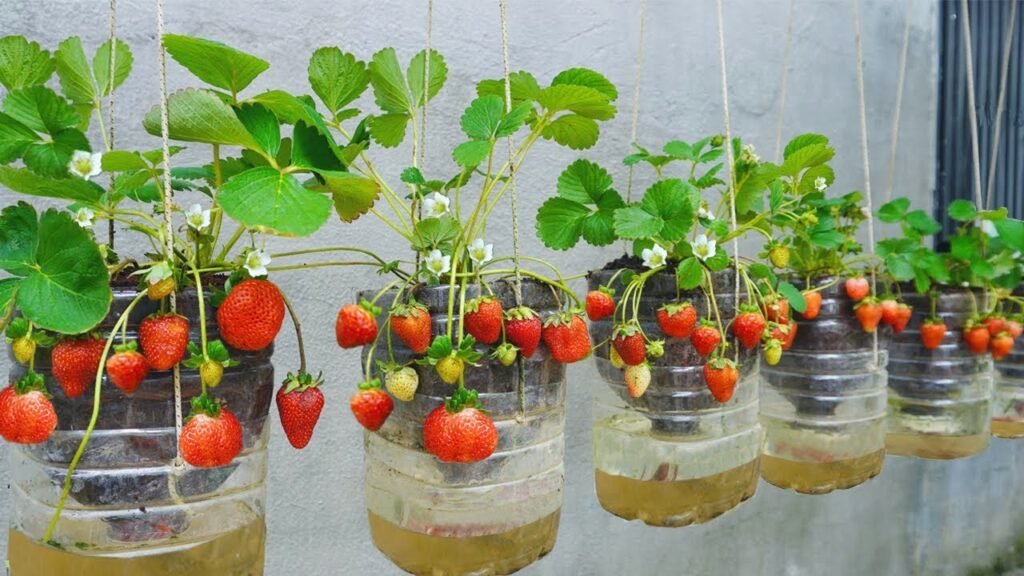
🧴 Step 2: Prepare the Plastic Bottles

Use 1–2 liter bottles.
How to prepare them:
- Wash thoroughly.
- Remove the label.
- Cut a wide window on the side of the bottle (about 3×4 inches).
- Make 5–6 drainage holes at the bottom.
- Punch small air holes around the bottle for airflow.
Optional (but useful):
Paint the bottle white or wrap with cloth to protect roots from heat.
🌸 Step 3: Create the Perfect Soil Mix
Strawberries need loose, fluffy, nutrient-rich soil.
Ideal mix:
- 40% cocopeat
- 30% compost or vermicompost
- 20% garden soil
- 10% sand or perlite
- A handful of crushed eggshells (adds calcium)
- A teaspoon of wood ash (adds potassium for sweet fruits)
Mix thoroughly.
This soil ensures:
✔ Fast drainage
✔ Strong root development
✔ Sweet and juicy strawberries
🌱 Step 4: Planting the Strawberries
The Right Planting Method:
- Fill the bottle halfway with soil.
- Place the strawberry plant so the crown is above the soil level.
- Add soil gently around the roots.
- Do not bury the crown—it causes rot.
- Water lightly to settle the soil.
Spacing:
One strawberry plant per bottle is ideal.
🌞 Step 5: Light Requirements
Strawberries love sunlight.
- 6–8 hours of direct sunlight daily is ideal.
- If you live in a hot region, provide afternoon shade.
- South-facing balconies give the best results.
Strawberries grown in proper light are sweeter and produce more runners.
💧 Step 6: Watering Correctly
Strawberries need moist—not soggy—soil.
Follow this:
- Water every 2–3 days during mild weather.
- Water daily in summer.
- Always water at the base, not the leaves.
A great hack is installing a small wick or using drip irrigation with another bottle.
🍌 Step 7: Feeding for Heavy Fruiting
Strawberries love regular feeding.
Feed every 10–12 days:
- Compost tea
- Banana peel fertilizer (potassium = sweet fruits)
- Epsom salt water (1 teaspoon per liter, once a month)
- Seaweed extract (optional but boosts flowering)
Avoid heavy nitrogen fertilizers—they give leaves, not fruits.
✂️ Step 8: Care and Pruning
To get big, sweet strawberries:
Remove runners in the first month
This allows the mother plant to focus on fruiting.
Trim damaged leaves
Improves airflow and prevents pests.
Mulch the top of the soil
Use:
- Straw
- Dry leaves
- Coco chips
Mulching keeps fruits clean and sweetens the harvest.
🐛 Step 9: Protecting Your Plants from Pests
Common pests include:
- Aphids
- Spider mites
- Thrips
- Ants
Use natural sprays like:
- Neem oil
- Garlic-pepper spray
- Soap water spray
Always spray in the evening.
🍓 Step 10: Harvesting Your Strawberries
Strawberries are ready when:
- Fully red (no green or white)
- Shiny surface
- Slightly soft to touch
- Fragrant smell
Pick them gently with the stem attached.
The more you harvest, the more the plant produces!
🌟 Unexpected Benefits of Using Plastic Bottles
Using bottles surprisingly makes strawberry growing:
✔ Cleaner
Fruits stay off the soil — fewer fungal issues.
✔ Faster
Restricted root zones encourage early fruiting.
✔ Space-efficient
Hang dozens of bottles on a small balcony.
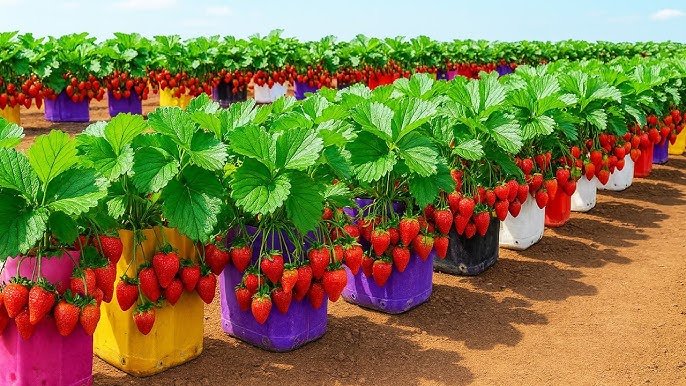
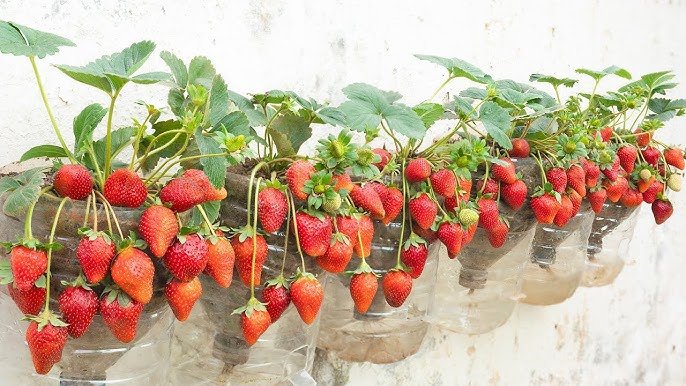
✔ Beautiful
A wall full of strawberries looks stunning!
No wonder this method is trending among urban gardeners worldwide.
🌱 Creative Ways to Arrange the Bottles
Try these setups:
Vertical Tower
Stack bottles on top of each other with a central support pole.
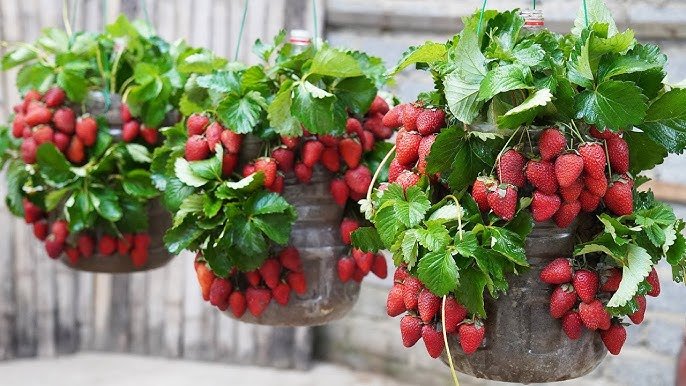
Hanging Garden
Hang bottles horizontally using ropes.
Wall-Mounted System
Attach bottles to a wooden panel or mesh.
Railing Garden
Tie bottles along the balcony railing for sunlight.
These setups transform small spaces into productive strawberry farms.
🍓 Final Thoughts
Growing strawberries in plastic bottles is one of the easiest and most rewarding gardening methods. It saves space, recycles waste, produces continuous harvests, and gives surprisingly sweet, juicy strawberries right at home.
Whether you’re a beginner or an experienced gardener, this method will amaze you with its simplicity and results.
If you want, I can also create: