
Monstera, often referred to as the Swiss Cheese Plant due to its iconic leaf shape, has become a favorite among houseplant enthusiasts. One of the most rewarding aspects of owning a Monstera is the ability to propagate it, allowing you to expand your collection or share with friends. Propagating a Monstera node in water is a simple and satisfying process. In this article, we will delve into the steps, tips, and best practices to ensure your propagation efforts yield healthy, thriving plants.
Understanding the Basics of Monstera Propagation
Before diving into the propagation process, it’s essential to understand what exactly you’re working with. A Monstera node is the part of the plant where leaves and roots develop. Successful propagation depends largely on selecting a healthy node and providing an ideal environment for root development.
What You Need for Propagation
- Healthy Monstera plant
- Sharp, clean scissors or pruning shears
- A clear glass or jar for water
- Water (preferably distilled or rainwater)
- Optional: rooting hormone
Choosing the Right Node
Selection of the right node is critical for successful propagation. Here are key points to consider:
- Look for an Aerial Root: A well-developed aerial root indicates that the node is healthy and ready for propagation.
- Choose a Mature Node: Opt for nodes that have at least one leaf. The presence of leaves suggests that the node is mature and capable of producing new growth.
- Inspect for Infestations: Ensure the node is free from pests or diseases. A healthy node will be clean and firm to the touch.
Step-by-Step Guide to Propagate a Monstera Node in Water
Step 1: Prepare the Cutting
Using clean, sharp scissors or pruning shears, make a cut below a node on a healthy stem. Aim for a cut that is approximately 4 to 6 inches long, ensuring that it includes at least one leaf and an aerial root if possible. Be careful not to crush or damage the node during this process.
Step 2: Remove Excess Leaves
To minimize water loss, prune off any excess leaves, leaving only one or two on the cutting. This ensures that the cutting can focus its energy on root development rather than sustaining multiple leaves.
Step 3: Place the Node in Water
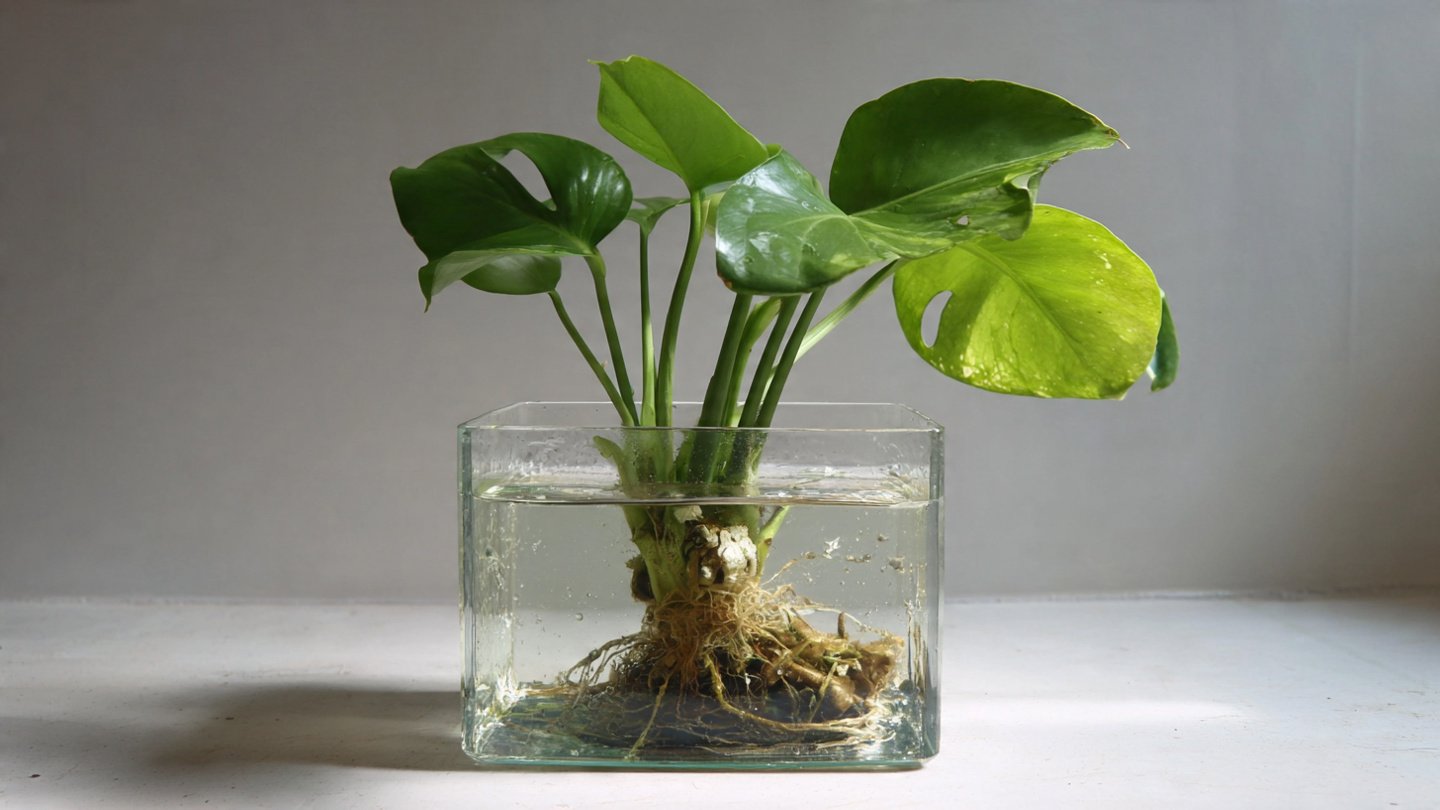
Fill a clear glass or jar with water, ensuring that the node is submerged while keeping the leaves above the water line. This is crucial because submerged leaves can rot, jeopardizing the entire propagation effort. Ensure that the water is clean and free from chlorine; distilled or rainwater is ideal.
Step 4: Positioning
Place the glass in a warm, bright, indirect light location. Avoid direct sunlight as it can overheat the water and damage the cutting. A south or east-facing windowsill is often an excellent choice.
Step 5: Change the Water
To prevent bacterial growth and to keep the cutting healthy, change the water every 5 to 7 days. This also helps to provide fresh oxygen to the roots and keeps the environment clean.
Step 6: Wait for Roots to Develop
Patience is key in propagation. In favorable conditions, roots should begin to emerge from the node in approximately 2 to 4 weeks. You may notice the roots growing longer or new leaves sprouting, indicating that the plant is thriving.
Using Rooting Hormone (Optional)
To enhance the chances of successful propagation, consider applying rooting hormone to the node before placing it in water. While it’s not necessary, rooting hormone can speed up root development and improve the overall health of the new plant.
Transplanting the Rooted Node
Once your cutting has developed roots that are at least a few inches long, it’s time to transplant it into soil. Choose a well-draining potting mix and a pot with drainage holes. Gently place the rooted node in the soil, covering the roots while still allowing the base of the node to sit above the soil line.
Water thoroughly until the excess drains out. Place the pot in a bright, indirect light location, continuing to monitor moisture levels in the soil.
Care After Propagation
After transplanting, it is essential to provide proper care for the newly rooted Monstera. Here are some tips:
- Watering: Water thoroughly but allow the top inch of soil to dry out before watering again. This helps avoid root rot.
- Humidity: Monstera thrives in high humidity. Consider misting the leaves or placing a humidifier nearby.
- Fertilizing: Begin fertilizing with a balanced liquid fertilizer every month once the plant shows signs of new growth.
Conclusion
Successfully propagating a Monstera node in water can be a fulfilling endeavor. With the right tools, techniques, and a bit of patience, you can easily grow new plants from your existing Monstera. By following the outlined steps and caring for your new plant properly, you will be rewarded with a vibrant addition to your indoor greenhouse. So gather your supplies, make that cut, and enjoy the journey of propagation!
FAQs
1. How long does it take for a Monstera cutting to root in water?
Typically, it takes about 2 to 4 weeks for roots to develop adequately in water, but this timeframe can vary based on environmental conditions.
2. Can I propagate a Monstera without an aerial root?
Yes, you can propagate a Monstera node without an aerial root. However, having an aerial root may increase the chances of successful propagation.
3. Is there a particular season that is best for propagation?
While you can propagate a Monstera at any time of the year, spring and summer are ideal due to increased sunlight and growing conditions.
4. What should I do if my cutting starts to rot in water?
If you notice rot, remove the cutting from the water immediately. Cut away any rotting sections and place the cutting in fresh water, ensuring that it is in a clean environment.
5. Can I propagate more than one Monstera node in the same container?
Yes, you can propagate multiple nodes in the same container as long as they are not crowded, which can lead to poor air circulation and increased risk of rot.