
Geraniums, with their vibrant colors and delightful fragrances, are a favorite among gardeners. They come in various types, including zonal, ivy, and scented geraniums, and are popular for both outdoor gardens and indoor pots. While growing geraniums from seeds is common, propagating them through cuttings is often more efficient and effective, allowing gardeners to enjoy their favorite varieties without the wait. However, propagating geraniums can pose challenges, particularly with the risk of fungal rot. This article will delve into simple techniques that can help you root geranium cuttings successfully, avoiding the pitfalls of fungal rot.
Understanding the Basics of Geranium Propagation
Before diving into the techniques, it’s essential to understand why geraniums can be susceptible to fungal rot when propagated from cuttings. Cuttings are essentially plant injuries; if not taken and treated properly, they can easily succumb to rot caused by fungi in the soil or air. Successful propagation requires careful selection, proper cutting techniques, and the right environmental conditions.
Choosing the Right Time for Cuttings
The best time to take geranium cuttings is during the spring or early summer when the plant is actively growing. At this time, the cuttings will root faster and establish themselves more robustly.
Steps to Root Geraniums Without Fungal Rot
1. Selecting the Right Cutting
When selecting a cutting, look for healthy stems that are not flowering and are about 3-6 inches long. Ensure the cutting has at least two to three sets of leaves. Avoid using stems that are leggy, discolored, or have any signs of disease.
2. Preparing the Cutting
Once you’ve selected the ideal cutting, follow these steps:
- Clean Tools: Use clean, sharp scissors or pruning shears to make the cut. This reduces the risk of introducing fungal spores.
- Make the Cut: Cut just below a leaf node to increase the chances of root formation.
- Remove Excess Leaves: Trim the lower leaves so that only a few remain at the top; this minimizes water loss while also preventing rot.
3. Utilizing the Right Propagation Medium
The medium you choose can significantly impact the success of your cutting. Here are some tips:
- Use Sterile Soil Mix: Opt for a sterile potting mix or a blend of peat moss and perlite. Avoid garden soil, which can harbor fungi.
- Moisture Control: Ensure the medium is moist but not soggy. Overly wet soil can lead to rot.
4. Planting the Cutting
- Make a Hole: Use a pencil or your finger to create a small hole in the soil.
- Insert the Cutting: Place the cutting into the hole and gently pack the soil around it, ensuring the leaf nodes are buried.
- Watering: After planting, lightly water the cutting to settle the soil around the roots.
5. Providing the Right Environment
Creating the right environment is crucial for successful rooting:
- Humidity: Geranium cuttings thrive in humid environments. Placing a plastic bag or a clear plastic dome over the cuttings can help retain moisture.
- Light: Place the cuttings in bright, indirect sunlight. Direct sunlight can scorch the leaves and hinder rooting.
- Temperature: Keep the temperature stable between 65°F to 75°F (18°C to 24°C).
6. Monitoring Your Cuttings
Check the moisture level of the soil regularly. If it feels dry, lightly mist the soil or water it. Remove any plastic covering for a few hours daily to allow air circulation, which helps prevent fungal growth.
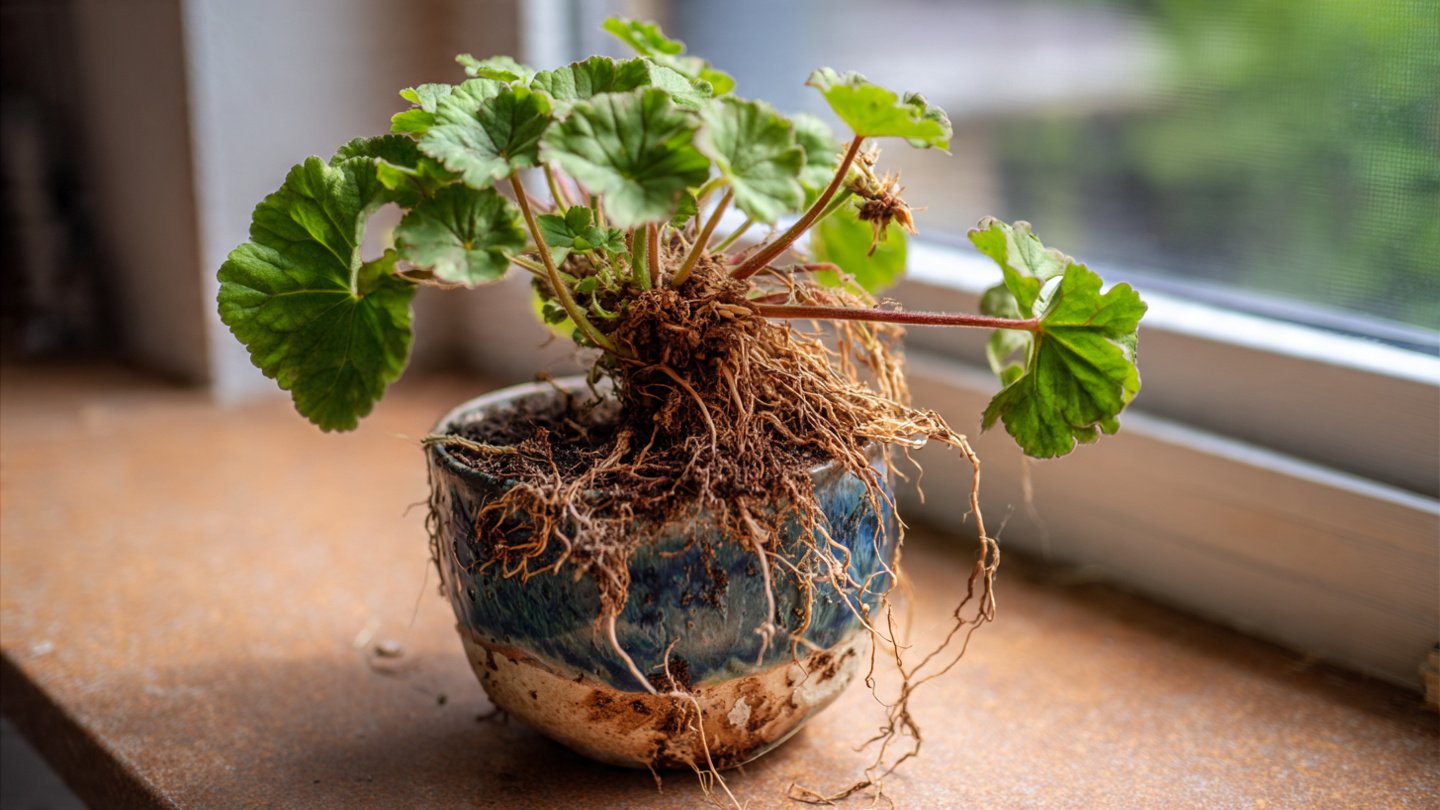
7. Recognizing Root Development
After about 2-4 weeks, gently tug on the cutting to check for resistance, indicating root development. If there’s no resistance, give it more time.
8. Transplanting
Once the roots are well established (around 2-3 inches long):
- Choose a Proper Pot: Transplant the cutting into a pot that is slightly larger than the current one.
- Soil Transfer: Use a well-draining potting mix and follow the same moisture and light principles as before.
- Care Post-Transplant: Water deeply, then allow the top inch of soil to dry out before watering again.
Troubleshooting Common Issues
Despite the best efforts, some issues may arise during the rooting process:
Fungal Issues
If you notice any signs of fungal rot (black, mushy stems), consider the following:
- Adjust Watering: Ensure the soil is not overly saturated.
- Increase Airflow: Ensure good airflow around the cuttings.
- Change the Medium: If problems persist, consider rooting the cuttings in a different, sterile medium.
Slow Rooting
If the cuttings are taking longer to root, check the environmental conditions:
- Temperature: Make sure it’s within the ideal range.
- Lighting: Ensure they receive adequate but indirect light.
FAQs about Rooting Geraniums
1. How long does it take for geranium cuttings to root?
Typically, geranium cuttings can take anywhere from 2 to 4 weeks to develop roots.
2. Can I use tap water to propagate cuttings?
It’s better to avoid tap water, as it often contains chlorine and other chemicals. Consider using distilled or rainwater to avoid harmful substances.
3. Should I fertilize my geranium cuttings while rooting?
No, it’s best to hold off on fertilizing until the cuttings have established roots and begun to show new growth.
4. Can I propagate geraniums in water?
While some gardeners propagate in water, it’s often more challenging due to increased risk of fungal rot. Soil is generally preferred for stability.
5. How can I tell if my cutting is rotting?
Signs of rot include a mushy stem, off-odors, and discoloration. If you notice these signs, remove the affected cutting immediately to prevent spreading.
6. Do I need to use rooting hormone?
Using rooting hormone can enhance rooting success, but it isn’t strictly necessary. If you choose to use it, apply it according to package instructions before planting the cutting.
7. What should I do if my cuttings aren’t growing?
If cuttings are failing to grow, check the environmental conditions, moisture levels, and ensure they’re not rotting. Adjust these factors as needed.
Conclusion
Rooting geraniums from cuttings can be a rewarding experience when done with care and attention. By following the techniques outlined above, you can successfully propagate your geraniums while minimizing the risk of fungal rot. With the proper cutting techniques, optimal growing conditions, and a dash of patience, you’ll be able to enjoy a bounty of beautiful geraniums in your home or garden. Happy gardening!