
Creating a Vertical Herb Garden on Your Sunny Kitchen Door
Introduction
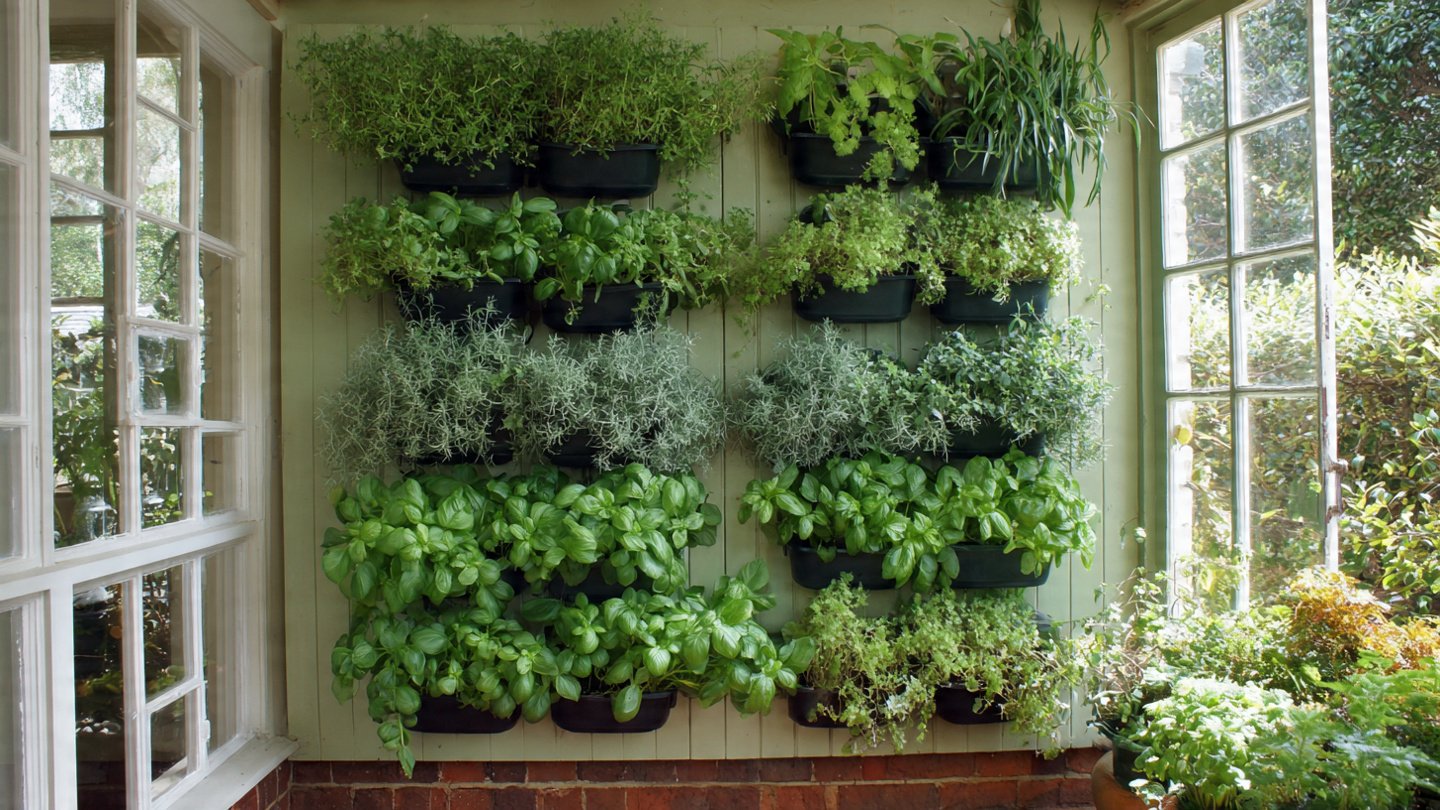
Imagine stepping into your kitchen and being greeted by the vibrant greens and fresh scents of herbs ready for culinary adventures. Not only does a vertical herb garden add a touch of nature to your space, but it also provides easy access to fresh ingredients. If your kitchen door receives ample sunlight, you have the perfect opportunity to create a flourishing vertical herb garden. Let’s explore how you can transform your kitchen area into a vertical paradise.
Why Choose a Vertical Herb Garden?
-
Space-Efficient: Vertical gardens utilize minimal floor space, making them ideal for apartments or homes with limited outdoor access.
-
Accessibility: Having your herbs at eye level on the door means they are easily reachable while cooking.
-
Aesthetic Appeal: A vertical garden adds a pop of color and life to your interiors, enhancing the overall ambiance.
-
Improved Air Quality: Plants naturally purify the air, contributing to a healthier kitchen environment.
Choosing the Right Location
Your kitchen door should receive at least 6-8 hours of sunlight daily, making it suitable for growing various herbs. Before you start, observe the sunlight patterns to ensure that your garden will thrive.
Selecting Suitable Herbs
When choosing herbs for your vertical garden, consider both culinary uses and growth habits. Here are some popular options:
-
Basil: A staple in Italian cuisine and great for pestos.
-
Parsley: Versatile in flavoring, ideal for soups and salads.
-
Cilantro: An essential in many cuisines, particularly Mexican.
-
Mint: Great for teas and desserts, but it spreads vigorously, so be cautious.
-
Thyme: A hardy herb that requires little maintenance.
-
Oregano: Perfect for Mediterranean dishes.
Planning Your Vertical Herb Garden
1. Decide on the Design
Your vertical garden can take several forms. Here are a few ideas:
- Pocket Planters: Fabric pockets that you can hang on the door.
- Wall-Mounted Shelves: Wooden or metal shelving where pots can be placed.
- Hanging Planters: Containers that dangle from hooks or rods.
- Repurposed Wine Crates: Stack crates vertically to create a rustic look.
2. Gather Materials
Based on your design choice, you will need materials such as:
- Planters (pots, fabric pockets, or crates)
- Potting soil
- Hooks or shelving brackets
- Drip trays (to catch excess water)
- Plants or seeds
- A watering can or spray bottle
3. Creating the Structure
Pocket Planters
-
Choose a Fabric: Water-resistant fabric is ideal.
-
Cut and Sew: Cut rectangular pieces and sew them into pockets.
-
Hang: Use strong hooks to hang the planter on your door.
Wall-Mounted Shelves
-
Determine Size: Choose shelves that fit the dimensions of your door.
-
Installation: Use brackets and screws to secure the shelves, ensuring they can withstand the weight of the pots.
-
Select Pots: Use pots that complement your kitchen decor.
Hanging Planters
-
Choose Planters: Select light-weight hanging pots.
-
Install Hooks: Ensure they are placed at a safe height for easy access.
-
Arrange Plants: Create a visually appealing arrangement.
Planting Your Herbs
-
Fill Containers: Use high-quality potting soil, leaving some space at the top.
-
Planting Seeds/Seedlings: If using seeds, follow the instructions on the packet regarding depth and spacing. For seedlings, gently transplant them, ensuring roots are spread out.
-
Watering: After planting, water your herbs thoroughly. Ensure proper drainage to prevent soggy soil.
Care and Maintenance
-
Watering: Check the soil moisture regularly. Generally, herbs prefer slightly moist but well-drained soil. Depending on the climate and size of your planters, watering might be required every few days.
-
Fertilizing: Use a balanced, water-soluble fertilizer every four to six weeks during the growing season to promote healthy growth.
-
Pruning: Regularly trim your herbs to encourage bushier growth. For basil and mint, establish a habit of pinching back the tips.
-
Pest Control: Keep an eye out for pests such as aphids. Use natural remedies or insecticidal soap if necessary.
-
Sunlight Adjustment: Rotate your planters occasionally to ensure all sides receive adequate sunlight, promoting uniform growth.
Seasonal Considerations
-
Summer: During hot months, herbs might need more frequent watering and protection from strong afternoon sun.
-
Winter: If temperatures drop significantly, consider bringing herbs indoors or using a grow light to supplement natural sunlight.
-
Harvesting: Regularly harvest herbs to promote continued growth and use them in your cooking. Most herbs can be harvested when they are about 6 inches tall.
Benefits of Your Vertical Herb Garden
-
Flavor Quality: Homegrown herbs are often more flavorful than store-bought ones.
-
Cost-Effective: Growing your herbs can save you money in the long run.
-
Sustainability: Reducing the carbon footprint associated with purchasing packaged herbs.
-
Educational: Engaging in gardening can be a great educational experience, especially for children.
Conclusion
Creating a vertical herb garden on your sunny kitchen door is an enriching endeavor that combines functionality with aesthetics. Whether you’re an experienced gardener or a novice, the process is accessible and rewarding. From planning your design to selecting and caring for your herbs, this green project can bring joy and freshness to your cooking while enhancing your kitchen’s ambiance.
Start your journey today, and soon you’ll find yourself with a flourishing herb garden that not only beautifies your space but also elevates your culinary creations. So, gather your materials, choose your herbs, and let your vertical garden adventure begin!