
If you’ve ever wanted to grow your own vegetables but thought you needed a big backyard, expensive pots, or professional gardening skills—you’re in for a treat. With just a few empty plastic bottles, a handful of seeds, and some basic household items, you can create a thriving vegetable garden right at home. No yard, no fancy tools, no complications—just smart, simple, and sustainable growing.
In this article, you’ll learn step-by-step how to grow vegetables in plastic bottles even if you’re a complete beginner. This method works for balconies, windowsills, terraces, walls, and even small kitchen corners. It’s inexpensive, eco-friendly, and surprisingly productive.
Let’s start planting!
🌿 Why Use Plastic Bottles for Vegetable Growing?
Plastic bottles might seem like trash, but in gardening, they are hidden treasures. Here’s why:
1. They Are Readily Available
Everyone has plastic bottles—soda bottles, water bottles, juice containers. Instead of throwing them away, you can turn them into mini-gardens.
2. Perfect for Small Spaces
You can hang them, stack them, or place them in rows. Even a narrow balcony rail can hold 5–10 bottles.
3. Control Over Water & Soil
Because the bottle acts as a small container, it prevents overwatering and lets beginners monitor plant growth easily.
4. Ideal for Seedlings
Seeds germinate extremely well in clear bottles because they trap moisture like a mini greenhouse.
5. Environmentally Friendly
You reduce waste and create fresh food at home—win-win!
🌱 Best Vegetables You Can Grow in Plastic Bottles
Not all vegetables need huge space. Plastic bottles are perfect for:
- Lettuce
- Spinach
- Cilantro
- Green onions
- Chilies
- Small tomatoes (cherry)
- Carrots (in long bottles)
- Mint and basil
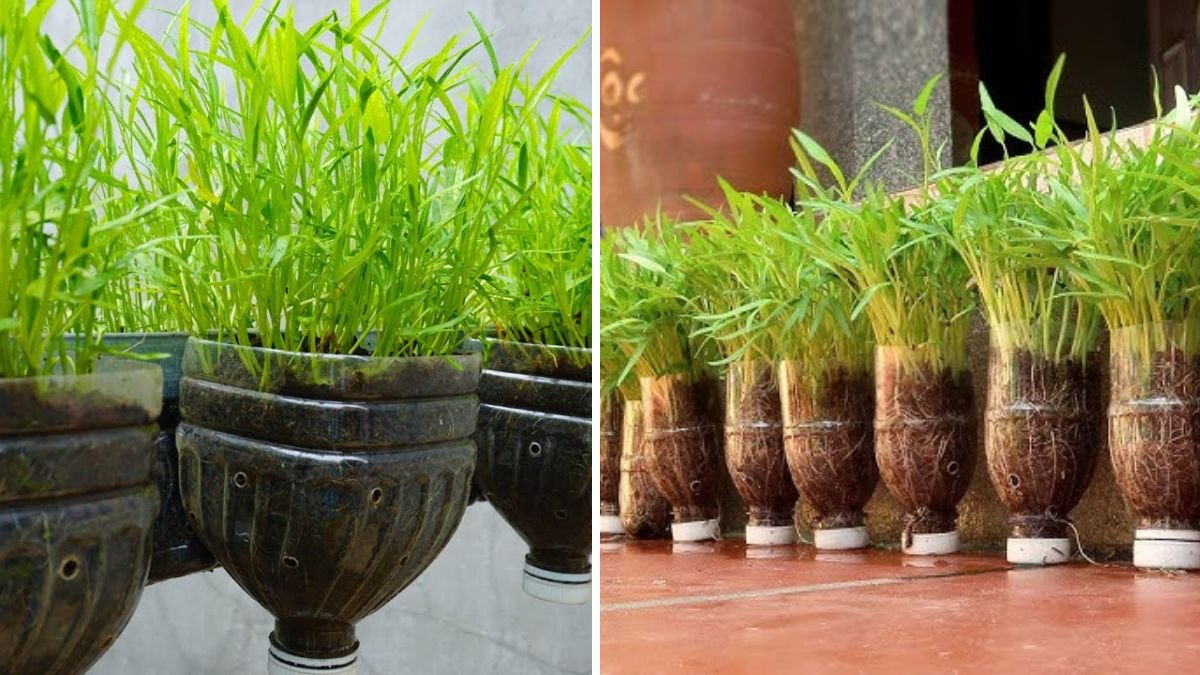
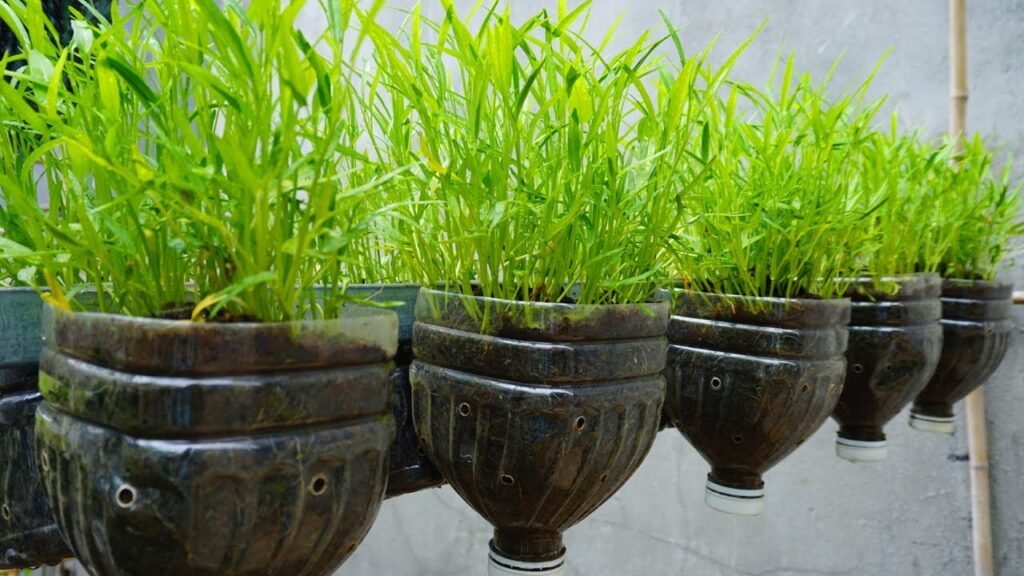
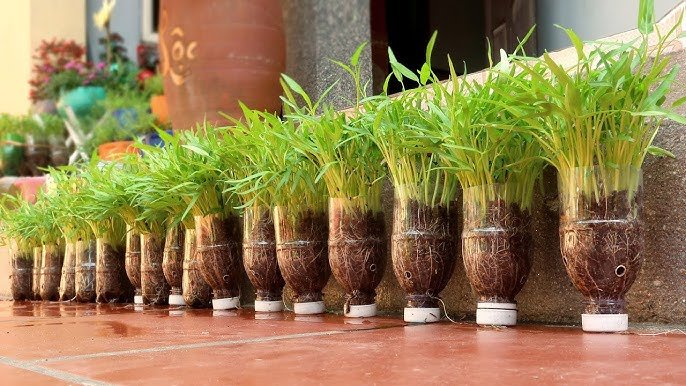
- Water spinach (kangkong)
- Mustard greens
- Bean sprouts
- Okra (in 2L bottles or larger)
Choose veggies that grow quickly and don’t require deep soil for the best results.
🧴 What You Need to Get Started
- 1–2 liter plastic bottles
- Sharp scissors or a cutter
- A heated nail or screwdriver (to make holes)
- Good potting soil or garden soil mixed with compost
- Vegetable seeds of your choice
- Water spray bottle
- String or wire (optional for hanging setups)
That’s it! Nothing fancy required.
🥤 Step-by-Step: How to Prepare Plastic Bottles for Planting
Preparing bottles is easy, but doing it correctly ensures healthy plant growth.
Step 1: Wash and Dry
Rinse the bottle thoroughly to remove sugar and chemicals.
Step 2: Cut the Bottle
Depending on your design:
- Horizontal cut → Perfect for leafy vegetables
- Vertical cut → Ideal for herbs and small plants
- Top cut → Great for deep-root vegetables like carrots
Step 3: Add Drainage
Using a heated nail, poke 8–10 small holes at the bottom of the bottle. Proper drainage = healthy roots.
Step 4: Add a Thin Layer of Pebbles (Optional)
Improves drainage further, especially for beginners who tend to overwater.
Step 5: Fill With Soil
Use a mix of:
- 60% soil
- 30% compost
- 10% coco peat or sand
This provides nutrition, fluffiness, and moisture balance.
🌱 Planting Your Vegetable Seeds
Step 1: Moisten the Soil
Lightly wet the soil before planting. It should feel damp, not muddy.
Step 2: Sow Seeds Properly
Different seeds need different depths:
- Fine seeds (lettuce, basil, cilantro) → Sprinkle on top, cover with a thin layer of soil
- Medium seeds (okra, chilies, spinach) → 1 cm deep
- Larger seeds (carrots, beans) → 1.5–2 cm deep
Step 3: Mist With Water
Don’t pour water directly; spray gently to avoid displacing the seeds.
Step 4: Cover the Bottle
Use the top part of the bottle as a lid to create a mini greenhouse. This helps seeds germinate faster.
💧 Watering Tips for Bottle Gardens
Plastic bottles tend to dry not too fast, not too slow—if you water correctly.
- Water daily in hot weather and every 2–3 days in cool weather.
- Always check the soil moisture by touching it.
- Ideally, the soil should be moist 1–2 inches deep.
- Avoid overwatering—water should never pool at the bottom.
Pro Tip: Use a plastic bottle drip system for consistent water supply.
🌞 Where to Place the Bottles?
Different vegetables love different levels of sunlight:
Full sunlight (5–6 hours minimum):
- Tomatoes
- Chilies
- Okra
- Carrots
Partial shade (3–4 hours sunlight):
- Lettuce
- Spinach
- Cilantro
- Green onions
- Basil
- Mint
If indoors, place bottles near:
- Windows
- Balconies
- Grills
- Staircase railings
🌻 Care Tips for Healthy, Fast-Growing Vegetables
Even beginners can get big harvests with a few simple tricks:
1. Feed the Plants Regularly
Every 10–15 days, add:
- Compost tea
- Banana peel water
- Rice-washed water
- Diluted cow dung liquid fertilizer
This boosts growth naturally.
2. Trim Yellow Leaves
Keeps plants healthy and prevents pests.
3. Rotate the Bottles
Turn the bottles every few days so all sides receive sunlight equally.
4. Protect From Wind & Heavy Rain
Plastic bottles are light—secure them with string if outdoors.
🥬 Harvesting Your Plastic Bottle Vegetables
Harvest times vary:
- Lettuce: 25–30 days
- Spinach: 20–25 days
- Green onions: 20 days
- Chilies: 45–60 days
- Tomatoes: 60–90 days
- Carrots: 70–80 days
Harvest young for the best flavor and to encourage regrowth.
♻️ Creative Ideas for Bottle Vegetable Gardens
Try unique, space-saving designs:
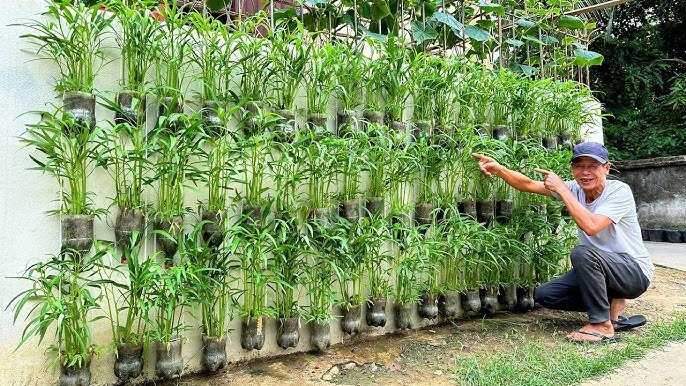
1. Vertical Bottle Wall Garden
Attach bottles to a wooden frame or wall. Perfect for tiny balconies.
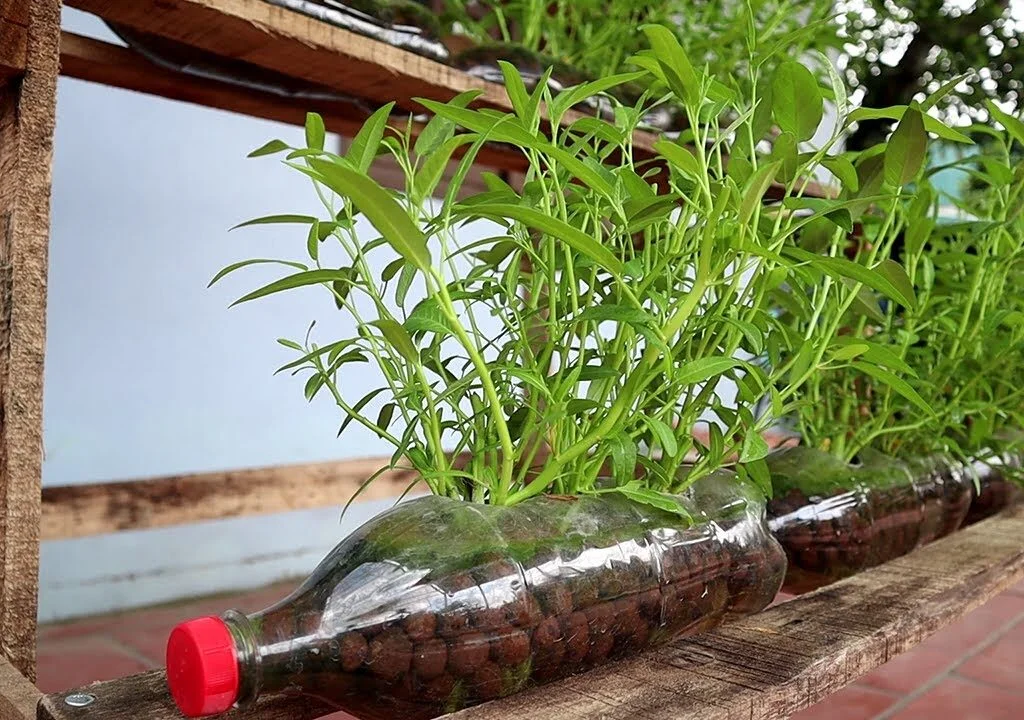
2. Hanging Bottle Planters
Use rope to hang bottles sideways—great for herbs and lettuce.
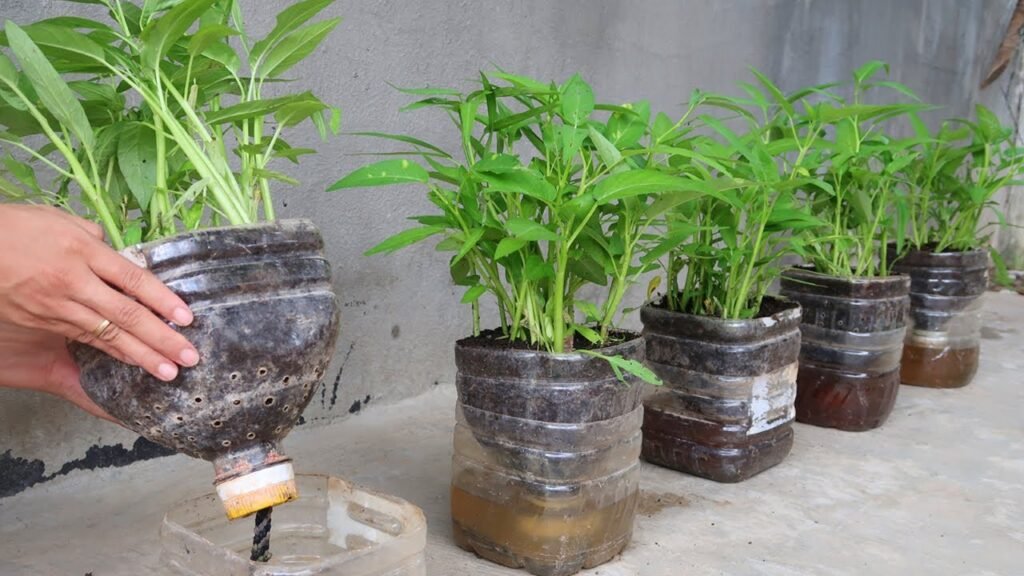
3. Self-Watering Bottle System
Place an inverted bottle with tiny holes above your plant for slow drip irrigation.
4. Two-Layer Bottle Garden
Bottom half holds water, upper half holds soil—almost zero maintenance.
These designs make gardening fun, stylish, and incredibly efficient.
🌼 Final Thoughts: Anyone Can Start Growing Today!
Growing vegetables in plastic bottles is one of the easiest, cheapest, and most rewarding gardening methods—especially for beginners. You don’t need space, a backyard, or gardening experience. Just a few bottles, seeds, and a little care can give you fresh, organic vegetables from your own home.
So don’t wait. Pick up those bottles, fill them with soil, and start your bottle garden today. Your first harvest will taste even sweeter because you grew it yourself!