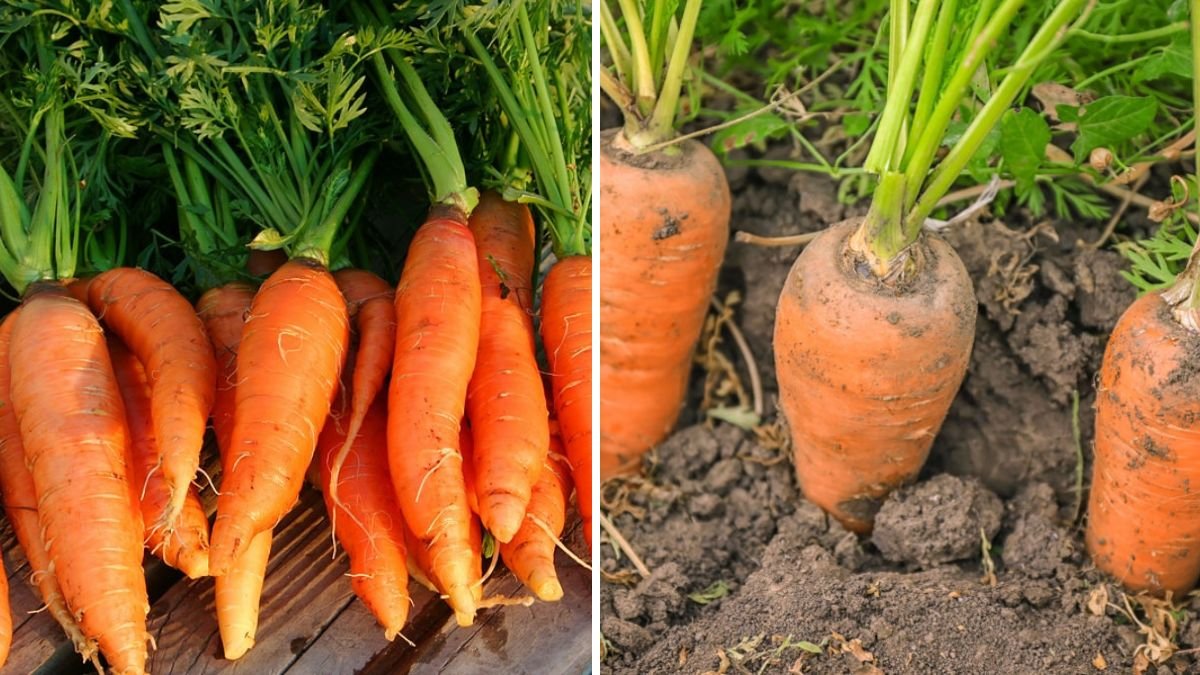

Carrots are among the most versatile and nutritious vegetables you can grow at home. Packed with vitamins, minerals, and antioxidants, they are perfect for salads, soups, juices, or healthy snacks. Growing carrots at home not only ensures fresh, chemical-free produce but also allows you to enjoy the satisfaction of harvesting your own garden vegetables.
In this guide, we’ll cover everything from choosing the right variety to planting, soil preparation, watering, fertilizing, pest management, and harvesting, so you can enjoy homegrown, sweet, and crunchy carrots.
🌱 Introduction: Why Grow Carrots at Home?
Growing carrots at home offers numerous advantages:
- Fresh and healthy: Carrots straight from the garden are more flavorful and nutritious than store-bought ones.
- Chemical-free: You control fertilizers and pesticides, ensuring safe, organic produce.
- Easy and space-efficient: Carrots can grow in garden beds, raised beds, or containers.
- Cost-effective: One planting can provide multiple harvests over a few months.
- Fun and educational: Watching tiny seeds grow into full carrots is both satisfying and a great learning experience for kids.
Carrots are relatively low-maintenance, making them ideal for beginner gardeners and urban spaces alike.
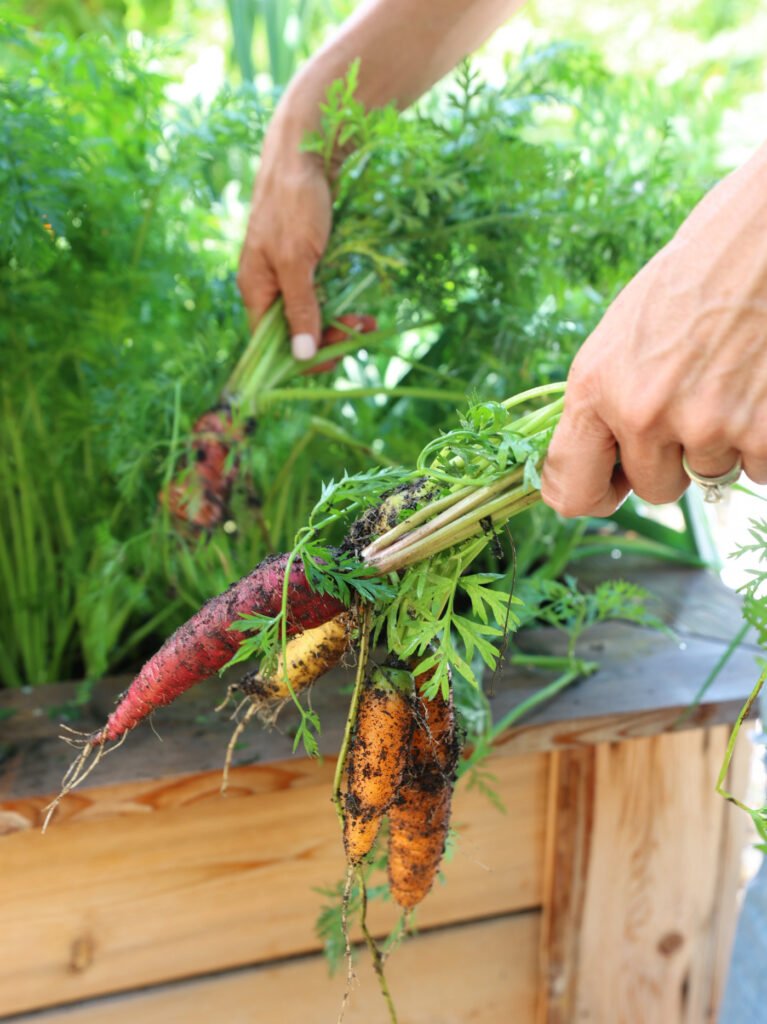
🌿 Step 1: Choosing the Right Carrot Variety
Selecting the right carrot variety is key to success at home.
Popular Varieties for Home Gardening:
- Nantes: Sweet, tender, cylindrical carrots, ideal for fresh eating.
- Imperator: Long, thin carrots perfect for juicing.
- Chantenay: Shorter, stout carrots suitable for shallow or container gardens.
- Danvers: Classic variety, versatile for cooking and storage.
Tip: For small gardens or pots, choose Chantenay or Nantes, which adapt well to limited space.
🌱 Step 2: Selecting Seeds and Preparing for Planting
Carrots are typically grown from seeds. High-quality seeds ensure better germination and uniform growth.
Seed Selection Tips:
- Choose disease-resistant seeds
- Prefer seeds suited to your local climate
- Check the expiry date to ensure viability
Seed Preparation:
- Carrot seeds are small, so you can mix them with sand for easier sowing
- Pre-soaking seeds for a few hours can improve germination speed
Lesson Learned: Healthy seeds are the foundation of a successful carrot crop.
🌿 Step 3: Preparing the Soil

Carrots require loose, well-drained soil for long, straight roots.
Soil Preparation Tips:
- Loosen soil to at least 12 inches deep
- Remove rocks, sticks, and clumps to prevent forked carrots
- Mix in well-rotted compost or organic matter for fertility
- Soil pH: 6.0–6.8 for optimal growth
Tip: Avoid freshly fertilized soil with high nitrogen content, as it encourages leafy growth instead of root development.
🌱 Step 4: Planting Carrots
Carrots are sown directly into the soil, as transplanting can damage roots.
Planting Steps:
- Sow seeds ¼–½ inch deep in rows
- Space seeds about 1–2 inches apart; thin seedlings later
- Rows should be 12–18 inches apart
- Cover lightly with soil and water gently
Tip: Thin seedlings to 2–3 inches apart once they have sprouted to give roots enough space to grow straight.
💧 Step 5: Watering Carrot Plants

Carrots require consistent moisture to grow sweet and tender roots.
Watering Guidelines:
- Water deeply 2–3 times per week, keeping soil moist but not waterlogged
- Mulch around plants to retain soil moisture and prevent weeds
- Avoid overhead watering during hot weather to reduce disease risk
Lesson Learned: Uneven watering can lead to bitter or cracked carrots.
🌿 Step 6: Fertilizing Carrots
Carrots are light feeders but benefit from nutrient-rich soil.
Fertilization Tips:
- Incorporate compost or well-rotted manure before planting
- Side-dress with low-nitrogen fertilizer during growth
- Avoid fertilizers high in nitrogen, which promote foliage over root growth
Tip: A well-balanced soil mix with compost ensures sweet, crisp carrots without excessive chemical use.
🌞 Step 7: Mulching and Weed Control
Mulching improves soil moisture, temperature, and weed control.
Mulching Tips:
- Use straw, dried leaves, or grass clippings around carrot rows
- Mulch thickness: 1–2 inches to maintain soil temperature and retain moisture
- Regularly remove weeds to prevent competition for nutrients
Lesson Learned: Mulching keeps soil loose and reduces the risk of forked roots caused by compacted soil.
🐛 Step 8: Pest and Disease Management
Carrots are generally hardy but can face a few challenges:
Common Pests:
- Carrot flies
- Aphids
- Cutworms
Common Diseases:
- Powdery mildew
- Root rot
- Leaf blight
Solutions:
- Use floating row covers to protect young plants from carrot flies
- Neem oil or insecticidal soap for pest control
- Maintain good spacing and sunlight to reduce fungal infections
Tip: Early detection and organic solutions prevent heavy crop losses.
🌺 Step 9: Flowering and Seed Production (Optional)
Carrots are biennial plants, flowering in the second year. While most home gardeners harvest for roots in the first year, you can allow flowering to collect seeds for future planting.
Flowering Tips:
- Flowers are small, white, and umbrella-shaped
- Attract pollinators such as bees and butterflies
- Allow seeds to mature before harvesting if saving for next season
Tip: Avoid letting flowering plants go to seed if your goal is root harvest; it can reduce root quality.
🍈 Step 10: Harvesting Carrots
Carrots are usually ready to harvest 60–80 days after planting, depending on variety.
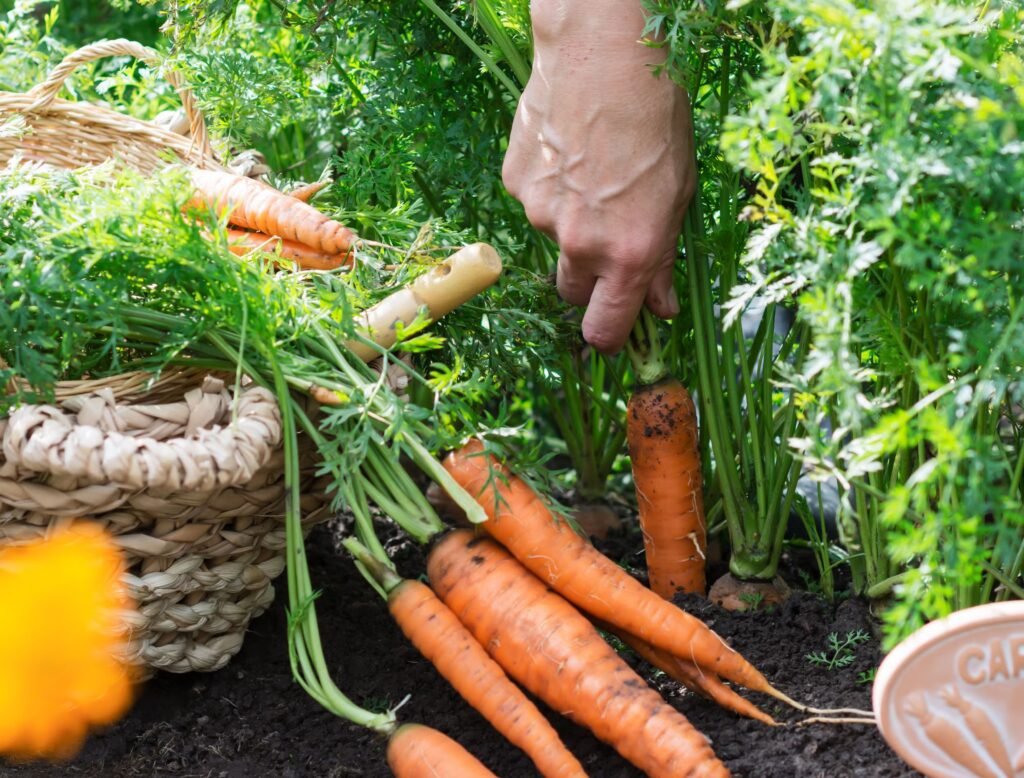
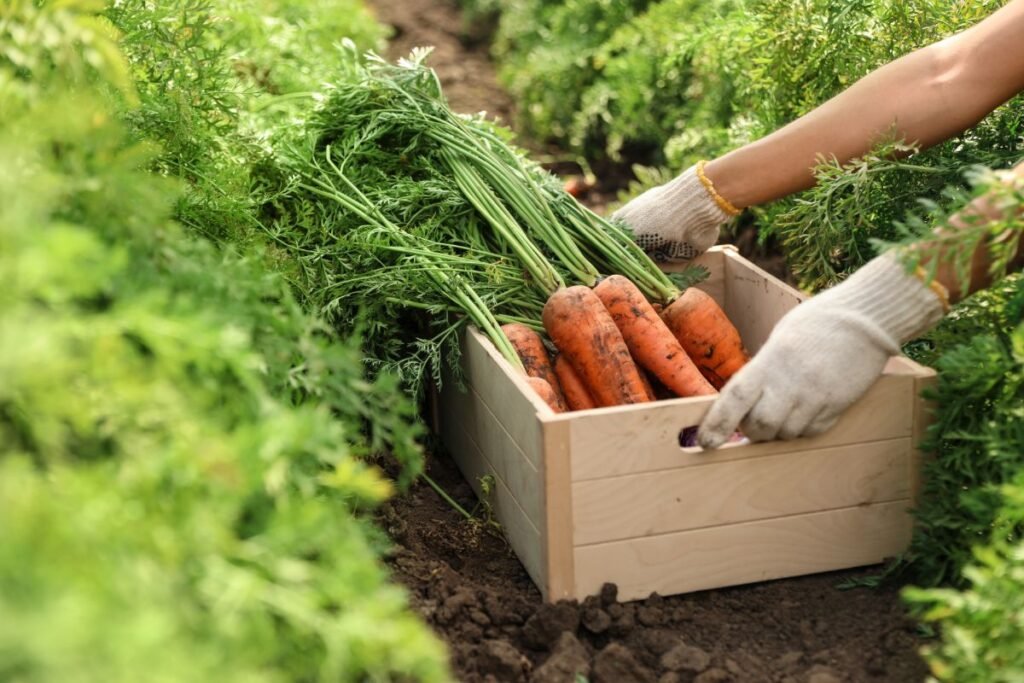
Harvesting Tips:
- Check root size by gently pulling one carrot from the soil
- Loosen soil with a garden fork to avoid breaking roots
- Harvest in the morning for the crispest texture
- Remove tops if storing for long-term use
Tip: Regular harvesting encourages continuous growth and prevents oversized, woody roots.
🌿 Step 11: Growing Carrots in Containers
Carrots can thrive in containers for small spaces or balconies.
Container Growing Tips:
- Use deep pots at least 12 inches to accommodate root growth
- Ensure good drainage to prevent waterlogging
- Use loose, sandy soil mixed with compost
- Water consistently and thin seedlings as needed
Lesson Learned: Container-grown carrots may yield slightly smaller roots but are perfect for urban gardening.
🌟 Step 12: Lessons Learned from Growing Carrots at Home
- Loose, deep soil is key for straight, healthy roots.
- Consistent watering prevents bitterness and splitting.
- Proper spacing and thinning allow roots to grow to full size.
- Mulching and composting improve flavor and soil fertility.
- Pest management ensures a high-quality, chemical-free harvest.
🌳 Conclusion: Enjoy Fresh, Homegrown Carrots
Growing carrots at home is simple, rewarding, and nutritious. With proper soil preparation, consistent watering, balanced fertilization, and care, you can enjoy sweet, crisp, and chemical-free carrots straight from your garden or balcony.
Whether planted in garden beds, raised beds, or containers, carrots are perfect for beginners and urban gardeners alike. Start your carrot-growing journey today and experience the joy of fresh, homegrown produce on your plate. 🥕🌿