
Saving seeds from your garden is a fantastic way to ensure a continuous supply of your favorite plants without incurring the costs associated with purchasing new seeds each season. This practice not only saves money but also contributes to biodiversity and promotes self-sufficiency. In this article, we will explore the various methods for saving seeds, the advantages of doing so, and best practices to ensure that your seeds remain viable for future planting.
Why Save Seeds?
Before diving into the techniques for saving seeds, it’s essential to understand the benefits of this practice. Here are some compelling reasons to consider:
- Cost-effective: By saving seeds from your garden, you reduce the need to buy new seeds each planting season, leading to significant savings over time.
- Preservation of heirloom varieties: Seed saving helps in preserving heirloom and native varieties that may not be commercially available.
- Better adaptability: Seeds saved from your garden plants will adapt to your local climate and soil conditions over time.
- Increased biodiversity: By saving and planting diverse seeds, you contribute to the overall health of local ecosystems.
When to Save Seeds
The timing for saving seeds varies by plant type. Here are some guidelines to help you know when to harvest seeds:
- Annuals: Wait until the plant has fully matured and the seed pods or heads have turned brown and dry.
- Biennials: These plants need to go through a winter season before they flower and produce seeds. Wait until the second season to harvest.
- Perennials: Like biennials, these plants may take a few growing seasons to bloom and produce seeds. Harvest them when they are fully mature.
How to Save Seeds
Follow these steps to save seeds efficiently:
1. Choose Healthy Plants
Select the healthiest, most robust plants for seed saving. These plants should show desirable traits, such as disease resistance, high yield, and consistent growth characteristics. Avoid saving seeds from plants that are stressed, diseased, or poorly producing.
2. Know Your Seed Types
Understanding the type of plants you are working with is crucial. There are three main categories of seeds:
- Open-pollinated seeds: These seeds produce similar plants to the parent plants and are ideal for seed saving.
- Heirloom seeds: These are open-pollinated varieties that have been passed down through generations. They often have unique flavors and traits.
- Hybrid seeds: These seeds are crossed between two different varieties and do not produce predictable offspring. It is generally not recommended to save these seeds.
3. Collecting Seeds
Once you’ve chosen your plants, it’s time to collect the seeds:
- Flowers: Collect seeds from flower heads when they have dried or turned brown. For example, remove the seeds from sunflowers or zinnias.
- Fruits: For fruit-bearing plants like tomatoes or peppers, allow them to fully ripen on the plant before harvesting.
- Pods: For plants like beans or peas, wait until the pods turn brown and dry on the plant.
4. Cleaning the Seeds
After collecting seeds, they need to be cleaned and prepared for storage:
- Remove debris: Use a sieve or your hands to separate seeds from plant material.
- Rinse (if necessary): Some seeds, especially from fruits, may require rinsing to remove pulp. Ensure the seeds are thoroughly dried afterward.
- Fermentation: For certain seeds, such as tomatoes, fermenting the seeds for a few days can help eliminate diseases. Place seeds and pulp in a container, add a little water, and let it sit until mold forms. Rinse and dry the seeds afterward.
5. Drying the Seeds
Properly drying seeds is critical to ensure longevity:
- Spread seeds out: Lay seeds in a single layer on a paper towel or a tray in a cool, dry place, away from direct sunlight.
- Monitor moisture: Ensure seeds are completely dry (usually takes several days). They should snap rather than bend.
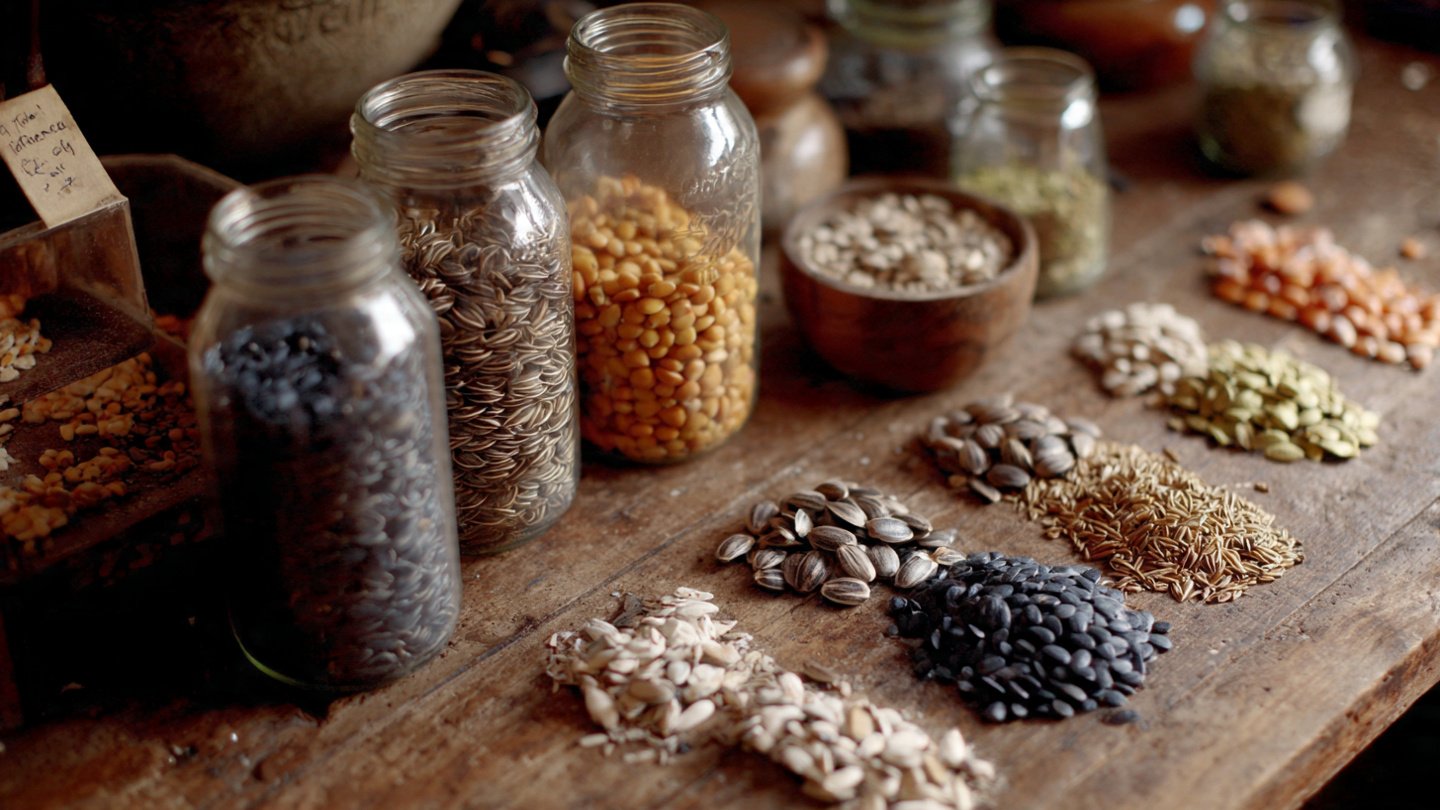
6. Storing the Seeds
After drying, it’s time to store the seeds properly:
- Choose containers: Store seeds in paper envelopes, glass jars, or vacuum-sealed bags. Avoid plastic bags as they can trap moisture.
- Label: Clearly label containers with the plant type and date of storage for easy identification.
- Store in a cool, dark place: Ideal storage conditions are cool, dry, and dark environments, such as a basement or refrigerator.
Best Practices for Seed Saving
To maximize your success in seed saving, consider these best practices:
- Rotate crops: Following a crop rotation system can help prevent disease buildup and improve plant health.
- Isolation: If you’re saving seeds from varieties that could cross-pollinate, isolate different varieties by distance or barriers to maintain seed purity.
- Record keeping: Keep a journal to document which seeds you save, their origins, and growing conditions for future reference.
Conclusion
Saving seeds from your garden is a fulfilling and rewarding practice that contributes not only to personal gardening success but also to environmental sustainability. By following the steps outlined in this article, anyone can become a pro at seed saving. This skill enriches your gardening experience, fosters a deeper connection with nature, and promotes a diverse ecosystem. Start experimenting with your seed saving process today, and enjoy the harvest of your well-tended garden for years to come!
FAQs
1. Can I save seeds from hybrid plants?
It’s generally not recommended to save seeds from hybrid plants since their offspring may not inherit the same traits as the parent plants.
2. How long can seeds be stored?
Stored seeds can remain viable for several years, depending on the type of seed and storage conditions. It’s best to use them within 3-5 years for optimal germination rates.
3. What is the best way to prevent seed contamination from cross-pollination?
To prevent cross-pollination, isolate different varieties of the same species by a sufficient distance (typically a quarter to half a mile) or use physical barriers such as row covers or netting.
4. Are there specific seeds that are easier to save than others?
Yes! Some easy-to-save seeds include tomatoes, peppers, beans, and sunflowers. More challenging seeds include those from plants that require cross-pollination.
5. How do I know if seeds are still viable?
You can perform a simple germination test. Place a few seeds on a damp paper towel, keep them warm, and check for sprouting in a week or two.