
Mint is one of the most versatile, aromatic, and resilient herbs you can grow at home. From refreshing teas to culinary dishes, desserts, and even homemade cosmetics, mint adds a burst of flavor and fragrance wherever it’s used. However, mint is also a fast-growing plant that can quickly take over your garden if not controlled. One of the best ways to grow mint efficiently and sustainably is by using a self-watering pot.
A self-watering pot is a container system designed to provide consistent moisture to your plants. For mint, which thrives in evenly moist soil, this method ensures strong, healthy growth with minimal maintenance. In this comprehensive guide, we’ll explore the benefits, setup, planting, care, and harvesting of mint in a self-watering pot.
🌱 Why Grow Mint in a Self-Watering Pot?
Growing mint in a self-watering system offers numerous advantages:
1. Consistent Moisture
Mint requires consistently damp soil for optimal growth. Self-watering pots provide water from a reservoir at the base, preventing overwatering or underwatering.
2. Reduced Maintenance
Once the reservoir is filled, your mint can draw water as needed. This means fewer trips to the sink and less worry about forgetting to water.
3. Controlled Growth
Mint is known for spreading rapidly. Growing it in a contained pot prevents it from overtaking your garden while still allowing robust growth.
4. Healthier Plants
Even moisture and proper drainage reduce the risk of root rot, fungal infections, and pest problems.
5. Space Efficiency
Self-watering pots are perfect for indoor gardens, balconies, or small patios. You can enjoy fresh mint all year round, even in limited space.
🛠 Step 1: Gather Your Materials
Creating a self-watering system for mint requires minimal tools and materials. Here’s what you’ll need:
Materials:
- A self-watering pot or container with a reservoir
- Potting mix (light, well-draining, nutrient-rich)
- Mint seeds, cuttings, or small plants
- Wick or capillary mat (for DIY setups)
- Water
- Fertilizer (optional, organic preferred)
DIY Alternative:
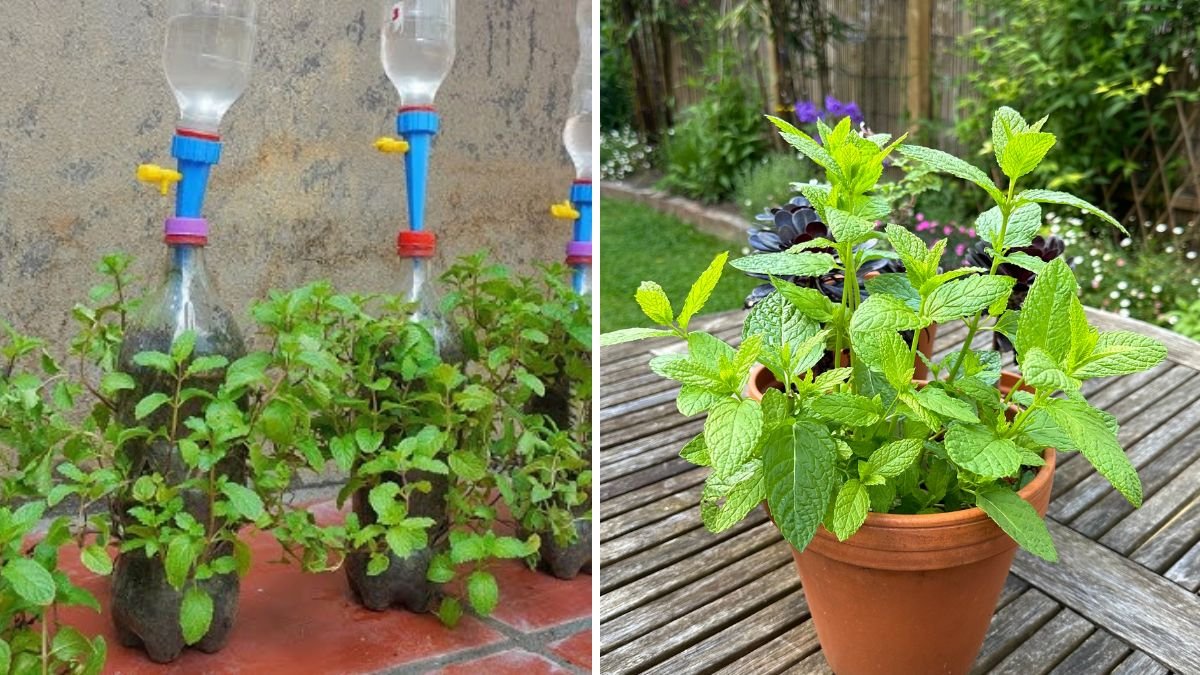
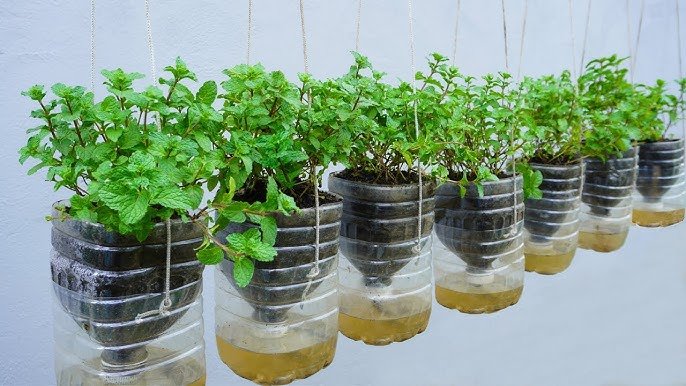
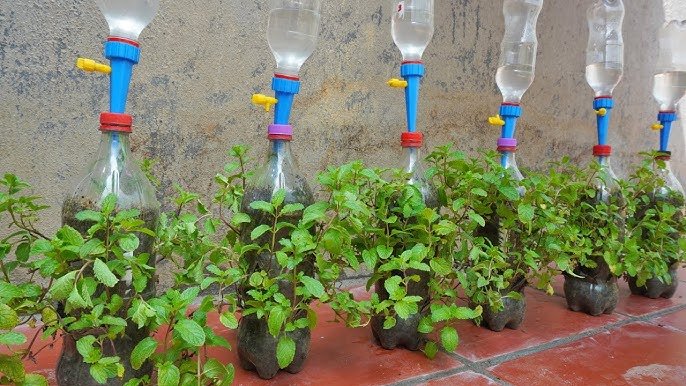
If you don’t have a commercial self-watering pot, you can repurpose two containers: one inverted as a soil chamber and the other as a water reservoir, with a wick or rope connecting them.
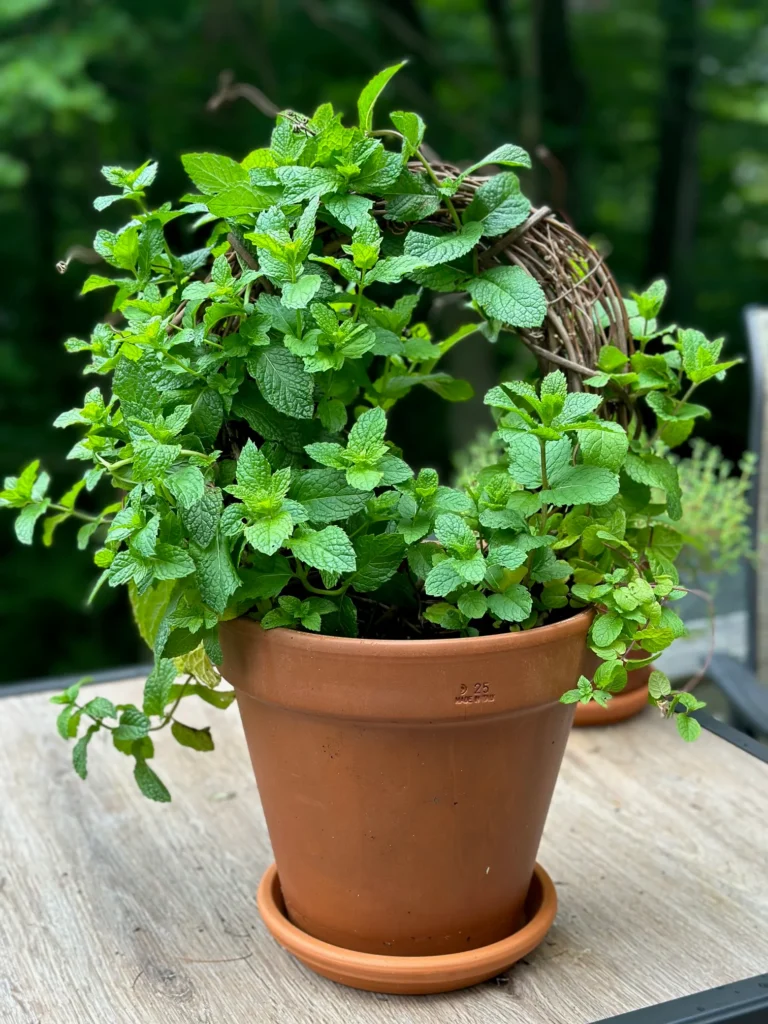
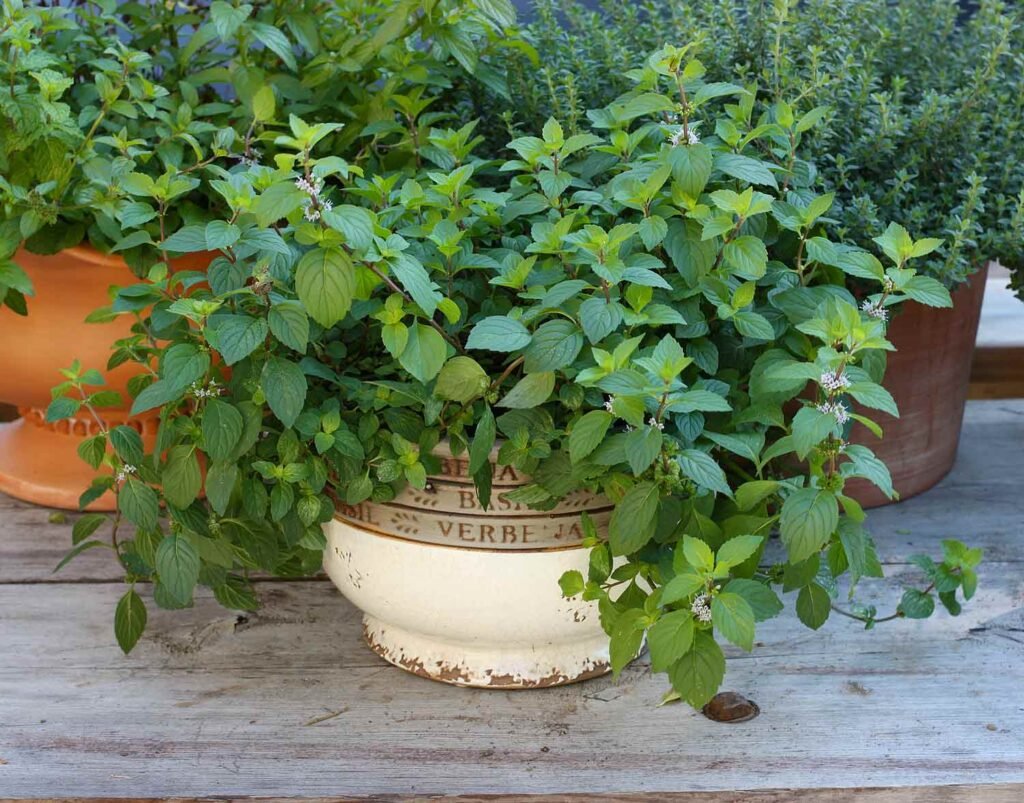
🌱 Step 2: Choose the Right Mint Variety
There are many types of mint, and each has its unique flavor and use. Popular varieties include:
- Spearmint: Mild and sweet, perfect for teas and salads
- Peppermint: Strong, refreshing flavor for desserts and beverages
- Chocolate mint: Subtle chocolate undertones, great for baking
- Apple mint: Fruity aroma, ideal for garnishes and smoothies
Select a variety based on your culinary preferences and growing space.
🌿 Step 3: Prepare the Potting Mix
Mint thrives in soil that is nutrient-rich, well-draining, and slightly acidic to neutral (pH 6–7).
Recommended Soil Mix:
- 40% compost (nutrient-rich and moisture-retaining)
- 30% coco peat or peat moss (light and airy)
- 20% perlite or coarse sand (for drainage)
- 10% garden soil or topsoil
Preparation:
- Mix the ingredients thoroughly.
- Moisten slightly before filling your self-watering pot.
- Fill the pot, leaving a small space at the top for watering and growth.
🌱 Step 4: Planting Your Mint
Mint can be grown from seeds, cuttings, or small starter plants. Each method has its benefits.
1. Growing from Seeds:
- Sprinkle seeds evenly on the soil surface.
- Cover lightly with a thin layer of soil.
- Mist gently with water to avoid displacing seeds.
- Germination typically takes 7–14 days.
2. Growing from Cuttings:
- Take a healthy 4–6 inch cutting from an existing mint plant.
- Remove the lower leaves and place the cutting in water until roots develop (7–10 days).
- Plant the rooted cutting into your self-watering pot.
3. Transplanting Small Plants:
- Purchase small mint plants from a nursery.
- Plant directly into your potting mix, ensuring roots are covered and soil is firm.
Tip: Space plants carefully if you’re planting multiple cuttings to prevent overcrowding.
💧 Step 5: Watering and Filling the Reservoir
The beauty of a self-watering pot is consistent hydration. Mint prefers evenly moist soil without becoming waterlogged.
Watering Tips:
- Fill the reservoir according to pot size and plant requirements.
- Check water levels every few days and refill as needed.
- Use lukewarm water to avoid shocking the roots.
- Avoid overhead watering; let the plant draw moisture from below.
DIY Wick Setup:
- Ensure the wick is fully submerged in the reservoir.
- Half of the wick should be buried in the soil to transfer water effectively.
🌿 Step 6: Sunlight and Temperature
Mint thrives in partial sun to full sunlight.
Light Requirements:
- 4–6 hours of direct sunlight daily
- Can tolerate partial shade, especially in hot climates
Temperature:
- Ideal: 18–24°C (65–75°F)
- Indoors, place near a bright window or under a grow light for consistent growth.
🌱 Step 7: Fertilizing Your Mint
Mint grows vigorously but benefits from occasional feeding for robust leaves and flavor.
Fertilizer Options:
- Liquid organic fertilizer every 2–3 weeks
- Compost tea or diluted fish emulsion for natural growth
- Avoid over-fertilizing, which can make leaves bitter
Tip: Fertilizer can be added to the water reservoir or applied directly to soil.
🌿 Step 8: Pruning and Maintenance
Regular pruning encourages bushy growth and prevents mint from becoming leggy.
Pruning Tips:
- Pinch off the tips of stems regularly.
- Remove flowering shoots to focus energy on leaf production.
- Harvest leaves continuously for best flavor and growth.
Pest Control:
- Keep an eye out for aphids or spider mites.
- Use natural remedies like neem oil or mild soap sprays.
- Proper airflow and healthy soil reduce pest infestations.
🌱 Step 9: Harvesting Your Mint
Mint can be harvested multiple times throughout its growth cycle.
When to Harvest:
- Begin harvesting once the plant reaches 4–6 inches in height.
- Take no more than one-third of the plant at a time to allow continuous growth.
How to Harvest:
- Use scissors to snip leaves or stems.
- Harvest in the morning for peak flavor.
- Regular harvesting encourages bushier plants and prevents flowering.
Storage Tips:
- Fresh mint can be stored in a jar of water in the refrigerator.
- Freeze leaves for long-term use or dry them for teas and culinary use.
🌟 Benefits of Growing Mint in a Self-Watering Pot
Growing mint this way offers a range of benefits:
- Continuous Supply: Consistent watering promotes steady growth.
- Low Maintenance: Less frequent watering and monitoring.
- Space Efficiency: Ideal for indoor, balcony, or limited spaces.
- Pest-Free Growth: Reduced soil-borne pests and diseases.
- Aromatic and Flavorful: Fresher, more aromatic leaves for cooking, drinks, and DIY remedies.
🌿 Final Thoughts
Growing mint in a self-watering pot is a simple, efficient, and rewarding gardening method. It combines the plant’s love of moisture with a hassle-free system that minimizes daily maintenance. Whether you’re an experienced gardener or a beginner, this approach ensures vibrant, healthy mint that can be harvested all year round.
By choosing the right pot, soil, and plant method, and following a consistent care routine, you can enjoy fresh, aromatic mint at your fingertips. With minimal effort and maximum reward, a self-watering pot transforms mint cultivation into a convenient, sustainable, and highly satisfying gardening experience.