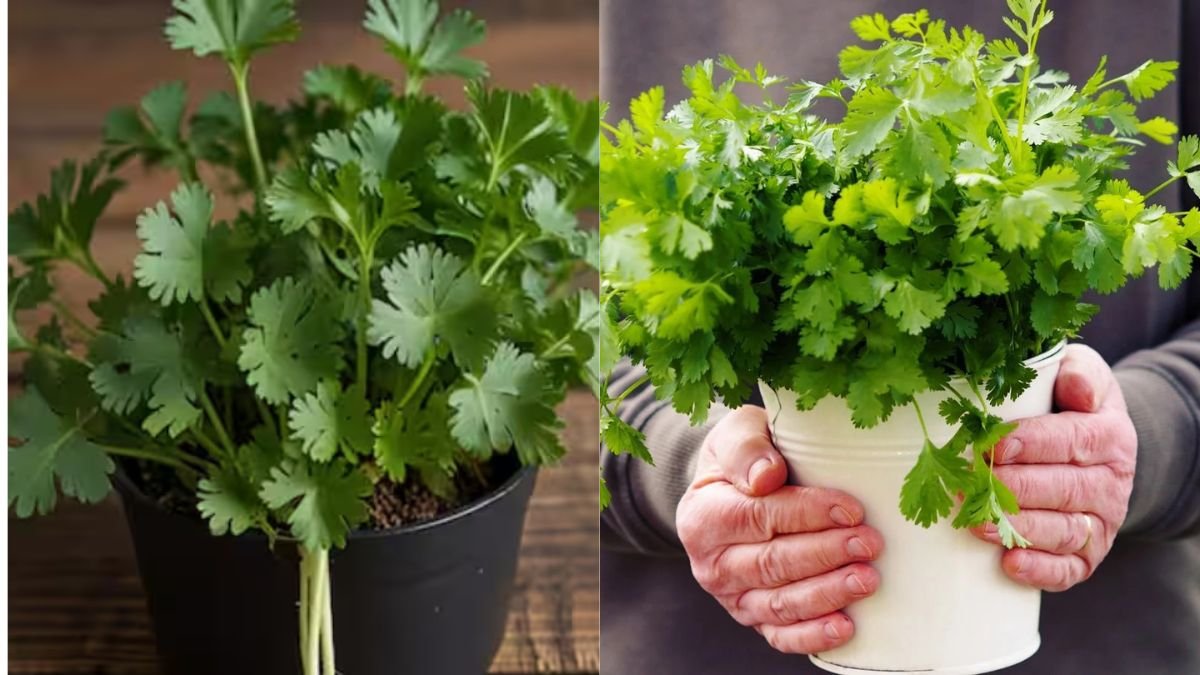

Coriander, also known as cilantro, is a versatile herb used worldwide for its aromatic leaves and flavorful seeds. Whether you’re cooking Indian curries, Mexican salsas, or Mediterranean dishes, fresh coriander adds a punch of flavor that store-bought leaves simply can’t match. The great news is that you can grow coriander easily at home, even in small pots, balconies, or kitchen windowsills. This comprehensive 1200-word guide will walk you through the simplest method to grow a healthy, productive coriander plant at home, from seed to harvest.
🌿 Why Grow Coriander at Home?
Homegrown coriander offers many advantages:
- Freshness: Leaves picked right before cooking retain maximum flavor and nutrients.
- Health benefits: Coriander is rich in antioxidants, vitamins A, C, and K, and aids digestion.
- Space-efficient: Grows well in pots, trays, and even vertical planters.
- Continuous supply: By staggering sowing, you can enjoy fresh leaves all year.
- Cost-effective: Saves money compared to buying fresh herbs frequently.
With the right technique, anyone can grow lush coriander plants quickly and easily.
🌿 Understanding Coriander Plants
Botanical Name: Coriandrum sativum
Plant Type: Annual herb
Growth Habit: Upright, leafy plant
Sunlight Requirement: Full sun to partial shade
Soil Preference: Well-draining, fertile soil
Coriander grows best in moderate temperatures and requires consistent moisture for tender leaves. It thrives both in the garden and in containers.
🌿 Step 1: Choosing the Right Seeds
Selecting high-quality seeds is the first step to successful growth.
- Use certified organic seeds for better germination.
- Avoid old seeds—they may have reduced viability.
- For continuous harvest, select slow-bolting varieties if available.
Optional Pre-Soaking
Soak seeds in warm water for 12–24 hours. This softens the seed coat and promotes faster germination, ensuring a healthy start for your plants.
🌿 Step 2: Selecting Containers and Soil
Coriander grows well in pots, trays, or raised beds.

Container Tips:
- Minimum depth: 6–8 inches
- Material: Plastic, ceramic, or clay pots
- Must have drainage holes
Soil Mix:
- 40% garden soil
- 30% compost or well-rotted organic manure
- 20% cocopeat or vermicompost
- 10% sand for drainage
This nutrient-rich, well-draining soil ensures strong root development and healthy leaves.
🌿 Step 3: Sowing Coriander Seeds
Coriander seeds are small, but sowing is simple:
Direct Sowing:
- Fill the container with the prepared soil mix.
- Sow seeds ¼–½ inch deep, spacing them 2–3 inches apart.
- Cover lightly with soil and press gently.
- Water immediately using a spray bottle to avoid washing seeds away.
Seedling Tray Method:
- Start seeds in trays or small pots.
- Transplant seedlings after 2–3 weeks when they have 2–3 true leaves.
Germination Time:
- Seeds typically sprout in 7–10 days under optimal conditions.
🌿 Step 4: Watering and Moisture Management
Coriander requires consistent moisture, especially during the early stages.
Watering Guidelines:
- Keep soil evenly moist, not waterlogged.
- Water gently using a spray or small watering can.
- Avoid overhead watering that can lead to fungal infections.
- Mulch with straw or dried leaves to retain soil moisture and reduce evaporation.
Proper moisture ensures lush, tender leaves without stress-induced bolting.
🌿 Step 5: Sunlight and Temperature Requirements
Coriander prefers moderate sunlight:
- Ideal sunlight: 4–6 hours per day
- Can tolerate light shade, especially in hot climates
- Optimal temperature: 20–25°C
- Protect young seedlings from frost and extreme heat
A sunny balcony or a windowsill with morning light is perfect for growing coriander at home.
🌿 Step 6: Fertilizing Your Coriander Plant
Coriander is a light feeder but benefits from organic nutrients.
Organic Fertilizer Options:
- Vermicompost: Every 2–3 weeks
- Liquid seaweed: Every 15 days for growth stimulation
- Cow dung manure: Monthly, lightly mixed into soil
Tips:
- Avoid excess nitrogen—it encourages leaf growth but reduces flavor.
- Compost tea or diluted organic fertilizers are ideal for young plants.
🌿 Step 7: Pruning and Harvesting Leaves
Frequent harvesting encourages bushy growth and prevents premature flowering (bolting).
How to Harvest:
- Pick outer leaves first, leaving the inner leaves intact.
- Use scissors or pinch gently to avoid damaging the plant.
- Start harvesting 3–4 weeks after sowing.
Pruning Tips:
- Remove yellow or damaged leaves regularly.
- Pinch the tips to encourage lateral branching and denser foliage.
Regular pruning ensures a continuous supply of fresh leaves.
🌿 Step 8: Managing Flowering (Bolting)
Coriander plants tend to bolt (flower) quickly in hot weather, reducing leaf yield.
Prevention Tips:
- Keep plants partially shaded during extreme heat
- Maintain consistent soil moisture
- Harvest leaves frequently
- Sow seeds in staggered batches to ensure continuous harvest
Bolting is natural, but careful management prolongs the leaf production stage.
🌿 Step 9: Pest and Disease Management
Coriander is generally hardy but can face occasional pest or disease issues.
Common Pests:
- Aphids
- Whiteflies
- Spider mites
Organic Solutions:
- Neem oil spray every 10–15 days
- Soap water for aphid control
- Maintain good air circulation around plants
Common Diseases:
- Powdery mildew: Avoid overcrowding and excessive humidity
- Root rot: Ensure proper drainage
Healthy plants in well-prepared soil rarely face serious problems.
🌿 Step 10: Tips for Continuous Harvest
To enjoy coriander all year round:
- Sow seeds in batches every 2–3 weeks
- Rotate containers or garden beds to avoid soil exhaustion
- Use vertical planters for space-efficient growth
- Fertilize regularly and mulch to conserve moisture
With these steps, you can maintain a continuous supply of fresh coriander leaves in any season.
🌿 Step 11: Growing Coriander Indoors
Coriander grows well indoors if you follow a few key points:
- Choose a sunny windowsill or balcony
- Use deep pots for adequate root space
- Maintain consistent moisture and temperature
- Provide gentle airflow to reduce fungal infections
Indoor growing is perfect for urban homes with limited outdoor space.
🌿 Step 12: Harvesting Seeds (Optional)
Coriander seeds are used as spice and for medicinal purposes.
Seed Harvesting Steps:
- Allow flowers to bloom and form seed heads
- Wait until seeds turn brown and dry
- Collect seeds and store in airtight containers
This gives you a dual-purpose plant, providing both leaves and seeds for culinary use.
🌿 Why This Method Works Well at Home
This home-growing method is ideal because it:
✔ Requires minimal space and effort
✔ Produces leaves in 3–4 weeks
✔ Uses organic, easily available fertilizers
✔ Prevents bolting through proper care
✔ Provides a sustainable, continuous supply of fresh coriander
Even beginners can achieve lush, flavorful plants at home with this simple approach.
🌿 Final Thoughts
Growing coriander at home is simple, rewarding, and incredibly useful for daily cooking. With proper seeds, soil, watering, sunlight, and consistent care, you can cultivate a thriving coriander plant in just a few weeks.
Whether you’re a beginner gardener, a busy urban dweller, or someone who loves fresh herbs, this method allows you to enjoy homegrown, organic coriander leaves all year round. From seed to harvest, the process is satisfying, easy, and ensures your dishes always have that fresh, aromatic flavor that store-bought herbs can’t match.
Start today, and in no time, your kitchen or balcony will be filled with lush green coriander, ready to elevate every meal!