
Chickpeas, also known as garbanzo beans, are one of the most versatile and nutritious legumes in the world. Rich in protein, fiber, vitamins, and minerals, they are a staple in many cuisines—from Indian curries and Middle Eastern hummus to Mediterranean salads. While most people buy chickpeas from the store, the exciting truth is that you can grow chickpea plants easily at home, whether in pots, garden beds, or small backyard spaces. This comprehensive guide will walk you step by step through growing healthy, high-yielding chickpea plants at home, ensuring fresh beans for your meals.
🌱 Why Grow Chickpeas at Home?
Homegrown chickpeas offer numerous benefits:
- Fresh and organic beans free from pesticides
- High nutritional value for protein-rich diets
- Cost-effective: Save money on dried chickpeas
- Easy to grow in small spaces like pots or terrace gardens
- Sustainable and rewarding: Encourages home gardening and healthy eating
Unlike many other legumes, chickpeas grow quickly and are adaptable to home gardens, making them perfect for beginners and busy gardeners.
🌱 Understanding the Chickpea Plant
Botanical Name: Cicer arietinum
Plant Type: Annual legume
Growth Habit: Bushy, low-growing plant
Sunlight Requirement: Full sun
Soil Preference: Well-draining, fertile, neutral to slightly alkaline (pH 6–8)
Chickpeas are cool-season crops that thrive in moderate climates. They fix nitrogen in the soil, improving soil fertility for future crops, making them ideal for companion planting as well.
🌱 Step 1: Choosing the Right Seeds
Selecting high-quality seeds is essential for a successful crop.
Tips for Choosing Seeds:
- Use certified organic chickpea seeds for better germination
- Avoid old or damaged seeds
- Choose varieties suited to your local climate (desi or kabuli types)
Optional Pre-soaking:
- Soak seeds in water for 6–12 hours before planting
- This softens the seed coat and speeds up germination
Pre-soaking also reduces the risk of seed rot and helps seedlings emerge uniformly.
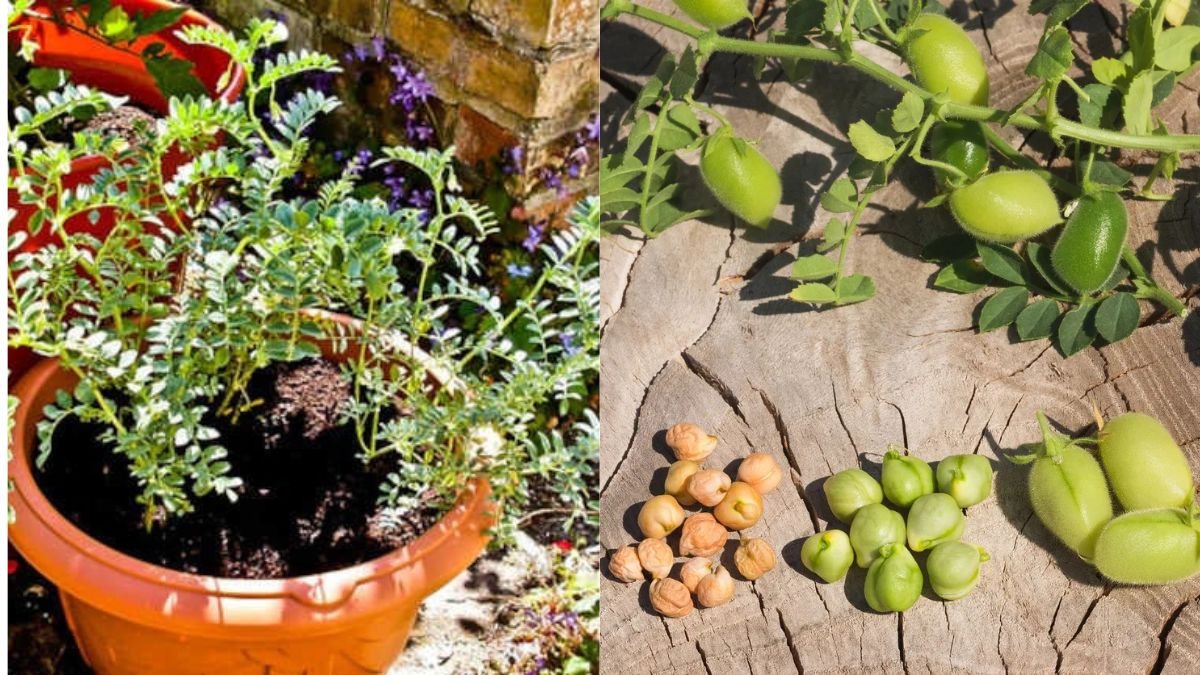
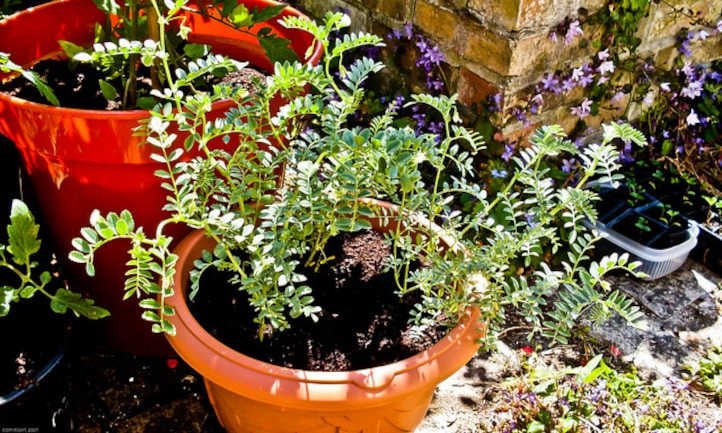
🌱 Step 2: Preparing the Soil and Containers
Chickpeas thrive in loose, fertile, well-draining soil.
Container Options:
- Large pots (8–12 inches deep)
- Raised garden beds
- Direct garden soil if available
Soil Mix for Home Gardening:
- 40% garden soil
- 30% compost or organic manure
- 20% cocopeat or vermicompost
- 10% sand for proper drainage
Ensure containers have drainage holes to prevent waterlogging, which can damage chickpea roots.
🌱 Step 3: Sowing Chickpea Seeds
Chickpeas are easy to sow, whether in pots or garden beds.
Steps for Direct Sowing:
- Fill your container or garden bed with prepared soil.
- Plant seeds 1–2 inches deep, spaced 3–4 inches apart.
- Cover lightly with soil and water gently.
- Place the container in a sunny spot.
Germination Time:
- Seeds typically sprout in 7–10 days
- Keep the soil consistently moist but not soggy
Tip:
- Thin seedlings to 6–8 inches apart once they develop 2–3 true leaves, allowing space for bushy growth.
🌱 Step 4: Watering Your Chickpea Plants
Chickpeas require moderate watering to establish roots and support flowering.
Watering Guidelines:
- Water lightly but consistently during early growth
- Avoid overwatering, as chickpeas prefer slightly dry soil during maturity
- Mulch with straw or dried leaves to retain moisture and regulate soil temperature
Proper watering ensures healthy root development, strong stems, and higher yields.
🌱 Step 5: Sunlight and Temperature Requirements
Chickpeas grow best in cool, sunny conditions:
- Sunlight: 6–8 hours daily
- Optimal temperature: 18–25°C for germination and growth
- Avoid extremely hot or humid conditions that can stress the plant
A sunny balcony, terrace, or garden spot is ideal for homegrown chickpeas.
🌱 Step 6: Fertilizing Chickpeas
Chickpeas are nitrogen-fixing plants, but a little extra fertilizer helps maximize yield.
Organic Fertilizer Options:
- Vermicompost or cow dung manure at sowing and every 3–4 weeks
- Liquid compost tea to encourage growth and flowering
Optional Mineral Fertilizers:
- Balanced NPK (10:10:10) once during early growth
- Avoid excessive nitrogen, which encourages leafy growth over pod formation
🌱 Step 7: Supporting the Plant
Most chickpea varieties are bushy and low-growing, so staking is usually not required.
- If using a trellis for certain climbing varieties, tie stems gently
- Remove any weak or damaged stems to strengthen overall plant structure
Healthy, well-supported plants produce more pods and are less prone to disease.
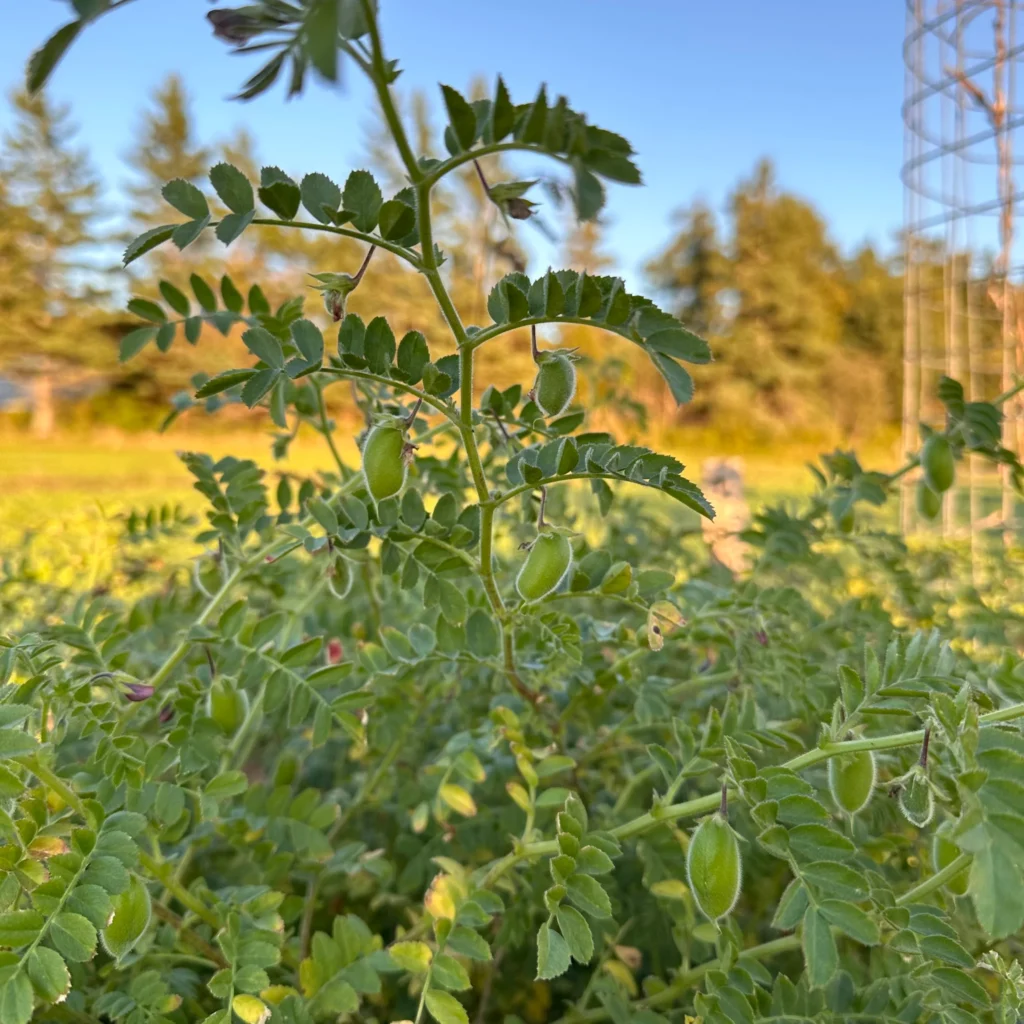
🌱 Step 8: Flowering and Pollination
Chickpeas produce small, delicate flowers that are usually self-pollinating.
Flowering Tips:
- Flowers appear 4–6 weeks after sowing
- Avoid water stress during flowering for better pod formation
- Protect flowers from pests like aphids or ants
Pollination usually occurs naturally, so minimal intervention is needed for home growers.
🌱 Step 9: Pruning and Maintenance
Though chickpeas are low-maintenance, a few simple steps improve growth and yield:
- Remove yellow or damaged leaves regularly
- Mulch around the base to retain moisture and prevent weeds
- Thin crowded plants to ensure proper sunlight penetration
Regular maintenance prevents disease and encourages healthy, bushy plants.
🌱 Step 10: Pest and Disease Management
Chickpeas are hardy but may encounter occasional problems:
Common Pests:
- Aphids
- Pod borers
- Cutworms
Organic Solutions:
- Neem oil spray every 2–3 weeks
- Garlic or chili water sprays
- Handpick affected leaves or pods
Common Diseases:
- Powdery mildew: Prevent with good air circulation
- Root rot: Ensure proper drainage
Healthy plants, regular care, and clean soil minimize pest and disease issues.
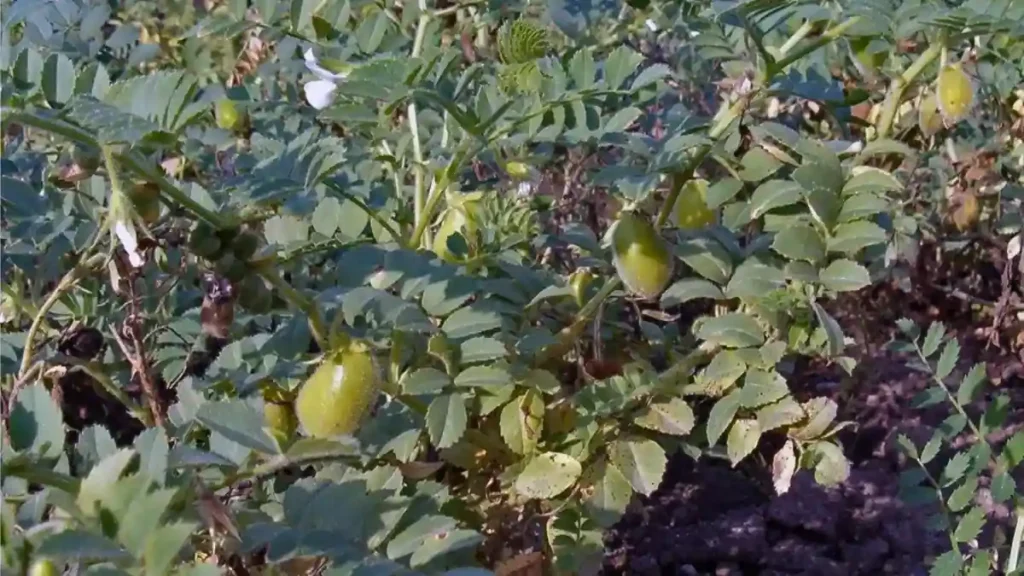
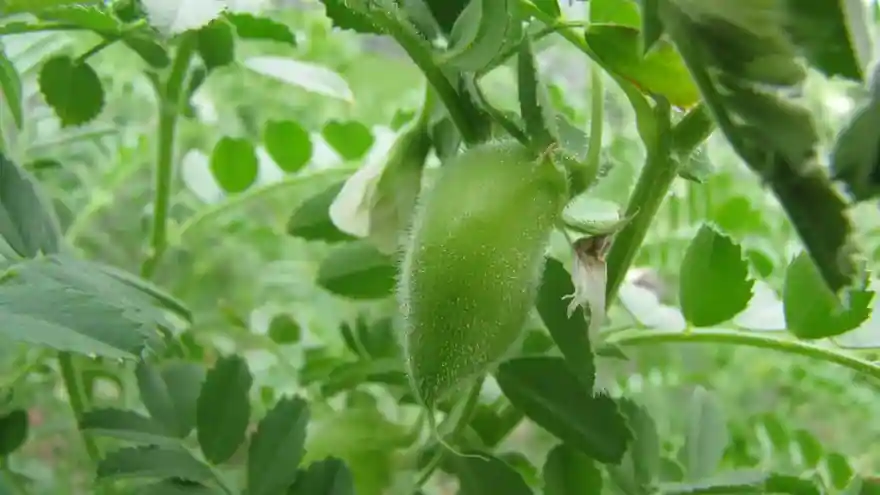
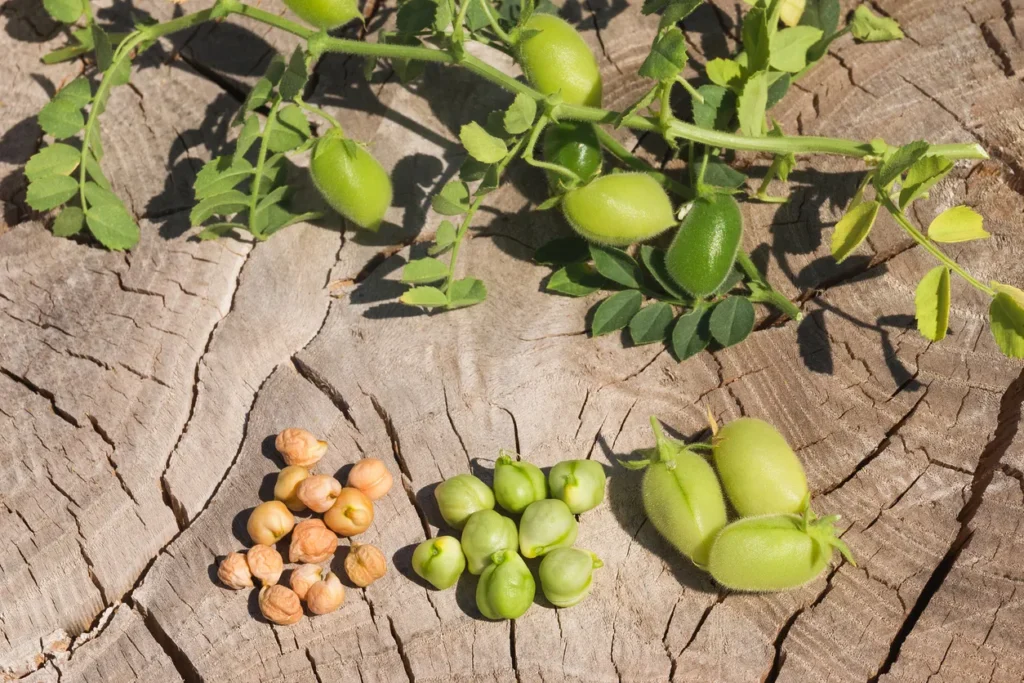
🌱 Step 11: Harvesting Chickpeas
Chickpeas are ready for harvest when pods turn yellow and dry.
Harvesting Steps:
- Pick the entire plant or pods individually
- Allow harvested pods to dry further in shade for a few days
- Shell the seeds and store in airtight containers
Homegrown chickpeas can be used immediately for cooking or stored for months.
🌱 Step 12: Tips for Continuous Production
To enjoy chickpeas continuously at home:
- Sow seeds in staggered batches every 2–3 weeks
- Rotate containers or garden plots to avoid soil depletion
- Maintain soil fertility with organic compost
- Harvest regularly to encourage new pod formation
With these practices, you can enjoy fresh chickpeas throughout the growing season.
🌱 Why This Method Works Well for Home Gardens
This method is perfect for home gardening because it:
✔ Works in small spaces, pots, or terrace gardens
✔ Produces beans in 2–3 months
✔ Uses organic, readily available fertilizers
✔ Requires minimal maintenance and care
✔ Is beginner-friendly and cost-effective
Even beginners can enjoy a lush chickpea plant and a reliable harvest using these steps.
🌱 Final Thoughts
Growing chickpeas at home is simple, rewarding, and highly beneficial for your diet. From seed selection to planting, watering, fertilization, and harvesting, this step-by-step guide ensures success for beginners and experienced gardeners alike.
With patience and consistent care, your garden or balcony will soon be home to healthy chickpea plants, providing fresh, protein-rich beans for your meals. Start today, and enjoy the satisfaction of homegrown chickpeas right from your own space!