
Growing garlic at home is one of the most satisfying gardening experiences — it requires very little space, minimal care, and rewards you with big, fresh, aromatic bulbs that taste far better than store-bought varieties. Whether you live in an apartment, have a small terrace garden, or a spacious backyard, garlic grows beautifully almost anywhere.
If you’ve always wanted to grow your own garlic but didn’t know where to begin, this comprehensive guide will walk you through every step — from choosing the right cloves to harvesting, curing, and storing your garlic for months.
1. Why Growing Garlic at Home Is Totally Worth It
Garlic is more than just a kitchen essential — it’s a powerhouse of flavor and nutrition. When you grow it yourself, you get:
- Bigger, juicier cloves
- Stronger aroma and taste
- Chemical-free, organic produce
- Lower cost compared to store garlic
- The pleasure of growing your own food
Garlic is also one of the easiest crops to grow, making it ideal for beginners, busy gardeners, and even kids learning about gardening.
2. The Best Garlic Varieties for Home Growing
There are two main types of garlic:
A. Hardneck Garlic
- Produces a flowering stalk (scape)
- Larger cloves, stronger flavor
- Grows best in cold regions
B. Softneck Garlic
- No flower stalk
- More cloves per bulb
- Stores longer
- Ideal for warm climates
If you live in a warm or tropical region, choose softneck varieties. If you experience cooler winters, hardneck varieties grow beautifully.
3. Choosing the Right Cloves
Garlic is grown from individual cloves — not seeds. The cloves you select will determine the success of your harvest.
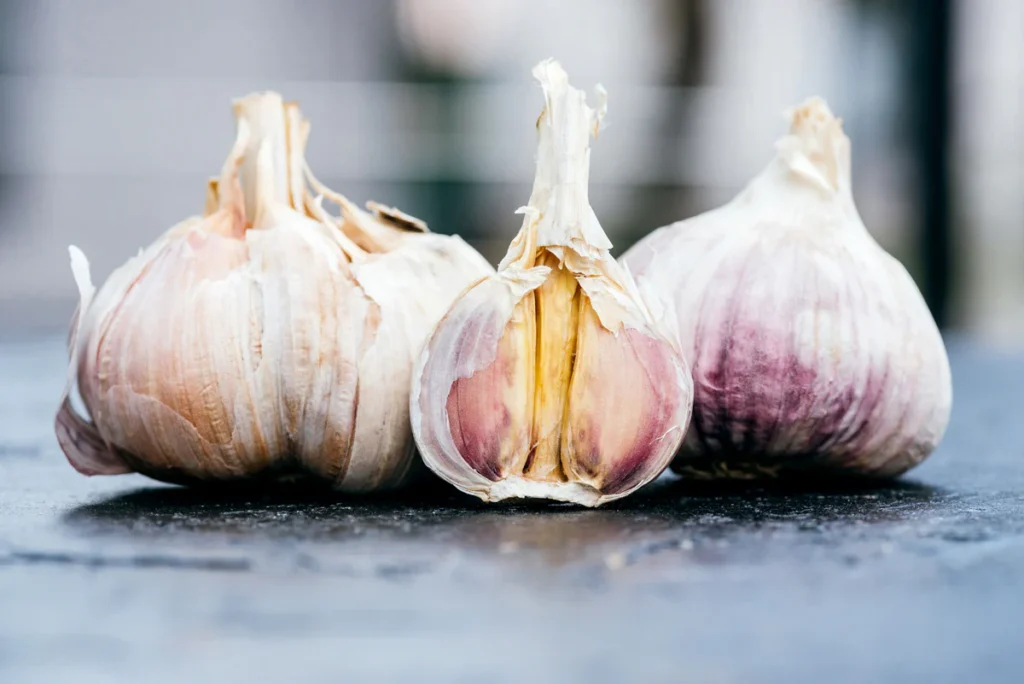
What to Look For:
- Firm, plump cloves
- No signs of mold or softness
- Choose the largest cloves — they produce the biggest bulbs
- Avoid garlic from supermarkets treated to prevent sprouting
If possible, buy “seed garlic” from nurseries or local farmers, as these are untreated and healthier.
4. When to Plant Garlic
Garlic loves cool weather to start growing and warm weather to finish.
Ideal planting time:
- Cold climates: Autumn (Sept–Nov)
- Warm climates: Winter or early spring (Dec–Feb)
Generally, the earlier you plant in the cool season, the bigger your bulbs will be.
5. Preparing Soil: The Secret to Big Garlic Bulbs
Garlic thrives in loose, well-draining soil.
Ideal Soil Mix:
- 40% garden soil
- 40% compost or well-rotted manure
- 20% sand or coco peat for drainage
Key Requirements:
- pH between 6.0–7.0
- Soil should be fluffy, not compact
- Add extra compost during planting season
Garlic roots dislike waterlogging, so avoid heavy clay soil.
6. Choosing the Right Pot (If Growing in Containers)
You can grow garlic perfectly in containers. Just choose:
- A pot at least 8–10 inches deep
- Width depending on how many cloves you plant
- Good drainage holes
A rectangular grow bag or wide round pot works best for multiple cloves.
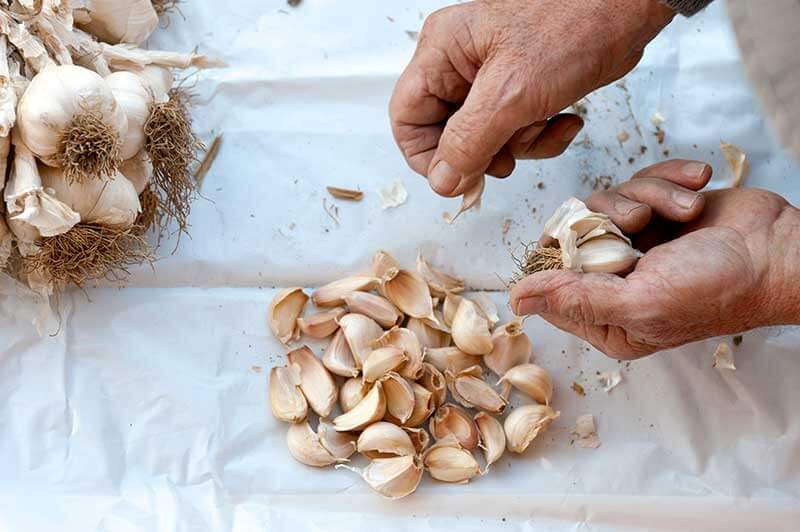
7. How to Plant Garlic Step-by-Step
Here’s the simplest method to get started:
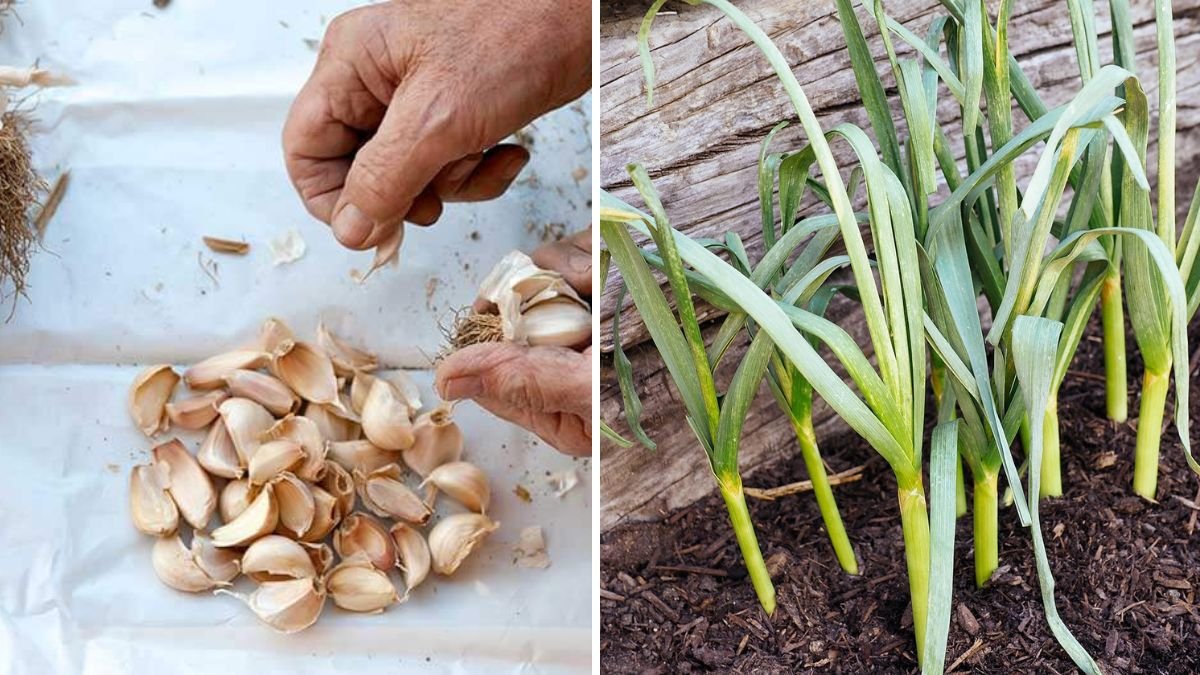
- Separate the garlic bulb into individual cloves.
- Keep the papery skin on — it protects the clove.
- Plant each clove pointed end up, root end down.
- Plant 2–3 cm deep in warm regions; 5–7 cm deep in cold regions.
- Maintain 10–15 cm spacing between cloves for big bulbs.
- Cover with soil lightly — don’t press too hard.
- Water gently.
Within 7–15 days, green shoots will appear.
8. Watering Garlic the Right Way
Garlic loves moisture but hates soggy soil.
Best Practices:
- Water deeply once the top 2–3 cm of soil feels dry
- Reduce watering during cold months
- Increase watering in summer as bulbs start forming
- Stop watering completely 1–2 weeks before harvest to prevent rot
Consistent but moderate watering encourages strong bulb formation.
9. Sunlight Requirements
Garlic requires lots of sunlight to produce large bulbs.
- At least 6 hours of direct sunlight daily
- Place the pot or bed in a bright, open area
- If indoors, use a balcony or window with maximum light
More sunlight = better bulb size.
10. Fertilizing Garlic for Larger Bulbs
Garlic is a heavy feeder, especially during leaf growth and bulb formation.
Recommended Fertilizers:
- Compost or vermicompost (every 30–45 days)
- Liquid seaweed or compost tea (every 15–20 days)
- Wood ash (sprinkle lightly for potassium)
- Mustard cake fertilizer (once a month, diluted)
Avoid high nitrogen fertilizers, as they promote excessive leaves but small bulbs.
11. Removing Scapes (Hardneck Garlic Only)
If you are growing hardneck garlic, the plant will produce a curly flower stalk called a scape.
Why Remove Scapes?
- Scapes steal energy from the bulb
- Removing them increases bulb size by up to 30%
Simply cut the scape once it curls. And don’t throw it away — garlic scapes are delicious in stir-fries, pesto, and soups!
12. Common Problems and How to Avoid Them
Although garlic is low-maintenance, a few issues can arise:
A. Yellowing Leaves
Caused by:
- Overwatering
- Nutrient deficiency
- Poor soil drainage
Fix: Improve drainage, add compost, and reduce watering.
B. Small Bulbs
Usually due to:
- Planting too densely
- Not enough sunlight
- Too much nitrogen
Fix: Improve spacing, reposition for more sun, switch to balanced fertilizers.
C. Rotting Cloves
Caused by waterlogging.
Fix: Improve drainage and avoid heavy watering.
13. How Long Does Garlic Take to Grow?
Garlic takes 6–8 months from planting to harvest.
The plant goes through stages:
- Sprouting – 1–2 weeks
- Leaf Growth – 2–3 months
- Bulb Formation – Month 3–5
- Maturity & Drying – Month 6–8
Patience is key — but the results are worth it.
14. Harvesting Garlic at the Perfect Time
Knowing when to harvest is crucial.
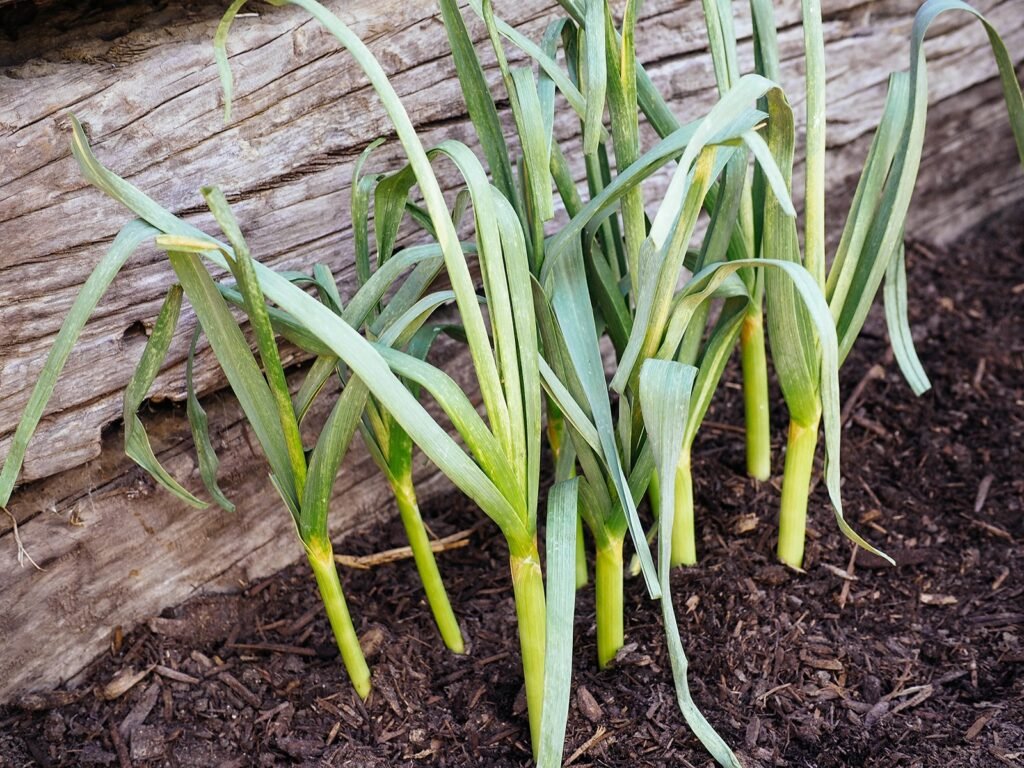
Signs Garlic Is Ready:
- Lower leaves turn yellow and dry
- Upper leaves remain green
- Bulbs feel firm
If you wait too long, bulbs separate and don’t store well.
How to Harvest:
- Loosen soil gently around the bulb
- Pull garlic out by holding the base, not the leaves
- Do not wash — just brush off dirt
Fresh garlic will smell fragrant and feel thick-skinned.
15. Curing Garlic for Long Storage
Curing is essential to store garlic for months.
Steps to Cure Garlic:
- Keep bulbs in a warm, dry, well-ventilated area.
- Hang them in bundles or spread on a mesh rack.
- Avoid direct sunlight.
- Let them cure for 2–3 weeks.
- Once skins are crispy, trim roots and cut off leaves.
Cured garlic can last up to 6–8 months in proper storage.
16. Storing Garlic the Right Way
To maximize shelf life:
- Store in a cool, dry, airy place
- Use mesh bags, baskets, or paper bags
- Avoid plastic bags
- Keep away from moisture
Never store garlic in the fridge — it causes sprouting.
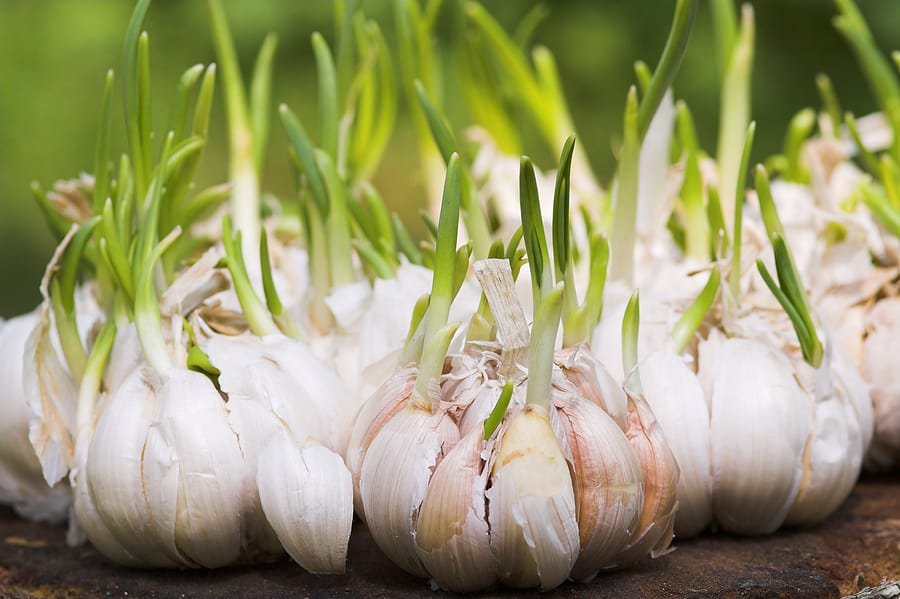
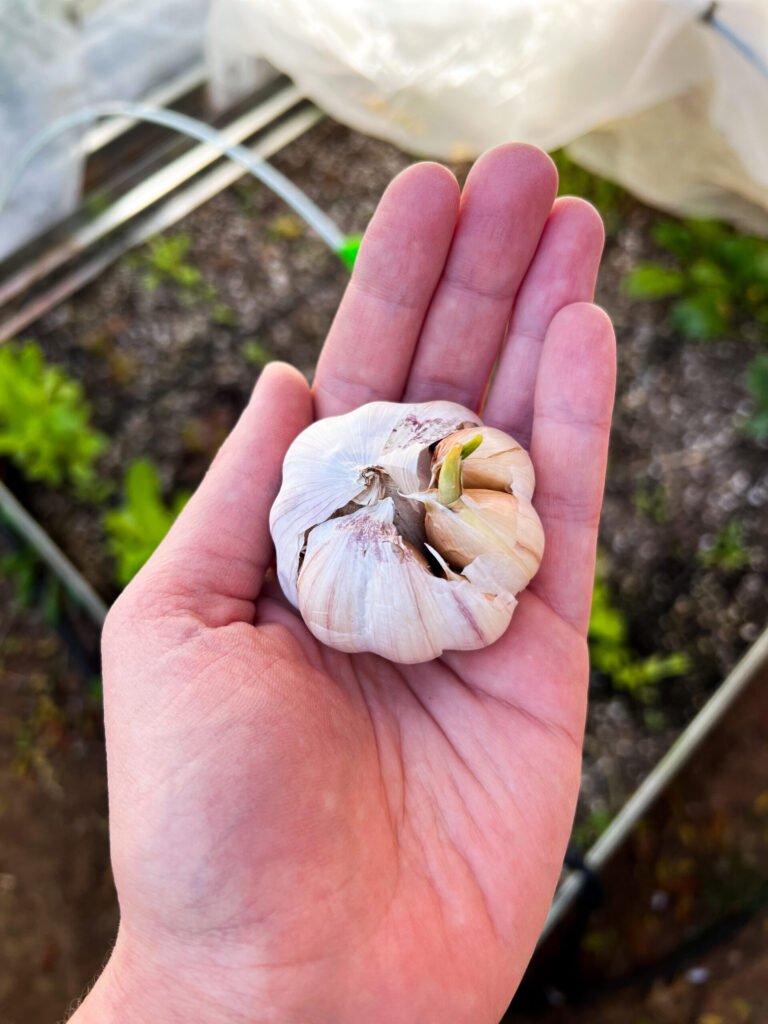
17. Regrowing Garlic From Sprouted Cloves
If a garlic clove starts sprouting in your kitchen — don’t throw it away!
You can plant sprouted garlic directly in pots or soil. It will grow exactly like a fresh clove.
18. Growing Garlic Indoors
If you lack outdoor space, garlic can still grow indoors:
- Use a sunny windowsill
- Choose a deep pot
- Ensure good drainage
- Water lightly
- Provide 6 hours of sunlight or use a grow light
Indoor garlic often produces excellent greens (garlic chives), even if bulb size varies.
19. Using Garlic Greens (Bonus Harvest!)
Garlic greens are flavorful and nutritious.
Use them in:
- Stir-fries
- Salads
- Soups
- Omelets
- Parathas
Harvest greens lightly so the plant still forms bulbs.
20. Benefits of Growing Garlic at Home
- 100% organic
- Fresh, superior taste
- Long-term storage
- Low maintenance
- Very little space required
- Great learning project for kids and beginners
Conclusion
Growing garlic at home is truly one of the simplest and most rewarding gardening projects. With just a few cloves, a bit of soil, sunlight, and patience, you can enjoy fragrant, flavorful garlic harvested straight from your own garden or balcony.
Whether you’re growing it in containers, raised beds, or directly in the ground, garlic thrives with minimal care. Follow the steps in this detailed guide, and you’ll enjoy big, healthy bulbs season after season.