
Peppers are among the most versatile and rewarding plants to grow. From sweet bell peppers to fiery chili varieties, they can spice up your meals, enhance your garden’s beauty, and even provide a sense of accomplishment for home gardeners. But growing peppers from seeds requires knowledge, patience, and a little bit of strategy to ensure healthy, productive plants.
In this comprehensive guide, you’ll learn everything you need to grow peppers from seeds: selecting the right varieties, preparing your seed-starting setup, germination techniques, transplanting, care, and harvesting. By the end, you’ll be equipped to cultivate vibrant, flavorful peppers right in your own garden, balcony, or even windowsill.
🌱 Why Grow Peppers from Seeds?
Starting peppers from seeds offers several advantages over buying seedlings:
1. Greater Variety
Seed catalogs offer thousands of varieties, from mild, sweet peppers to intensely hot chilies. Growing from seeds allows you to explore rare or exotic types not available in local nurseries.
2. Cost-Effective
A packet of seeds is far cheaper than buying multiple seedlings. One packet can produce dozens of plants.
3. Healthier Plants
Seed-grown plants often adapt better to your environment and are free from nursery-borne diseases or pests.
4. Personal Satisfaction
Watching a tiny seed transform into a full, fruit-bearing pepper plant is incredibly rewarding.
🛠 Step 1: Choose the Right Pepper Seeds
Choosing the right seeds is essential for a successful harvest. Consider these factors:
1. Pepper Type
- Bell peppers: Sweet, large, and mild; perfect for salads and stuffing.
- Jalapeños: Mildly spicy, versatile for cooking.
- Habanero/Scotch Bonnet: Extremely hot, for advanced gardeners.
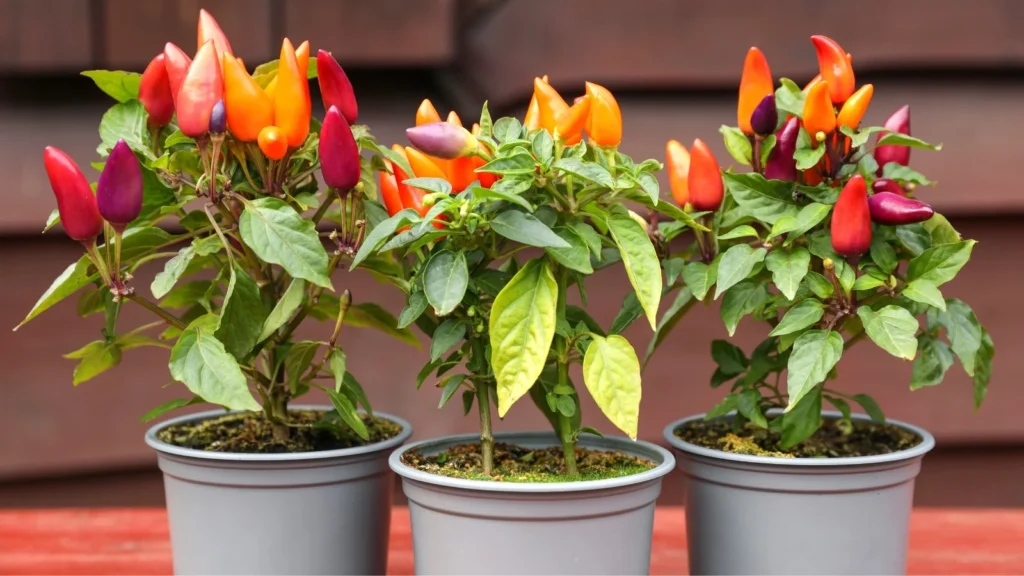
- Ornamental peppers: Beautiful colors for decoration and mild flavor.
2. Climate Adaptability
Some peppers prefer warm climates and long growing seasons, while others tolerate cooler temperatures. Check the days-to-maturity listed on seed packets.
3. Growth Habit
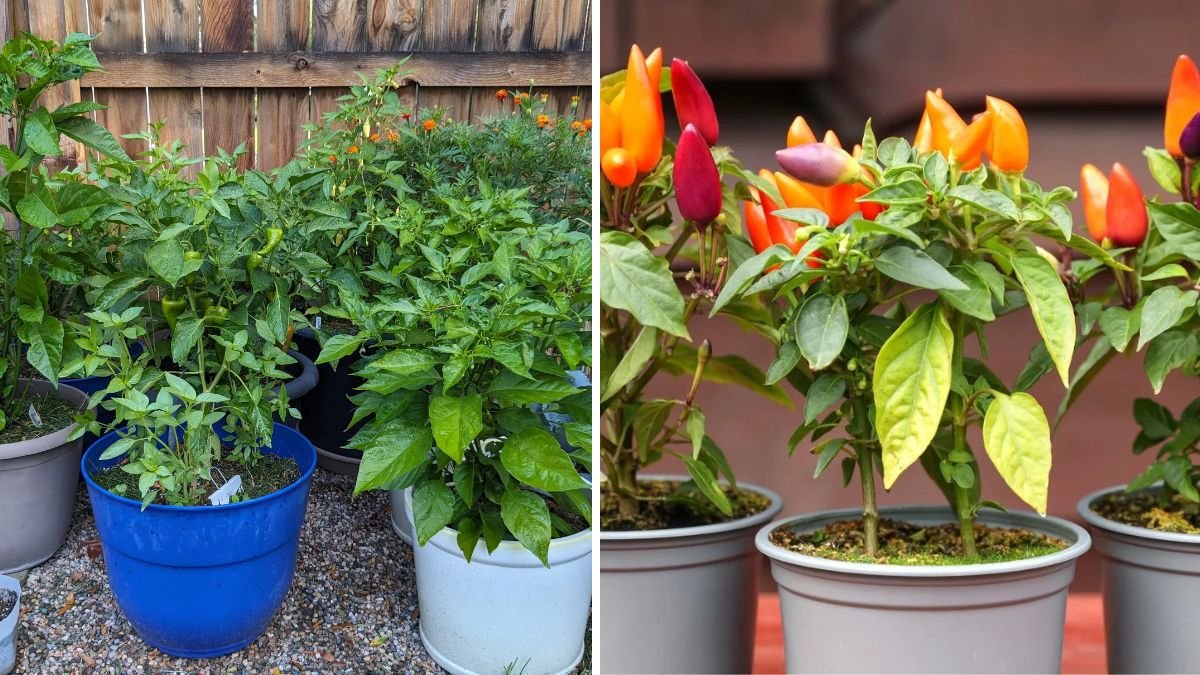
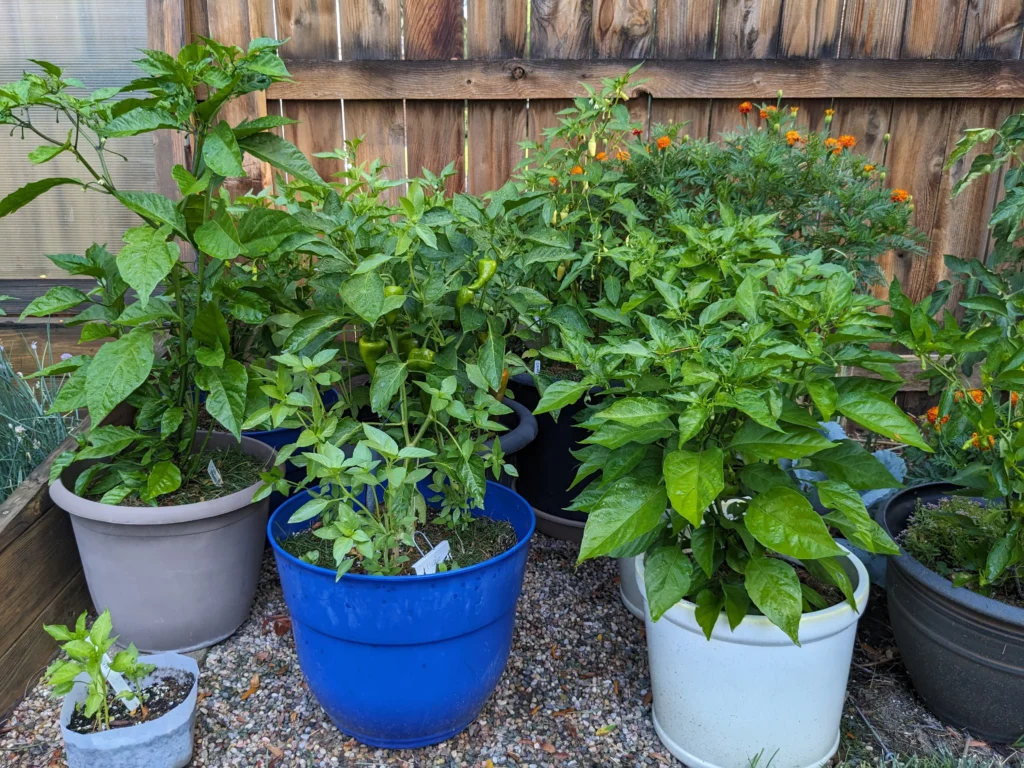
- Compact varieties are ideal for pots or small gardens.
- Larger, sprawling varieties require more space and support.
🌿 Step 2: Prepare Your Seed-Starting Setup
Peppers require warmth, light, and moisture to germinate successfully. Here’s how to set up your seed-starting environment:
Materials Needed:
- Seed trays, pots, or shallow containers
- Seed-starting mix (light, well-draining, nutrient-rich)
- Clear plastic cover or plastic wrap to maintain humidity
- Heat mat (optional but helpful in cool climates)
- Spray bottle for watering
Tips:
- Avoid regular garden soil—it’s often too heavy and may contain pathogens.
- Make sure containers have drainage holes to prevent waterlogging.
🌱 Step 3: Sowing Pepper Seeds
Peppers germinate slowly, often taking 7–21 days. Proper sowing increases germination success.
Steps:
- Fill containers with seed-starting mix.
- Moisten the soil gently before sowing.
- Plant seeds about 1/4 inch deep.
- Cover lightly with soil.
- Mist with water using a spray bottle.
- Cover with plastic wrap or a clear lid to retain humidity.
Tip:
Label each tray or container with the seed variety and planting date for easy tracking.
💡 Step 4: Maintain Ideal Germination Conditions
Peppers are warm-season plants, and germination success depends on the right temperature and light.
Temperature:
- Optimal germination: 24–29°C (75–85°F)
- If your room is cool, use a heat mat under trays to maintain warmth.
Light:
- Once seeds sprout, they need 12–16 hours of bright light daily.
- Place under a sunny window or grow light.
- Rotate trays regularly to prevent seedlings from leaning.
Moisture:
- Keep soil consistently moist but not soggy.
- Mist daily and remove plastic cover once seedlings emerge to reduce mold risk.
🌿 Step 5: Caring for Seedlings
After germination, seedlings require attentive care to develop strong stems and healthy leaves.
Key Tips:
- Thin Seedlings: If multiple seedlings sprout in one cell or pot, thin to the strongest one.
- Avoid Overcrowding: Provide enough space for airflow to prevent fungal issues.
- Light Exposure: Ensure seedlings get sufficient light; otherwise, they may become leggy.
- Temperature: Maintain warmth during the day and slightly cooler nights to mimic natural conditions.
- Feeding: Once seedlings develop 2–3 true leaves, apply a diluted liquid fertilizer every 1–2 weeks.
🌱 Step 6: Hardening Off Before Transplanting
Before moving seedlings outdoors, they must adjust to the external environment.
Steps for Hardening Off:
- Place seedlings outdoors in partial shade for 1–2 hours daily.
- Gradually increase sunlight exposure over 7–10 days.
- Reduce watering slightly to toughen plants.
- Protect from strong winds, frost, or pests.
This process reduces transplant shock and promotes faster growth after planting.
🌿 Step 7: Transplanting Seedlings
Choose a sunny location in your garden or prepare pots for container planting.
Steps:
- Space plants according to variety (typically 12–18 inches apart).
- Dig holes slightly larger than the root ball.
- Gently lift seedlings from trays, keeping soil around roots intact.
- Plant seedlings at the same soil depth as in their trays.
- Water immediately after transplanting.
Tip: Mulch around plants to retain moisture and suppress weeds.
💧 Step 8: Ongoing Care and Maintenance
Peppers require consistent care to produce abundant, high-quality fruit.
Watering:
- Keep soil evenly moist; avoid letting it dry out completely.
- Water at the base of the plant to prevent leaf diseases.
Fertilization:
- Use balanced fertilizers (NPK 10:10:10) early in growth.
- Switch to high-phosphorus fertilizer once flowers appear for better fruit set.
Support:
- Taller or heavy-fruited varieties may require stakes or cages to prevent plants from falling over.
Pruning:
- Remove lower leaves and suckers to improve airflow.
- Focus energy on main branches and fruit production.
🌸 Step 9: Flowering and Fruit Set
Pepper plants produce flowers that must be pollinated to form fruit.
Tips:
- Attract pollinators with companion plants like marigolds, basil, or borage.
- Gently shake flowers or use a small brush to transfer pollen if growing indoors.
- Remove excess flowers to improve fruit quality and reduce stress on the plant.
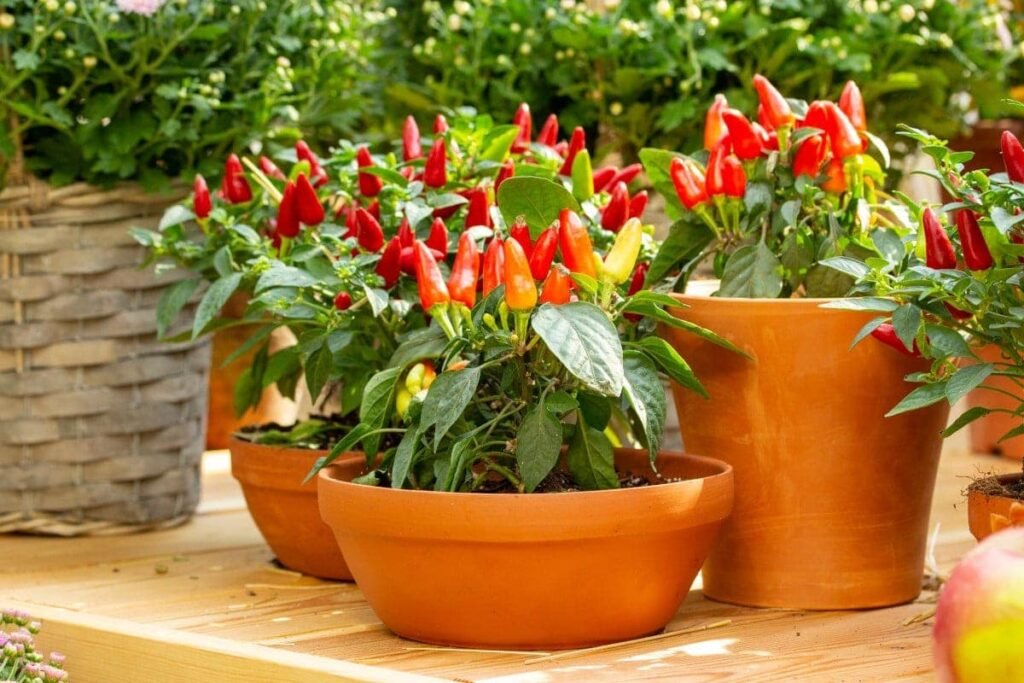
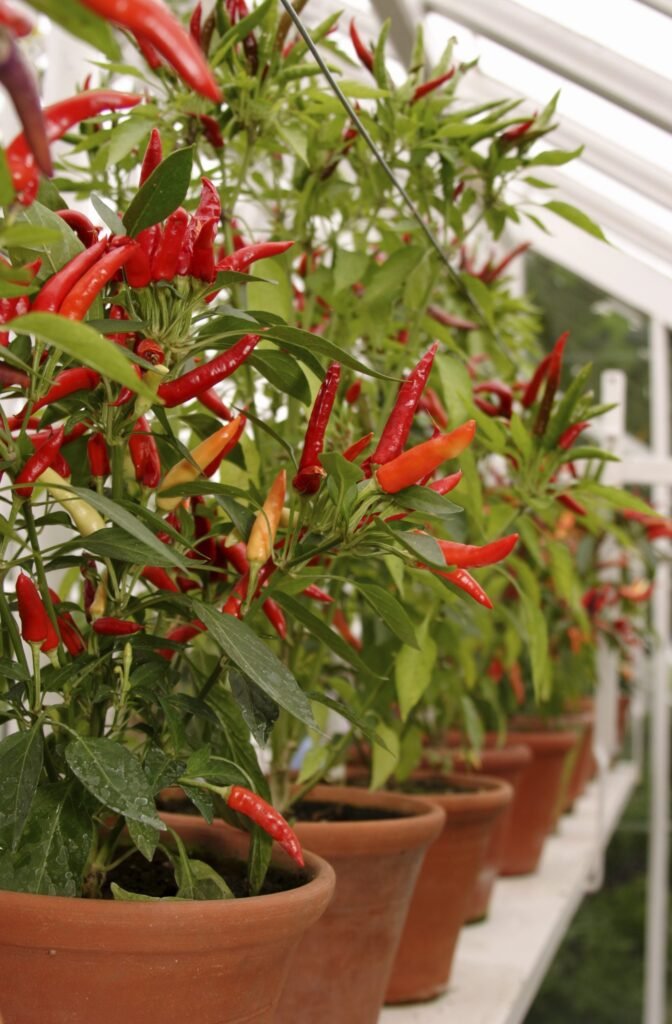
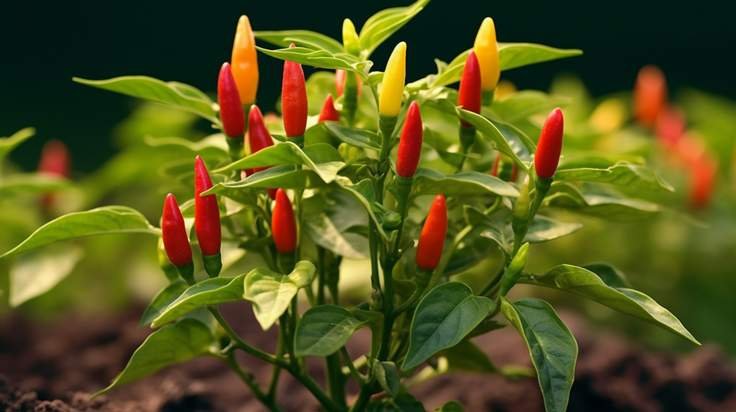
🌶 Step 10: Harvesting Peppers
Peppers can be harvested at different stages depending on the variety and desired flavor.
Signs of Readiness:
- Bell peppers: firm and fully colored (green, red, yellow, or orange).
- Chili peppers: bright, firm, and slightly glossy.
Harvesting Tips:
- Use scissors or pruners to cut fruit from the plant to avoid damaging branches.
- Frequent harvesting encourages more flowers and fruits.
🌟 Benefits of Growing Peppers from Seeds
Growing peppers from seeds gives gardeners:
- Variety Selection: Access to rare and exotic types.
- Stronger Plants: Better adaptation to local conditions.
- Cost Savings: One packet of seeds can produce dozens of plants.
- Satisfaction: Experience the full growth cycle from seed to harvest.
- Flavor: Homegrown peppers are fresher, juicier, and more flavorful than store-bought.
🌿 Final Thoughts
Growing peppers from seeds is a rewarding process that requires patience, care, and attention—but the results are well worth it. By selecting the right varieties, providing ideal conditions for germination, and nurturing seedlings into healthy, productive plants, you can enjoy a continuous harvest of colorful, flavorful peppers.
Whether you’re planting sweet bell peppers, zesty jalapeños, or fiery habaneros, starting from seeds gives you full control over plant selection, quality, and growth. With dedication and the right techniques, your home garden can produce an abundance of vibrant peppers that will elevate your meals and enrich your gardening experience.