
Growing mint at home is incredibly rewarding—and surprisingly simple. Even if you don’t have garden space or pots, you can still enjoy an endless supply of fresh, aromatic mint by growing it in something you already have: a plastic bottle. This budget-friendly, eco-friendly method is perfect for balconies, small kitchens, windowsills, and urban homes where space is limited.
Mint is one of the fastest-growing herbs. Once it starts, it spreads quickly and gives you fresh leaves for chutneys, teas, smoothies, and garnishing dishes. In this complete guide, you’ll learn how to grow lush, healthy mint using nothing more than a recycled bottle, good soil, water, and a few simple steps.
Let’s turn your waste bottle into a mini herb garden!
Why Grow Mint in a Plastic Bottle?
1. Zero cost, zero waste gardening
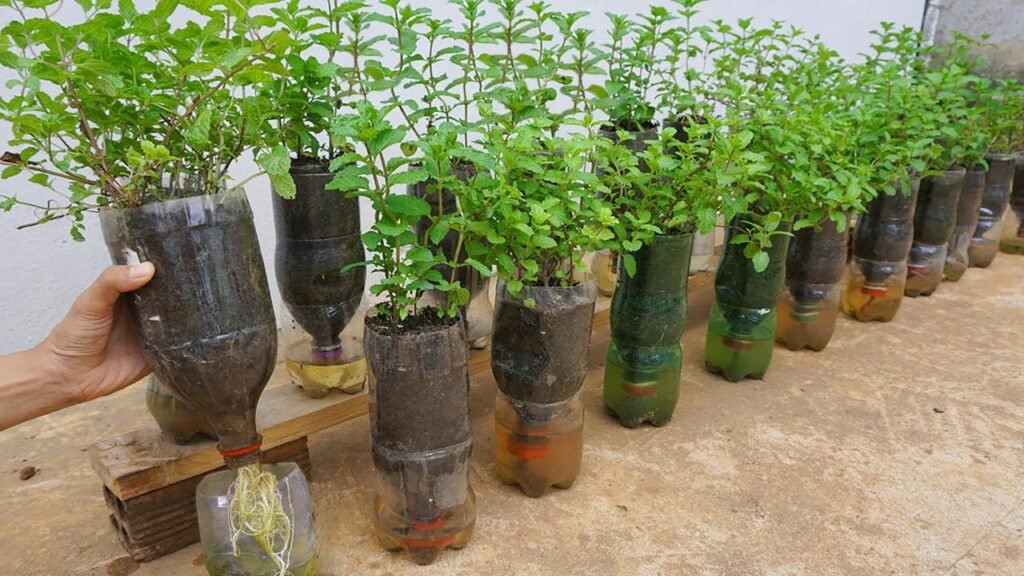
Reusing plastic bottles reduces waste while giving you a functional planter—perfect for sustainability lovers.
2. Mint requires very little space
Even a 1-liter bottle is enough to grow a thriving mint plant.
3. Easy maintenance
Mint is hardy, forgiving, and grows quickly, making it perfect for beginners.
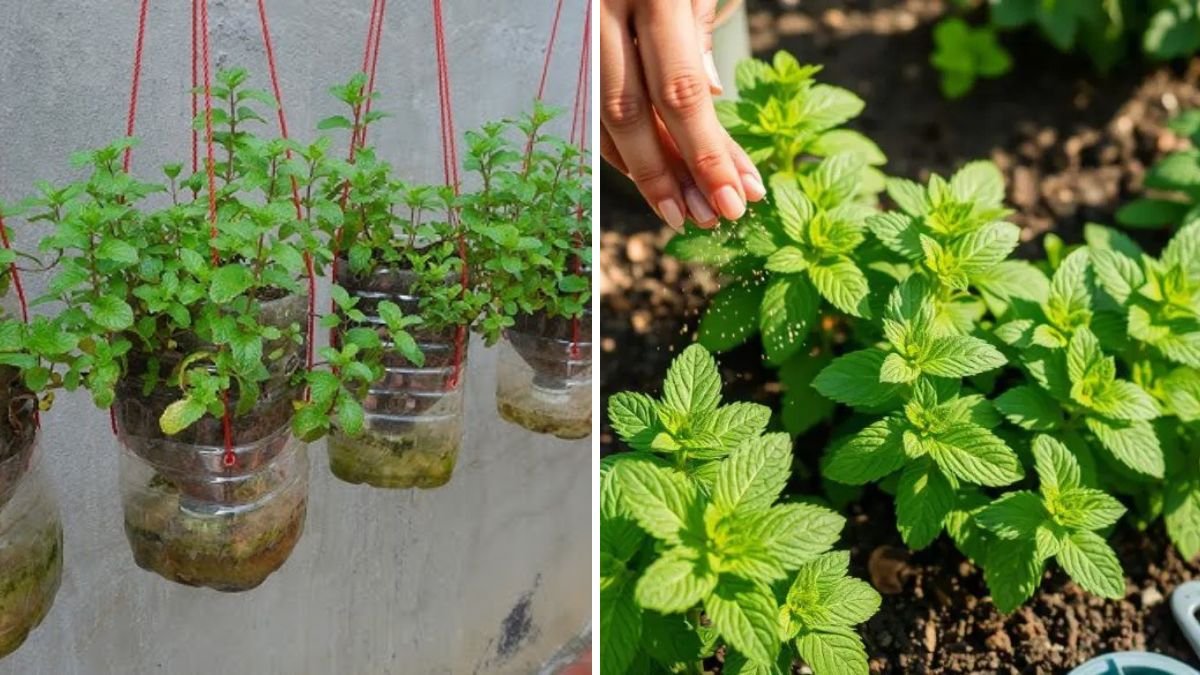
4. Portable and versatile
You can hang the bottles, place them on windowsills, or keep them in the kitchen for easy access.
5. Continuous harvest
Mint grows back fast, allowing you to harvest leaves regularly.
What You Need to Get Started

Growing mint in a plastic bottle doesn’t require expensive tools. Here’s what you need:
- A plastic bottle (1 liter or 2 liters)
- A sharp knife or scissors
- Good quality potting soil
- Compost or organic manure
- Mint cuttings or small mint plants
- Water
- A few small stones or gravel
- A nail or heated pin for drainage holes
Optional:
- Rope or wire for hanging
- A piece of cloth to cover drainage holes
Step-by-Step Guide: Preparing the Plastic Bottle

1. Choose the Right Bottle
Both 1-liter and 2-liter bottles work well. Larger bottles hold more soil and give the roots more space.
2. Cut the Opening
There are two main design options:
Method A: Horizontal Bottle Planter
- Lay the bottle sideways and cut a rectangular window along the side.
- This creates a long planting space, perfect for multiple mint shoots.
Method B: Vertical Bottle Planter
- Stand the bottle upright.
- Cut off the top portion to make a cup-like opening.
Both methods work—choose based on your available space.
3. Create Proper Drainage
Mint loves moist soil but cannot tolerate waterlogging.
- Use a nail or heated pin to poke 5–7 holes at the bottom.
- Add a layer of small stones to prevent soil from blocking the holes.
4. Fill with Soil
Mix the following:
- 60% garden soil
- 30% compost
- 10% sand or cocopeat
This mixture ensures proper drainage and nutrition.
Fill the bottle up to 2–3 cm from the top.
Planting Mint: The Easiest Herb to Grow from Cuttings
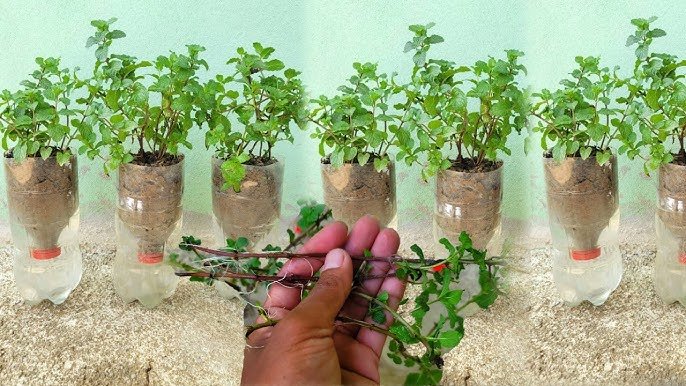
Mint grows best from cuttings rather than seeds. Seeds take longer and often don’t produce the same quality.
How to Prepare Mint Cuttings
- Choose a fresh, healthy stem around 10–12 cm long.
- Remove the lower leaves, leaving the top 2–3 pairs.
- Place the cut stem in a glass of water for 3–5 days.
- Roots will begin to appear from the nodes.
Once the roots are 1–2 cm long, they’re ready to plant.
Planting the Cuttings in the Bottle
- Make small holes in the soil with your finger.
- Insert the rooted cuttings gently.
- Press soil around the stem to provide support.
- Water lightly.
If you’re using a horizontal planter, you can plant 3–4 stems in a single bottle.
Where to Keep the Bottle for Best Growth
Mint loves bright, indirect sunlight. Too much harsh sun can scorch the leaves, while too little light slows growth.
Ideal locations:
- Kitchen windowsill
- Balcony railings
- Near a bright window
- A spot that receives morning sun and afternoon shade
If you want to hang the bottle:
- Use strong rope or wire
- Make sure the bottle stays balanced
Watering Mint: How Much Is Enough?
Mint thrives in moist soil but hates standing water.
Follow these watering tips:
- Water every 2–3 days in hot weather
- Water once every 4–5 days in cool weather
- Always check the top 2 cm of soil—it should feel slightly moist
- Avoid waterlogging to prevent root rot
Tip:
Plastic bottles dry out faster, so monitor your plant regularly.
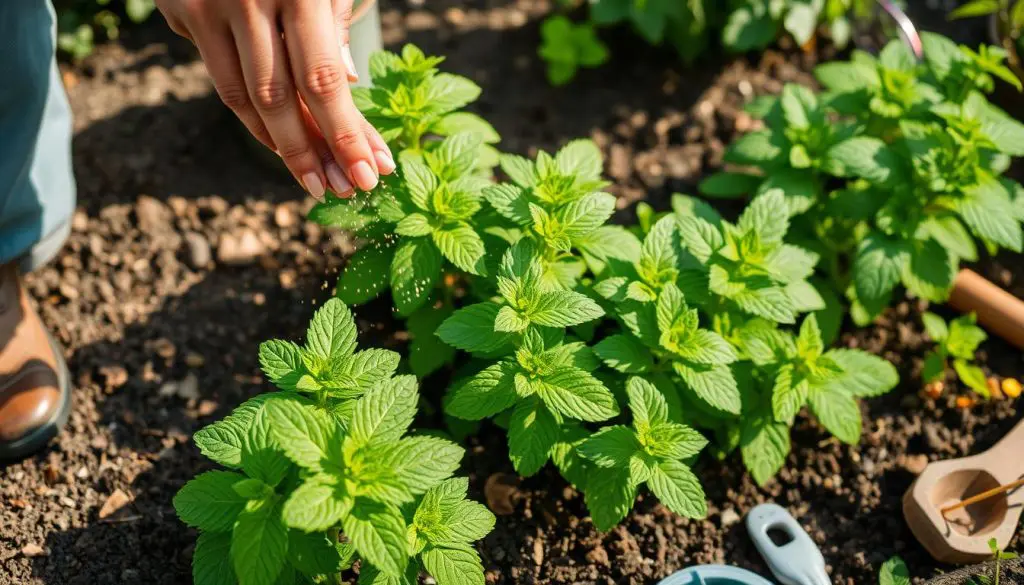
Feeding Your Mint Plant for Lush Growth
Mint grows vigorously when fed properly.
Organic Fertilizer Options:
- Compost
- Cow dung manure
- Vermicompost
- Compost tea
- Banana peel water
Feeding Schedule:
- Add a handful of compost every 20–25 days
- Spray compost tea every 10 days
- During peak growth, use liquid fertilizers for faster results
Avoid chemical fertilizers—they make the leaves less aromatic.
Pruning: The Secret to Bushy Mint
Mint becomes leggy if not trimmed regularly. Pruning encourages side branches and makes the plant fuller.
When to Prune
- Start trimming once plants reach 15–20 cm in height
- Pinch off the top 2–3 pairs of leaves
Benefits of Pruning
- Bushier growth
- More leaves to harvest
- Prevents flowering, which slows leaf production
Common Problems and How to Fix Them
1. Yellow Leaves
Cause: Too much sun or lack of nutrients
Solution: Move to filtered sunlight, add compost
2. Drooping Plant
Cause: Underwatering or heat stress
Solution: Water more frequently
3. Foul Smell from Soil
Cause: Overwatering
Solution: Allow soil to dry, improve drainage
4. Weak, Thin Stems
Cause: Lack of sunlight
Solution: Move to a brighter spot
5. Insects like aphids
Solution:
- Spray neem oil once every 10–15 days
- Use a mixture of soap water and neem oil
Mint is generally pest-resistant, so serious issues are rare.
Harvesting Your Mint for Maximum Flavor
Mint is ready for harvest 4–6 weeks after planting.
How to Harvest
- Cut stems just above a leaf node
- Never remove more than 40% of the plant at a time
- Use fresh or store for later
Continuous harvesting encourages faster regrowth.
Storing Mint Leaves
Here are simple ways to preserve mint:
1. Refrigeration
- Keep leaves in an airtight container
- Lasts up to 7–10 days
2. Freezing
- Freeze whole leaves or mint paste in ice cube trays
3. Drying
- Air-dry leaves
- Store in jars for herbal tea or garnishing
Creating a Vertical Mint Garden with Bottles
If you want more mint, create multiple bottle planters and hang them vertically.
Steps:
- Cut bottles horizontally.
- Attach them with rope or zip ties.
- Fill with soil and plant cuttings.
- Hang on a sunny wall or balcony.
This setup saves space and looks beautiful.
Benefits of Growing Mint at Home
- Fresh, pesticide-free leaves
- Pleasant aroma around the living space
- Mint repels some insects naturally
- Great for teas, chutneys, raitas, and drinks
- Cheaper than store-bought herbs
- Fun project for kids and beginners
Final Thoughts: Start Growing Mint Today!
Growing mint in a plastic bottle is one of the easiest and most sustainable gardening projects. It requires minimal effort, little space, and almost no investment. With just a few cuttings and simple care, you’ll have a thriving mint plant that provides fresh, fragrant leaves all year long.
Whether you’re an urban gardener, a student, or someone who loves fresh herbs, this bottle-gardening method is perfect for you. Start today—your kitchen and your taste buds will thank you!