
Starting a garden begins with one essential step: healthy seedlings. Every successful garden, from vibrant flowers to abundant vegetables, relies on robust seedlings that grow strong roots and stems. But not everyone has access to professional nursery trays, greenhouses, or specialized seed-starting equipment. That’s where an improvised seedbed comes to the rescue.
An improvised seedbed is a low-cost, simple, and highly effective way to germinate seeds using items you likely already have at home. With a bit of creativity, you can build a mini nursery that nurtures your seeds into vigorous seedlings ready to thrive in your garden. In this comprehensive guide, we’ll explore the benefits, materials, setup, and step-by-step process for creating your own improvised seedbed.
🌿 Why Use an Improvised Seedbed?
Starting seeds in an improvised seedbed has multiple advantages:
1. Cost-Effective
No need to buy expensive seed trays or equipment. Everyday items like containers, cardboard, and even old plastic bottles can serve as seedbeds.
2. Controlled Environment
Seeds require moisture, warmth, and light to germinate. A seedbed allows you to control these conditions better than sowing directly in the garden.
3. Higher Germination Rates
By providing consistent care in a protected space, your seeds have a higher chance of germinating successfully.
4. Early Start
An improvised seedbed lets you start seeds indoors or in sheltered areas before the outdoor planting season, giving your plants a head start.
5. Space-Saving
Even small balconies, kitchen counters, or windowsills can accommodate an improvised seedbed, making it perfect for urban gardeners.
🛠 Step 1: Gather Materials
One of the best things about an improvised seedbed is flexibility. You don’t need specialized tools—just basic household or garden items.
Essential Materials:
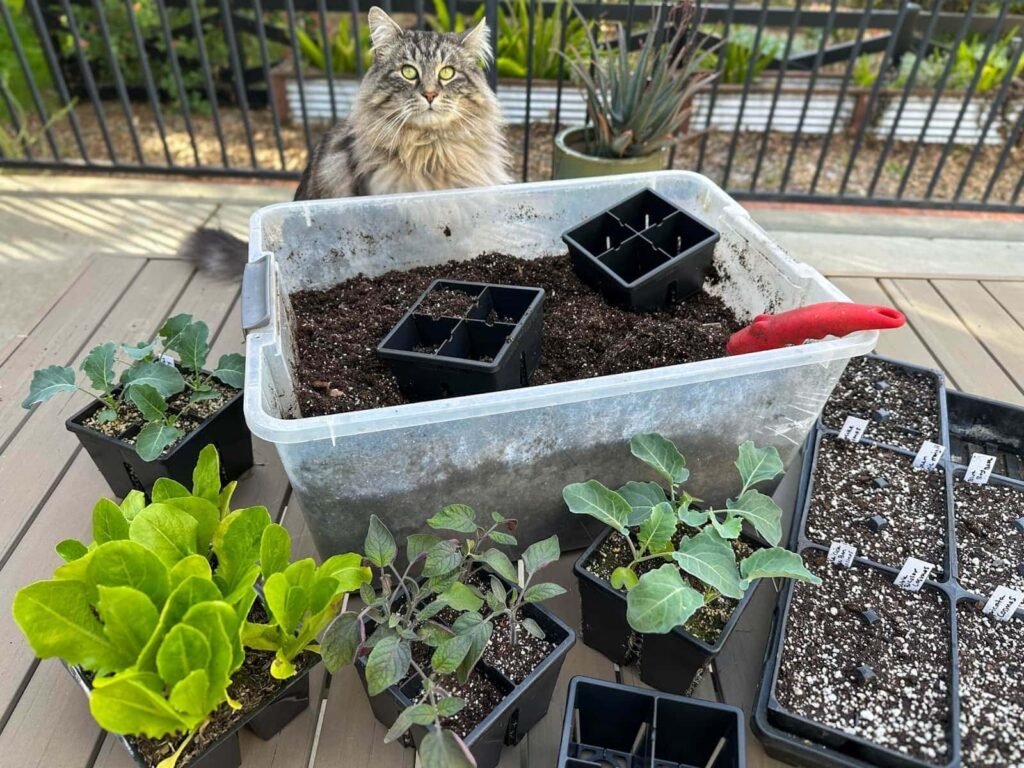
- Containers: trays, boxes, old food containers, or shallow pots
- Growing medium: potting soil, coco peat, compost, or a mix
- Seeds: vegetables, herbs, or flowers of your choice
- Clear plastic cover: plastic wrap, cut plastic bottles, or a plastic lid
- Watering can or spray bottle
- Labels: popsicle sticks, markers, or tape
Optional Materials:
- Small stones or mesh for drainage
- Heating mat or sunny window for warmth
- Fertilizer for seedlings
🌱 Step 2: Choose the Right Container
Any shallow container with drainage can work as a seedbed. Here are some options:
- Plastic or Styrofoam trays: Reuse takeaway containers, egg cartons, or food trays.
- Wooden boxes: Old wooden fruit crates work perfectly.
- Plastic bottles or jugs: Cut in half to create mini-trays for smaller seeds.
- Disposable foil trays: Lightweight and easy to handle.
Tip: If the container has no drainage holes, poke a few holes in the bottom to prevent waterlogging.
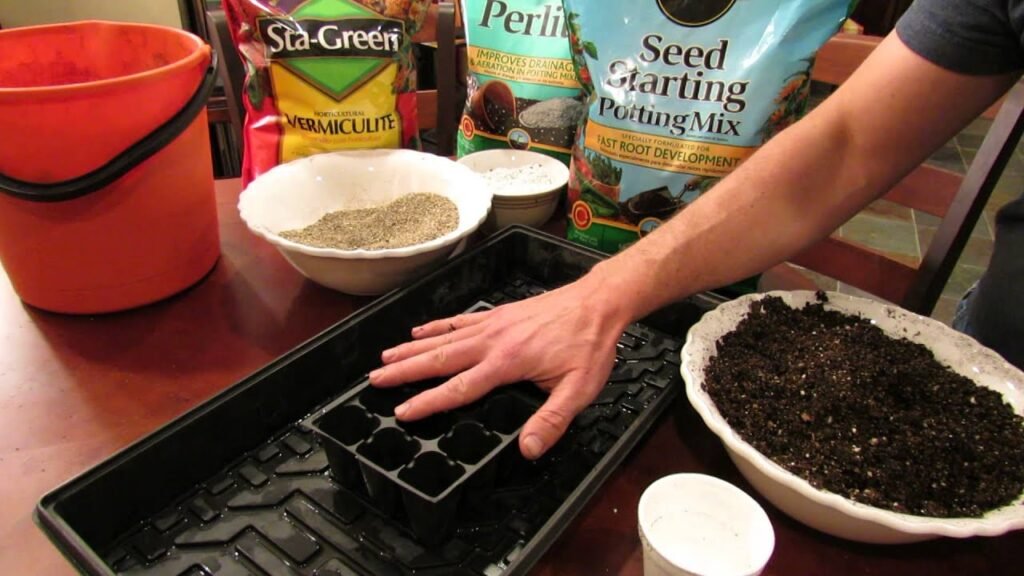
🌿 Step 3: Prepare the Growing Medium
Seeds need a light, airy, and nutrient-rich medium for optimal germination.
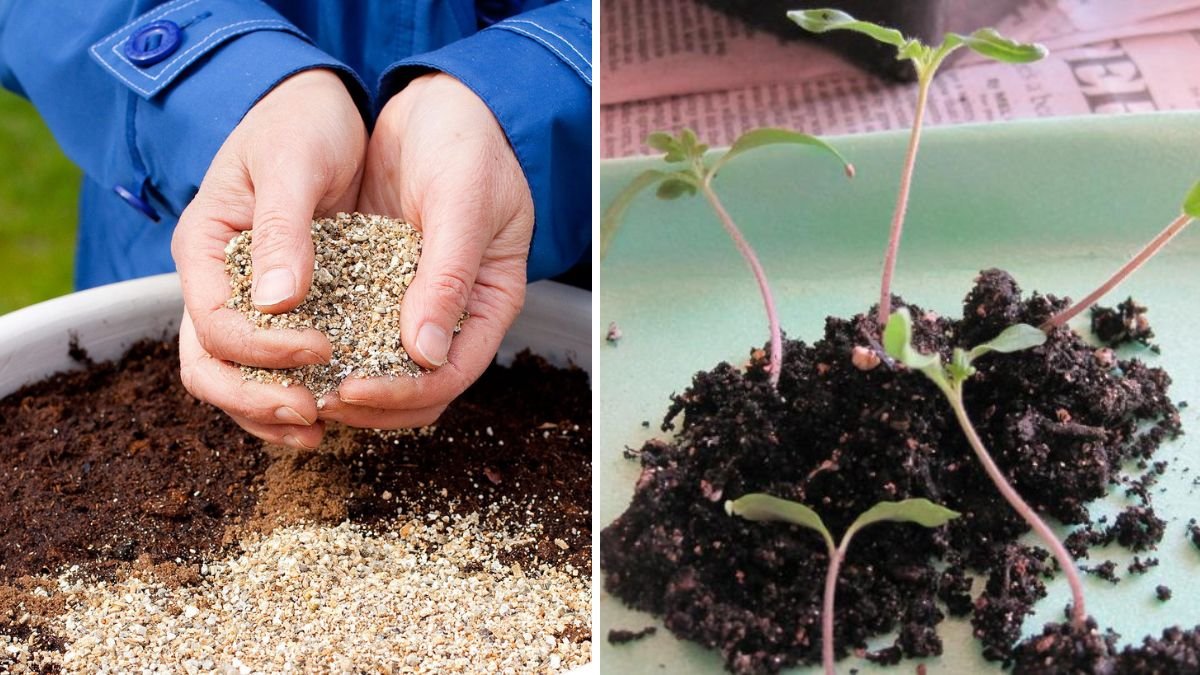
Ideal Seedbed Mix:
- 40% compost (provides nutrients)
- 40% coco peat or peat moss (retains moisture)
- 20% sand or perlite (improves drainage and aeration)
How to Prepare:
- Mix all ingredients thoroughly.
- Moisten the soil lightly—damp, not soaking wet.
- Fill your containers to about 1–2 inches from the top.
- Lightly press to create a flat surface, but do not compact it too much.
🌱 Step 4: Sowing Seeds
Different seeds require different sowing depths, but a general rule is to plant at a depth 2–3 times the size of the seed.
Steps:
- Make small holes in the soil using a pencil, stick, or finger.
- Place one or two seeds per hole (thin later if multiple seedlings emerge).
- Cover lightly with soil or fine compost.
- Mist gently with water to avoid displacing the seeds.
Tip: Label each row with the seed variety and date of sowing.
💧 Step 5: Maintain Proper Moisture and Humidity
Moisture is critical for germination. Seeds need consistent dampness but should never be waterlogged.
Watering Tips:
- Use a spray bottle or fine mist to water.
- Check soil daily; it should feel moist to the touch.
- Cover the seedbed with plastic wrap, cut plastic bottles, or a transparent lid to maintain humidity.
- Remove the cover once seedlings emerge to avoid fungal growth.
🌞 Step 6: Provide Light and Temperature
Seeds require warmth and light to grow strong.
Light Tips:
- Place your improvised seedbed near a sunny window or under a grow light.
- Seedlings typically need 12–16 hours of light daily.
- Rotate containers periodically for even growth.
Temperature Tips:
- Most seeds germinate well between 20–25°C (68–77°F).
- Use a warm indoor area or a simple heating mat if temperatures are low.
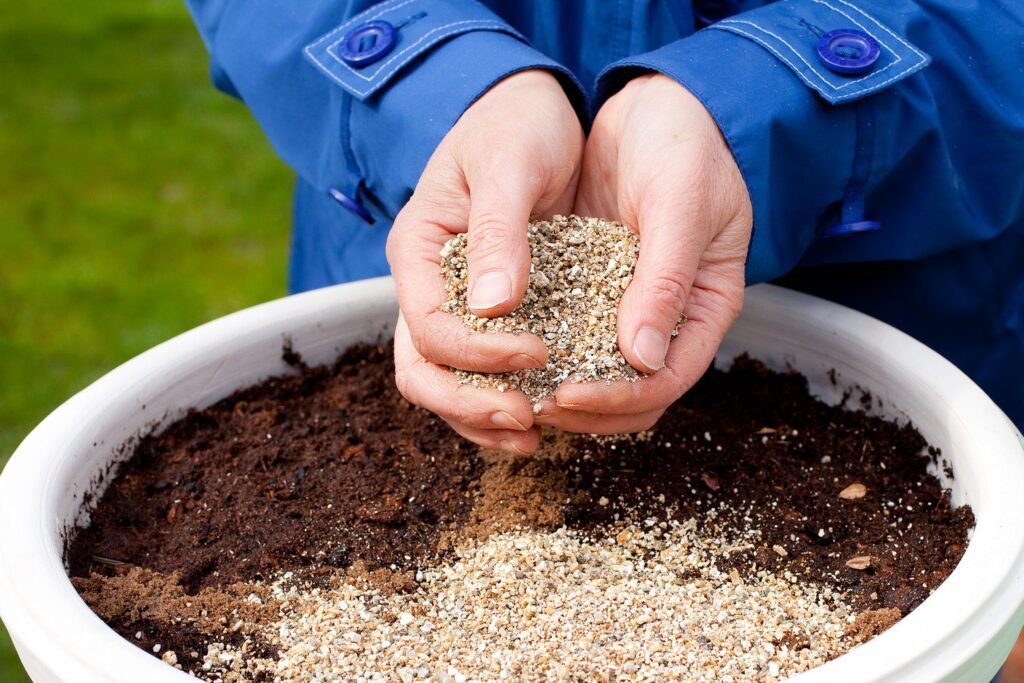
🌿 Step 7: Thinning and Care
Once seedlings sprout, they may be crowded. Thinning ensures strong growth.
Steps:
- When seedlings have 2–3 true leaves, thin by snipping weaker seedlings at soil level.
- Keep the strongest seedlings, spacing them for future transplanting.
- Water consistently and provide gentle airflow to prevent damping-off disease.
🌱 Step 8: Hardening Off Seedlings
Before transplanting outdoors, seedlings need to acclimate to the external environment.
Steps:
- Start by placing seedlings outdoors in a shaded area for 1–2 hours daily.
- Gradually increase exposure to sunlight and wind over 7–10 days.
- Reduce watering slightly to toughen plants.
This process strengthens seedlings, reduces transplant shock, and improves survival rates.
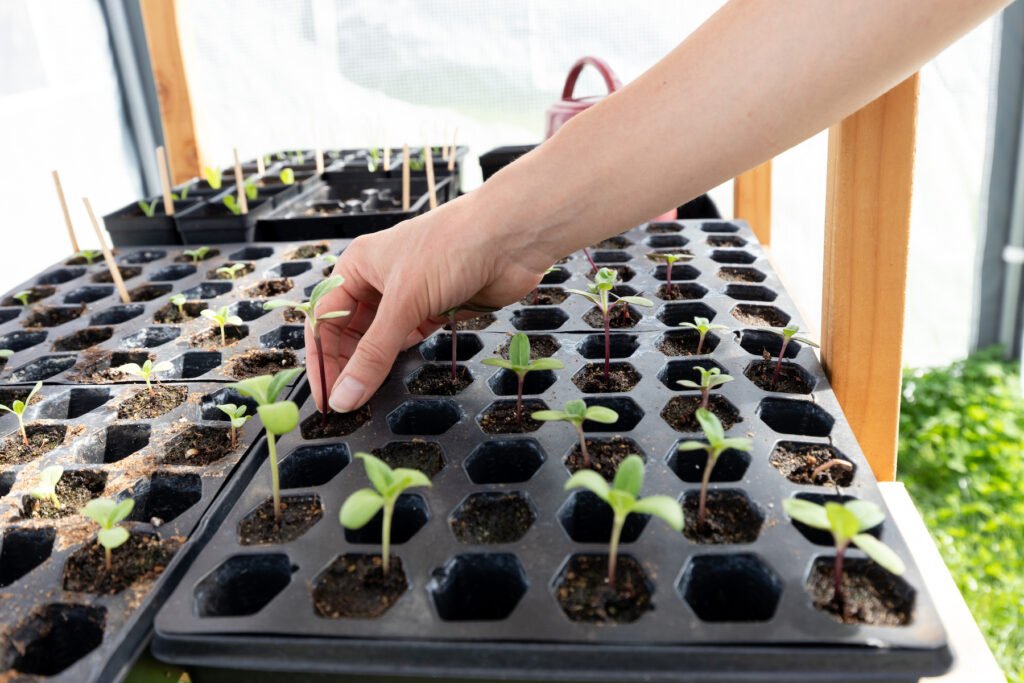
🌿 Step 9: Transplanting to the Garden
When seedlings are strong enough and have 3–4 true leaves, they are ready for transplanting.
Steps:
- Prepare the garden bed or pots with rich soil and proper spacing.
- Dig holes slightly larger than the root ball.
- Gently lift seedlings from the seedbed, avoiding root damage.
- Place in holes and cover with soil.
- Water immediately after transplanting.
Tip: Continue to care for young plants with consistent watering and light fertilization.
🌼 Benefits of Using an Improvised Seedbed
Creating your own seedbed offers several advantages:
- Low Cost: Uses household materials and reduces the need for store-bought trays.
- High Success Rate: Controlled conditions improve germination and growth.
- Flexibility: Can be set up indoors, outdoors, or in limited spaces.
- Sustainability: Reuses containers and reduces plastic waste.
- Educational: Great for learning about plant growth and experimenting with different seeds.
🌟 Final Thoughts
A DIY improvised seedbed is a gardener’s best friend. It empowers you to start seeds efficiently, save money, and experiment with various vegetables, herbs, and flowers. With just a few simple materials, some creativity, and careful attention, you can nurture tiny seeds into robust seedlings ready to flourish in your garden.
Whether you’re a beginner or an experienced gardener, building an improvised seedbed offers satisfaction, learning, and the joy of watching life sprout from tiny seeds. Start today, and take your gardening to the next level with this simple, effective, and versatile technique.